Canopy
The canopy has not been something I have been looking forward to but now that i have started it I am thinking it's not as bad as I thought.
So far I have traced 2 templates.One for the forward bow and one for the back. I then screwed them one at a time to a work bench.
The 2 bows supplied are shaped differently ,one for the front and one for the rear.
So far I have traced 2 templates.One for the forward bow and one for the back. I then screwed them one at a time to a work bench.
The 2 bows supplied are shaped differently ,one for the front and one for the rear.
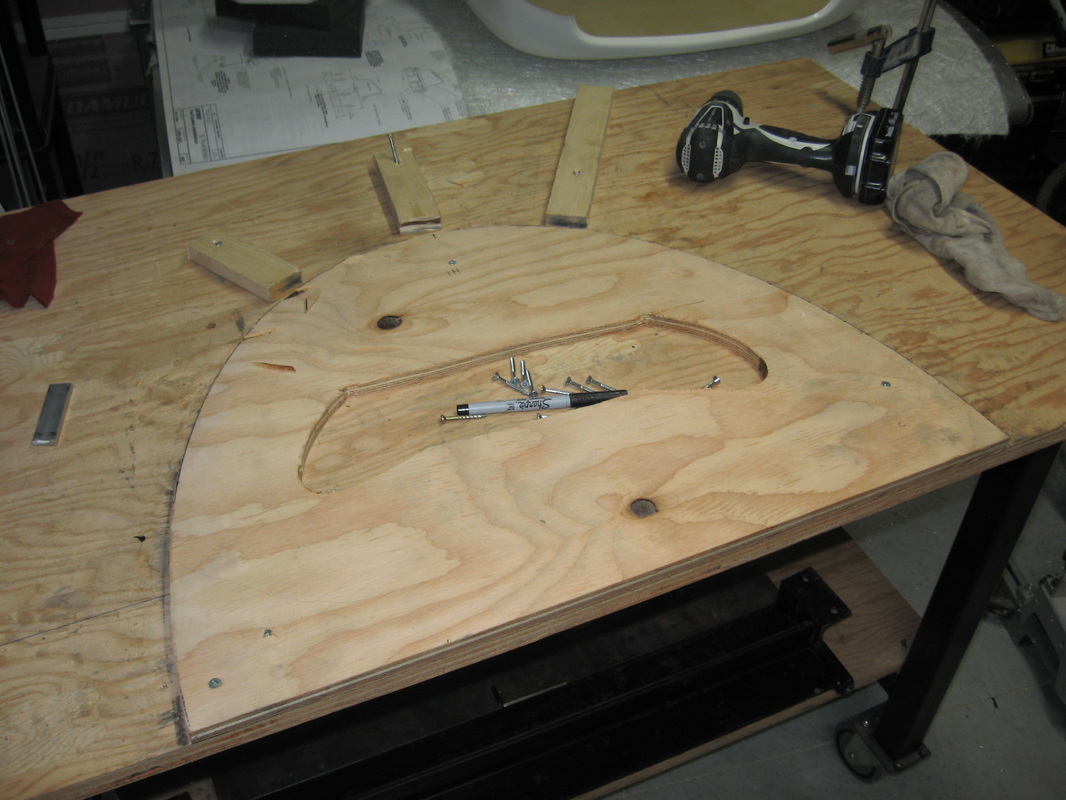
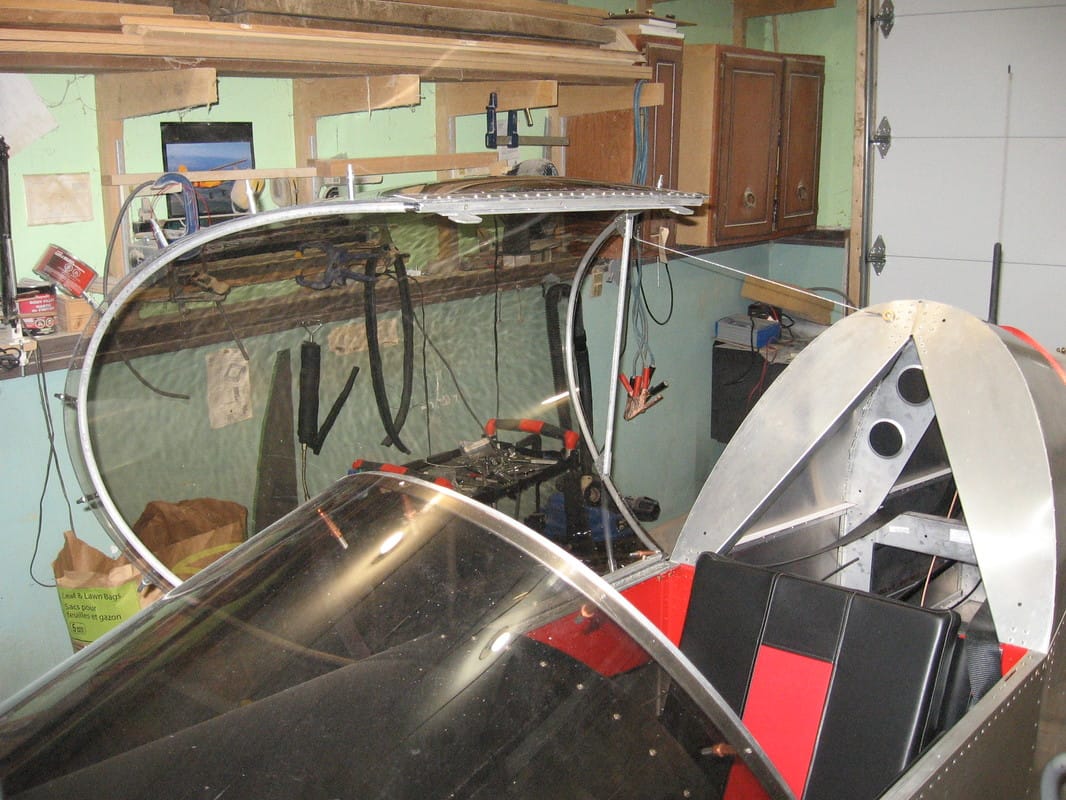
I used a plastic mallet and started at the top centre .The Dvd from Homebuilt Help shows this being done so I just copied them.
Once I got the top to fit I added those braces the top one you can see I shaped to fit the tubing which prvents it from jumping out when hammering.
Once I got the top to fit I added those braces the top one you can see I shaped to fit the tubing which prvents it from jumping out when hammering.
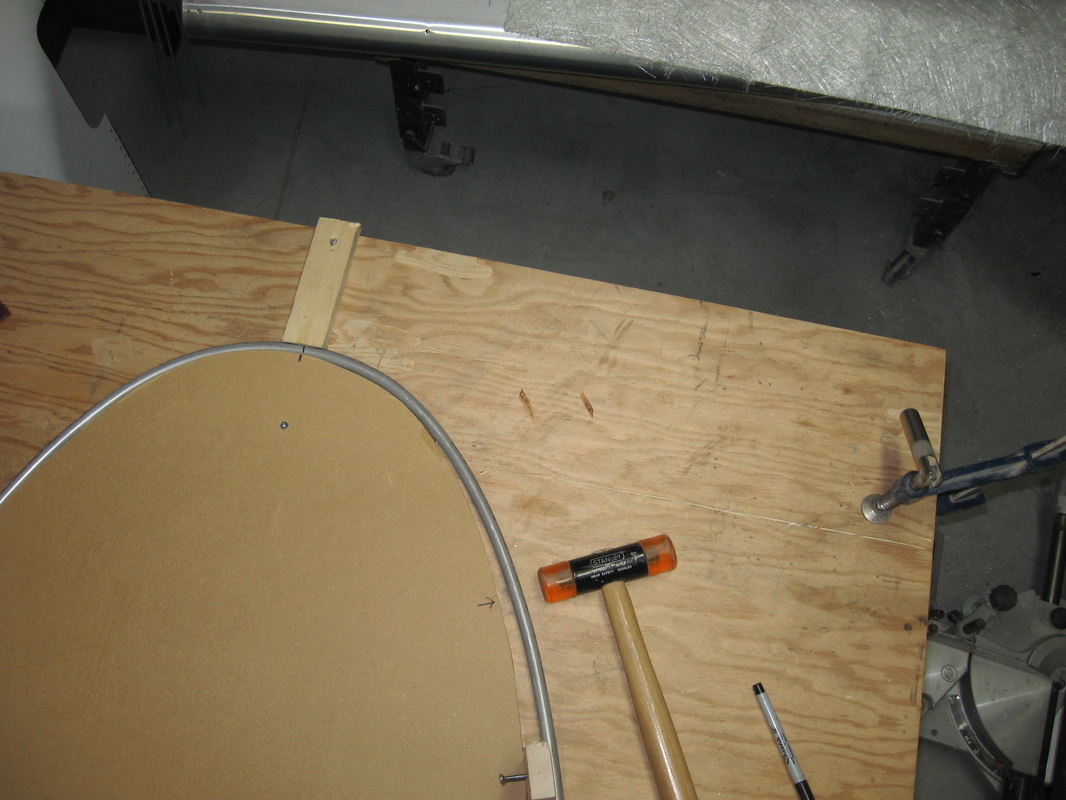
In this pic where the arrow is the tube was away from the form so I inserted the wood block lower down and hammered at the arrow .
After removing the block the tube sat tight to the form in that area.
After removing the block the tube sat tight to the form in that area.
In this pic the tube was sitting away from the form at the bottom so I put the block where you see it and hammered the bottom of the tube after removing the block it sat tight against the form.
So that is basically the trick to getting the tube to the shape of the form.It's trial and error but you will soon get the hang of it.
So that is basically the trick to getting the tube to the shape of the form.It's trial and error but you will soon get the hang of it.

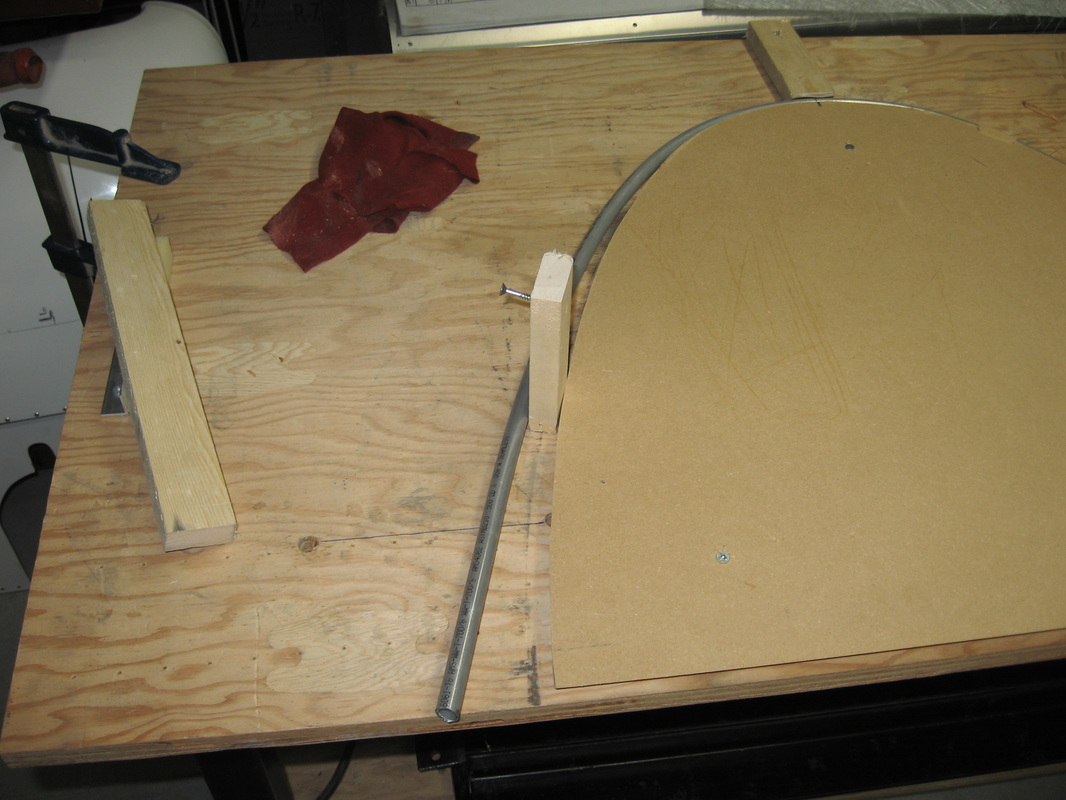
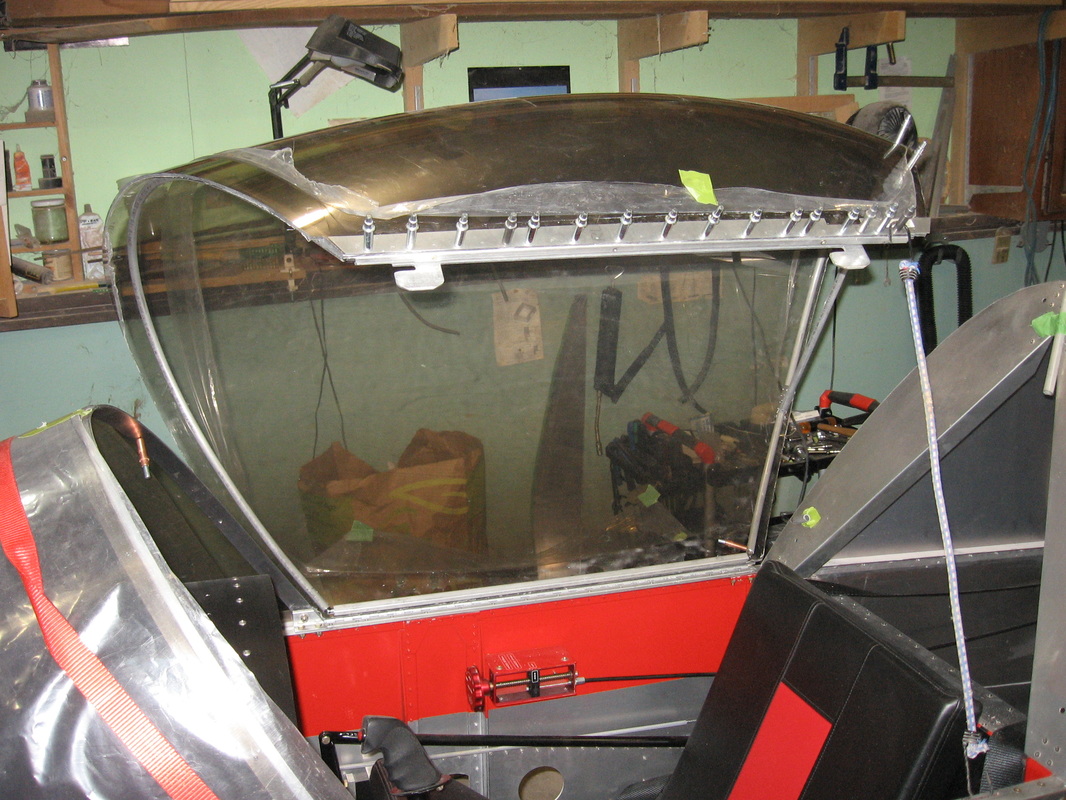
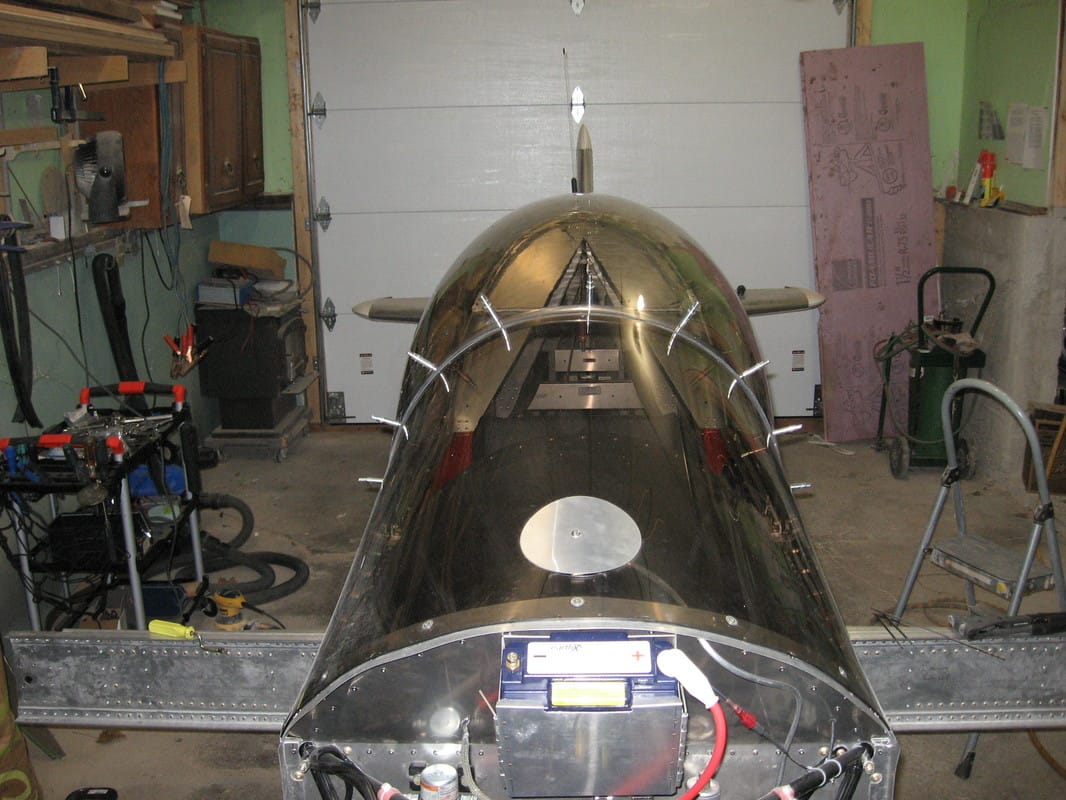
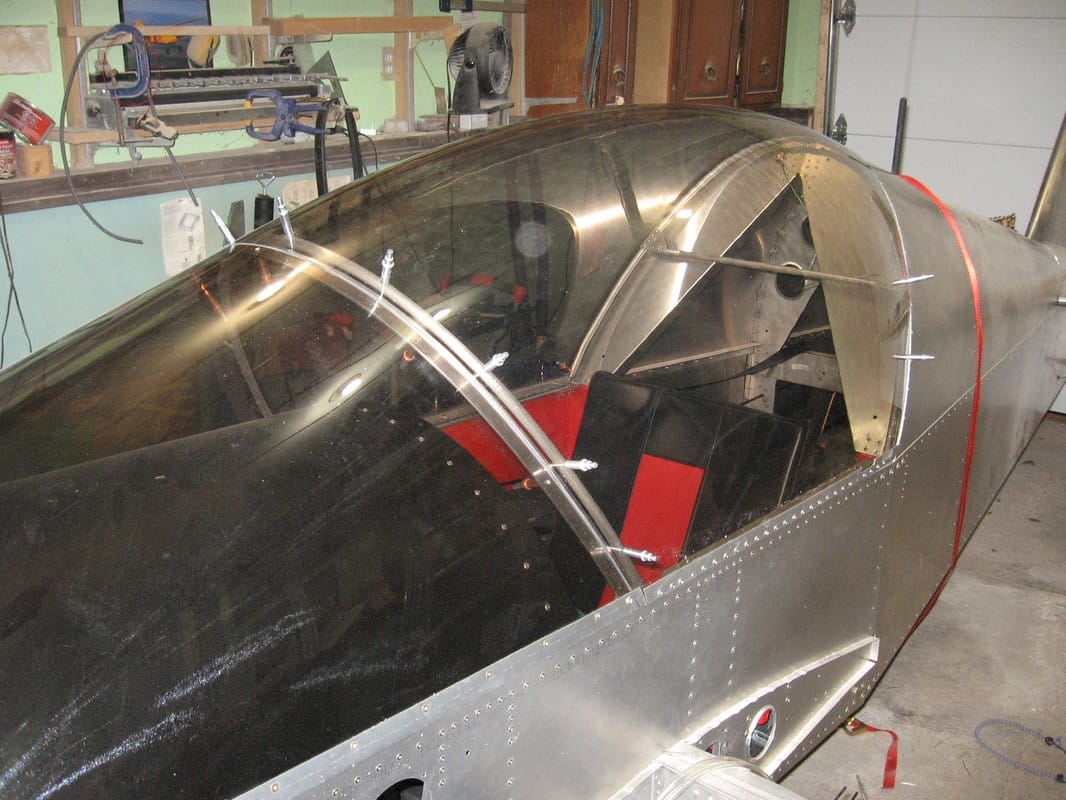
In the next pic I used the cutoff from the windshield to determine exactly where the bow should sit as it has not been riveted to the frame yet.
Now the bow is pushed up to touch the the temporary alignment piece of windshield and the bow can now be riveted to the frame....Cancel that.....I have since found I had to drill out the rivets and move the bow up slightly so now I am going to say just leave the bows unriveted and un clecoed and move the bows up at the end once you have riveted the canopy to the side frames.
|
|
Reminders:
Don’t forget to adjust MDF cutouts for thickness of acrylic.
https://www.youtube.com/watch?v=wD7qjg23v5Q Use this method to cut canopy .1/32" cut off wheel works best
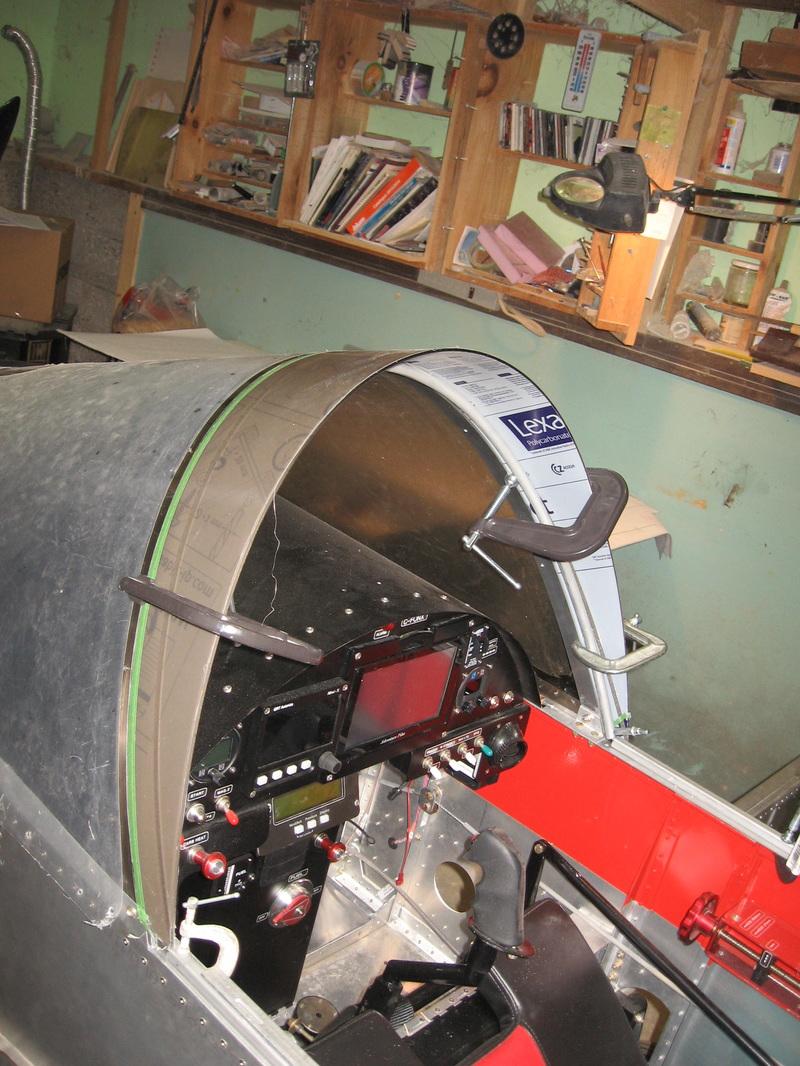
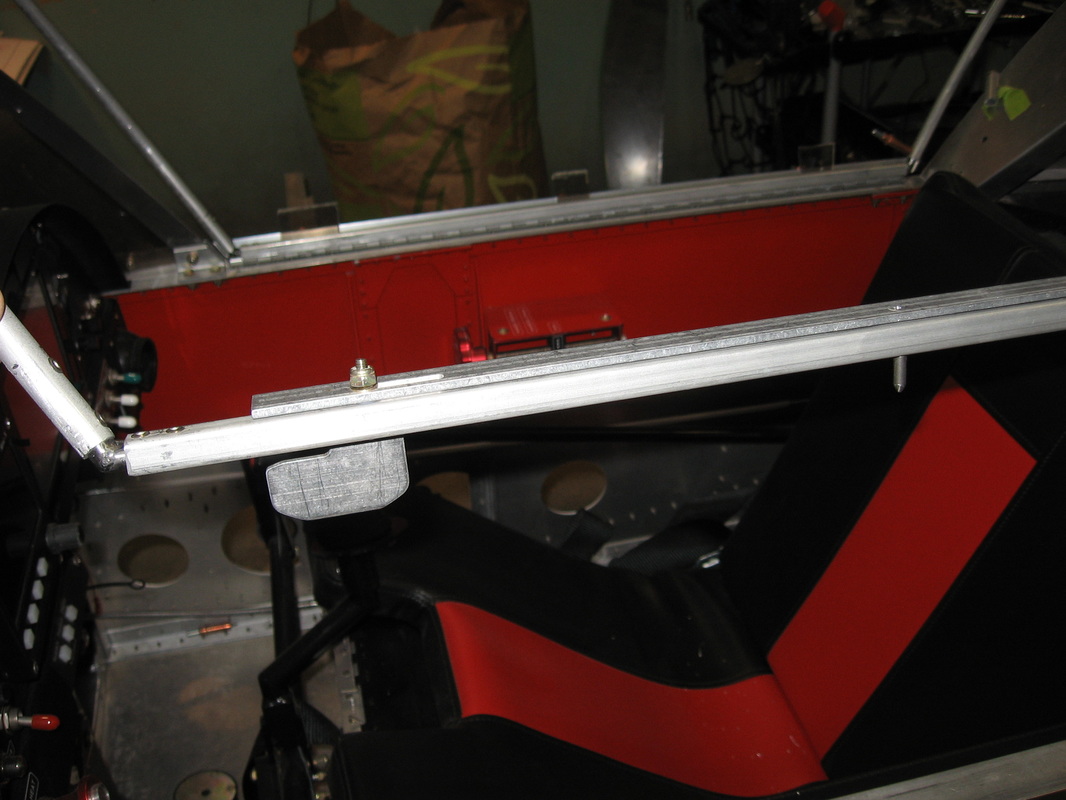
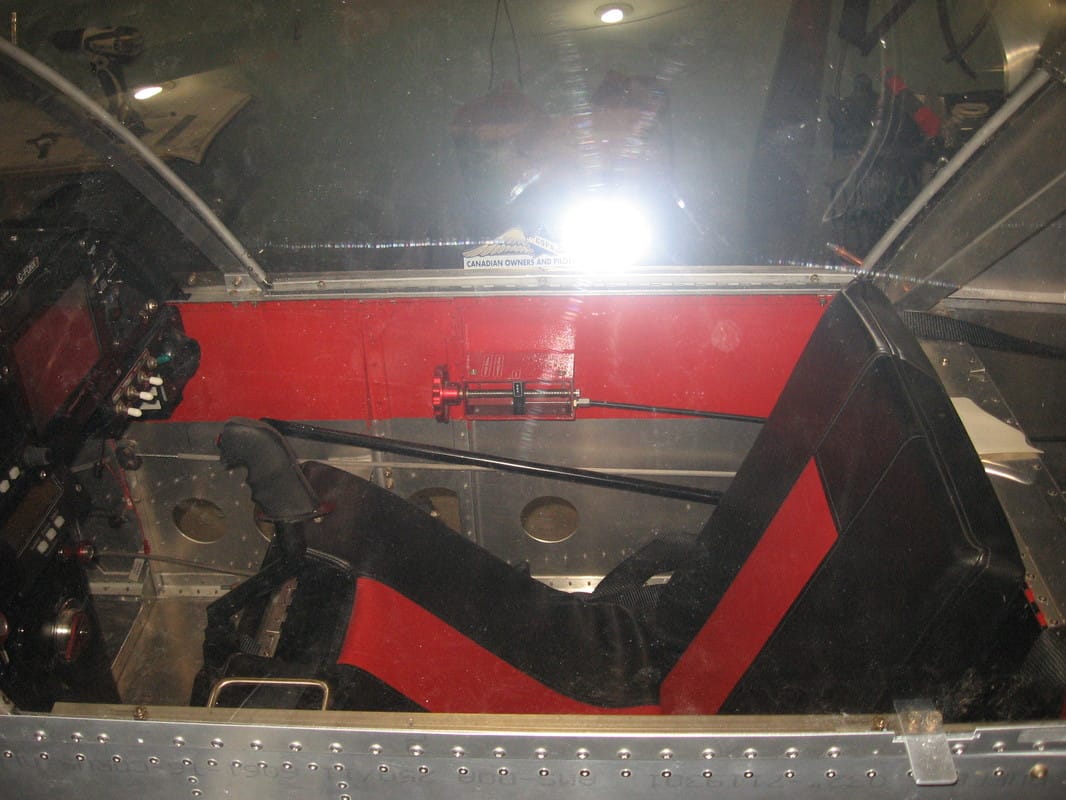
Adjust bow to where it sits and clamp ,cleco or whatever works to keep it in place. I used one cleco to hold the sliding mechanism on the left to the frame so that it sat where it belonged.
I clecoed then wound up riveting the hinge in place as it gave me a reference where the bow should sit.Note the bow should be raised a bit on the hinge side so I used a spacer under it then clamped it the best I could.
For side cuts mark front and back ,then join marks using a yard stick or other straight edge then use tape .along line.Trying to just use your eye and a piece of tape to make cutting line is harder to keep perfectly straight.
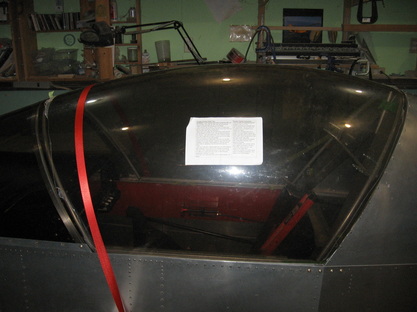
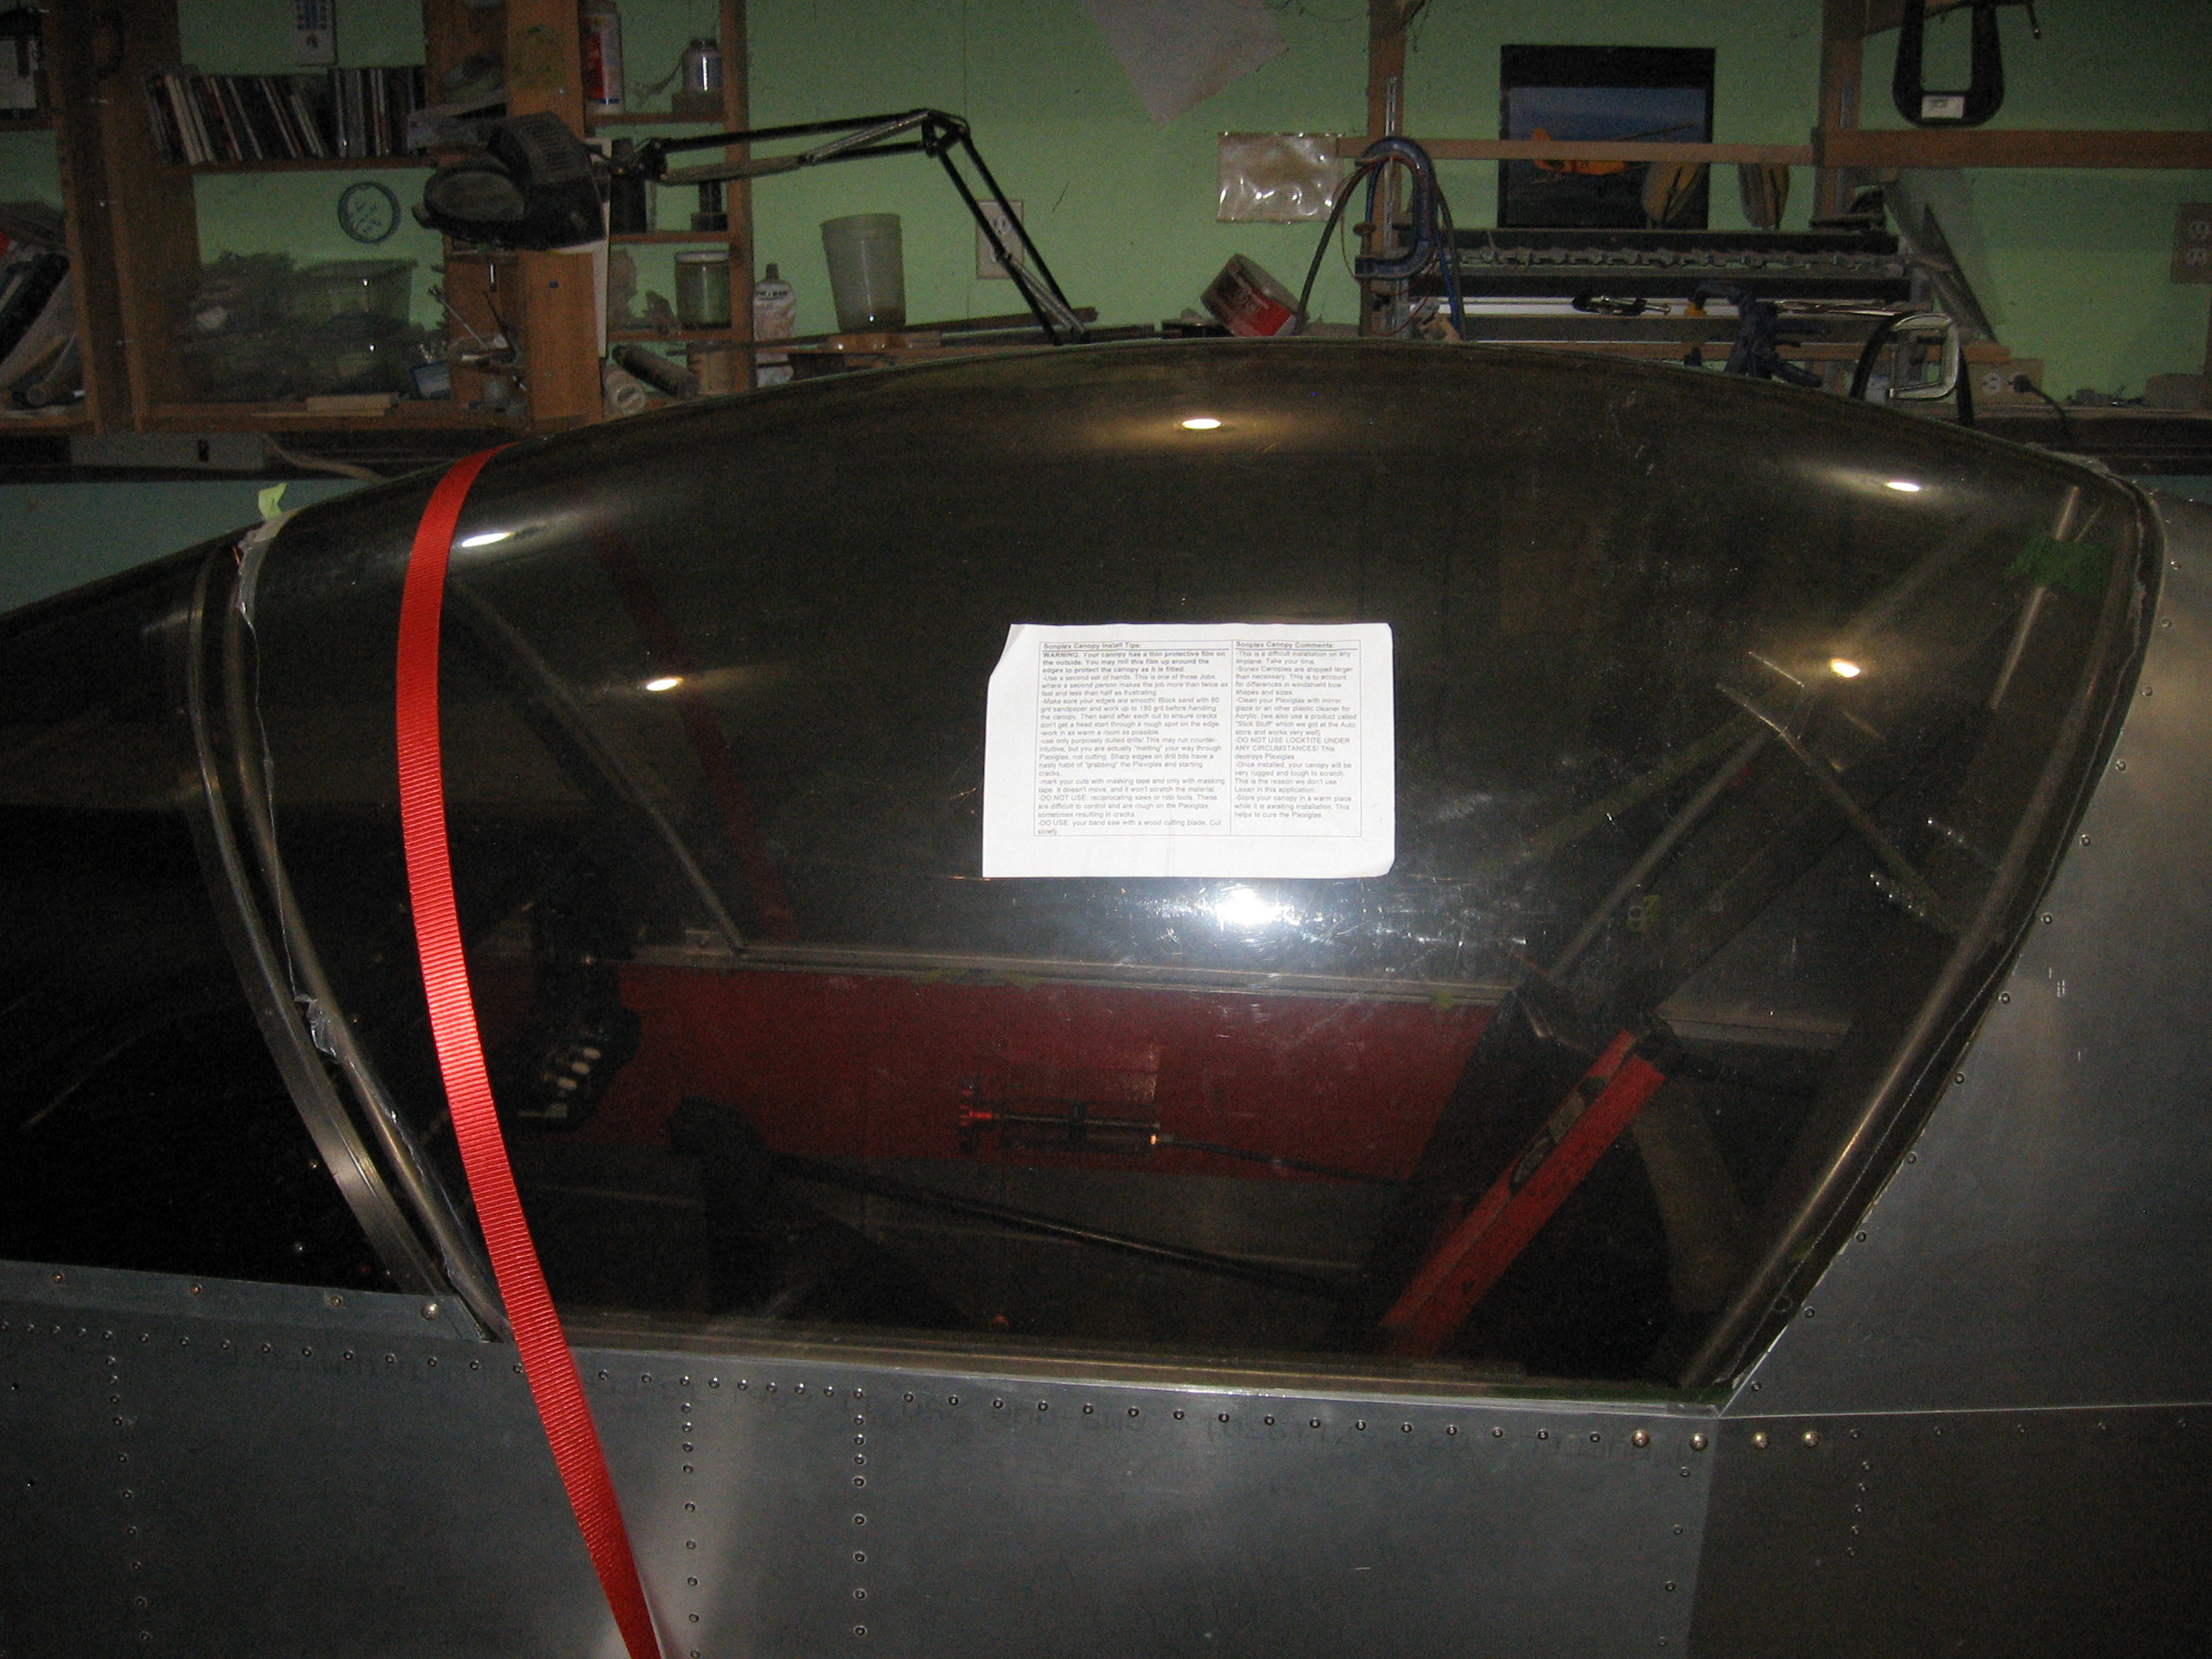
Use one strap in the middle
I cut the horizontal sides first.They will require more trimming after you cut the verticals.
It could be argued that the vertical cuts should come first.
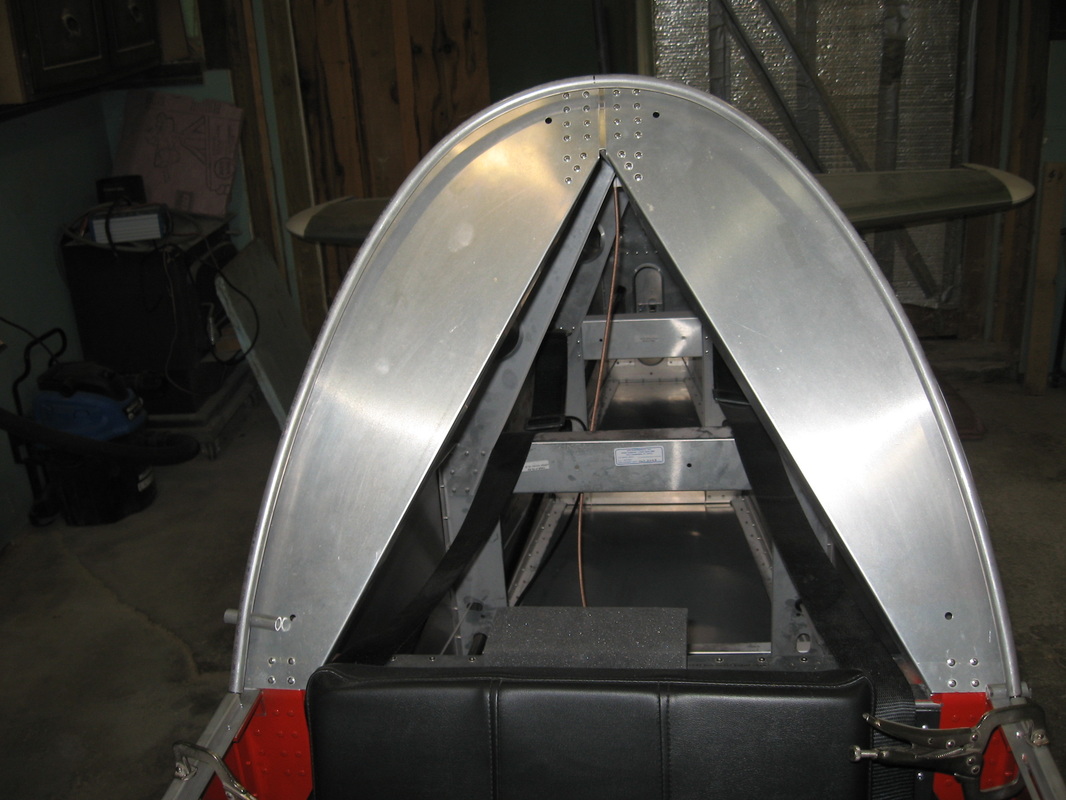
Make two marks on the canopy at top center front and back extending the line s to the windshield top center screw and the center of the turtle deck. as this will always be your reference for all your cuts i.e. make a cut bring canopy back to fit and line up your marks and see how you did .
I consider this step very important.
Better to make a hundred small cuts then one or two large cuts .You will be surprised how each cut effects the overall until you are sitting down on the frame all around.Then it is just a matter of getting the clearance noted in the drawing.
Don’t even think about doing it alone.
I would say I had the canopy on and off about 20 times all told maybe more but then I was paranoid of making a mistake.
Take all the above and change or improve on it.This is just the way I did it and am sure there are better ways.
Take your time measure three times and good luck.
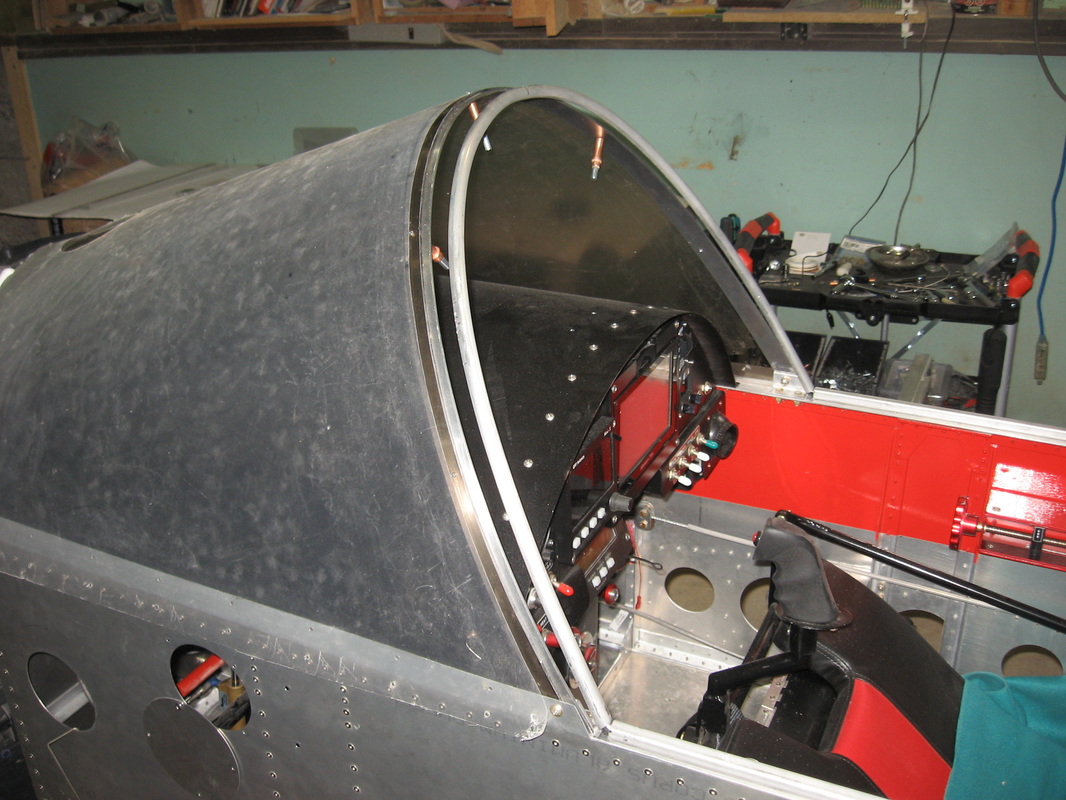
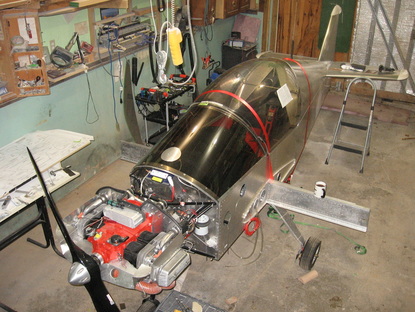
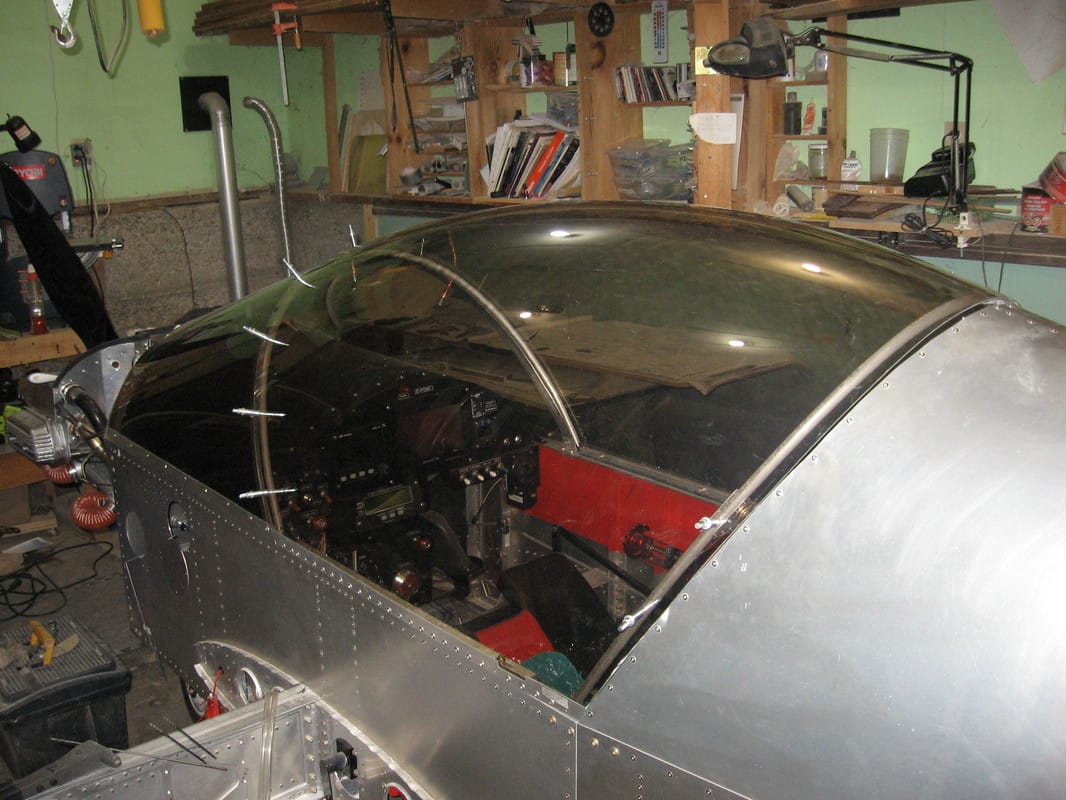
Getting very close now .I will screw the canopy to the bows now and do final sanding after to get proper clearances.
Note I only show one web clamp here but I always used two ,front and back .
Note I only show one web clamp here but I always used two ,front and back .

Click on anyphoto above.
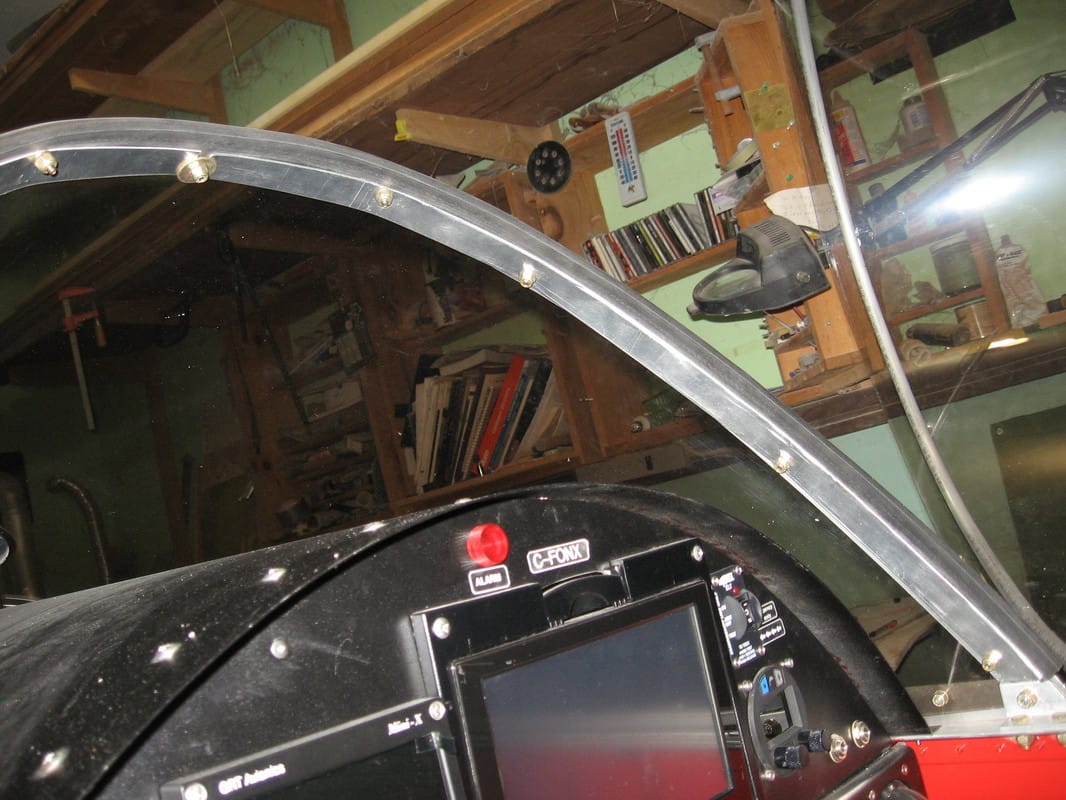
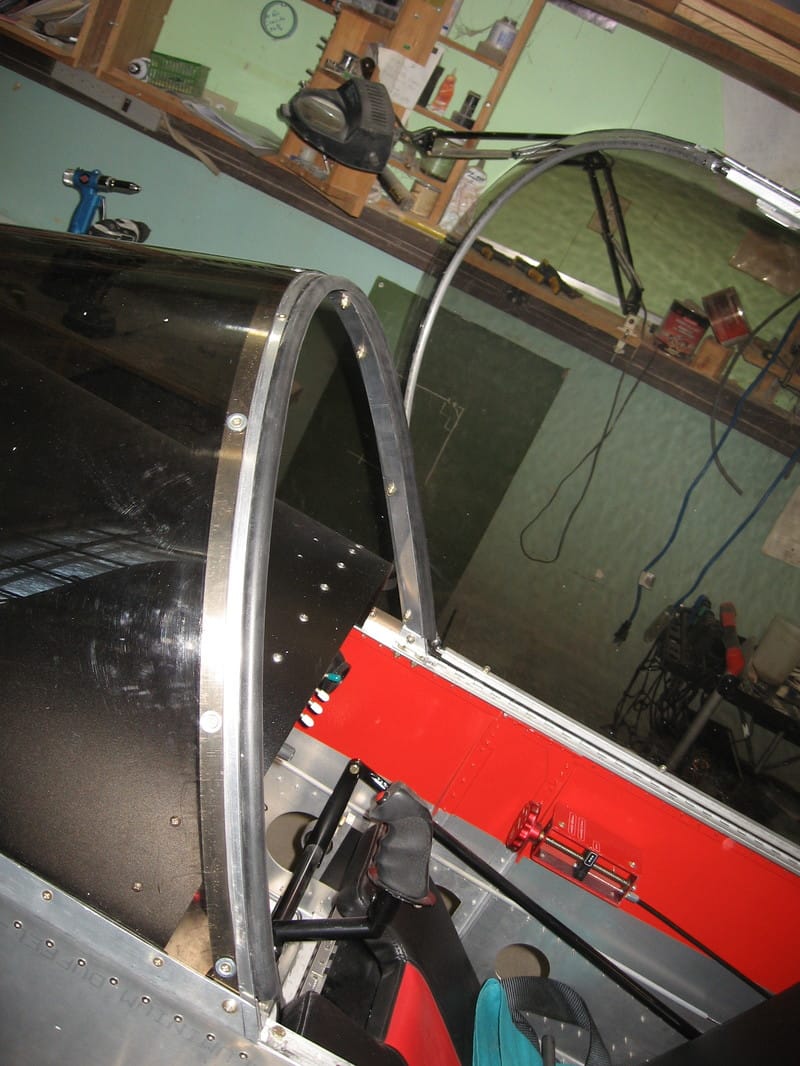
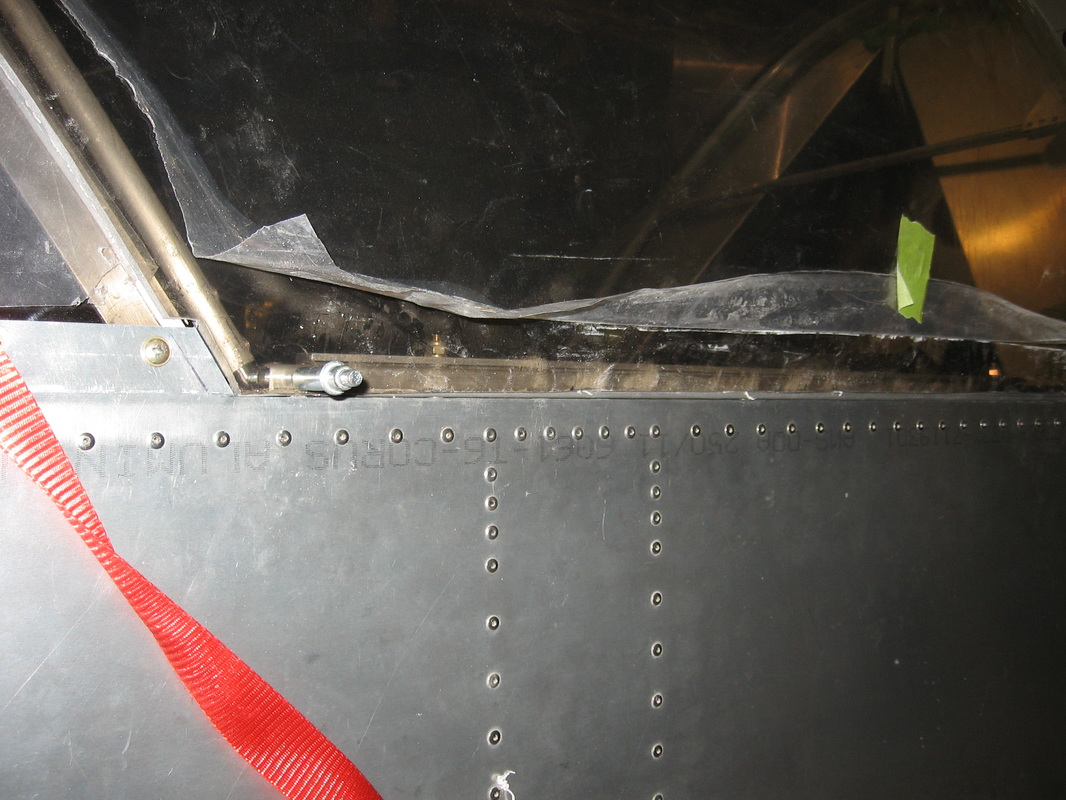
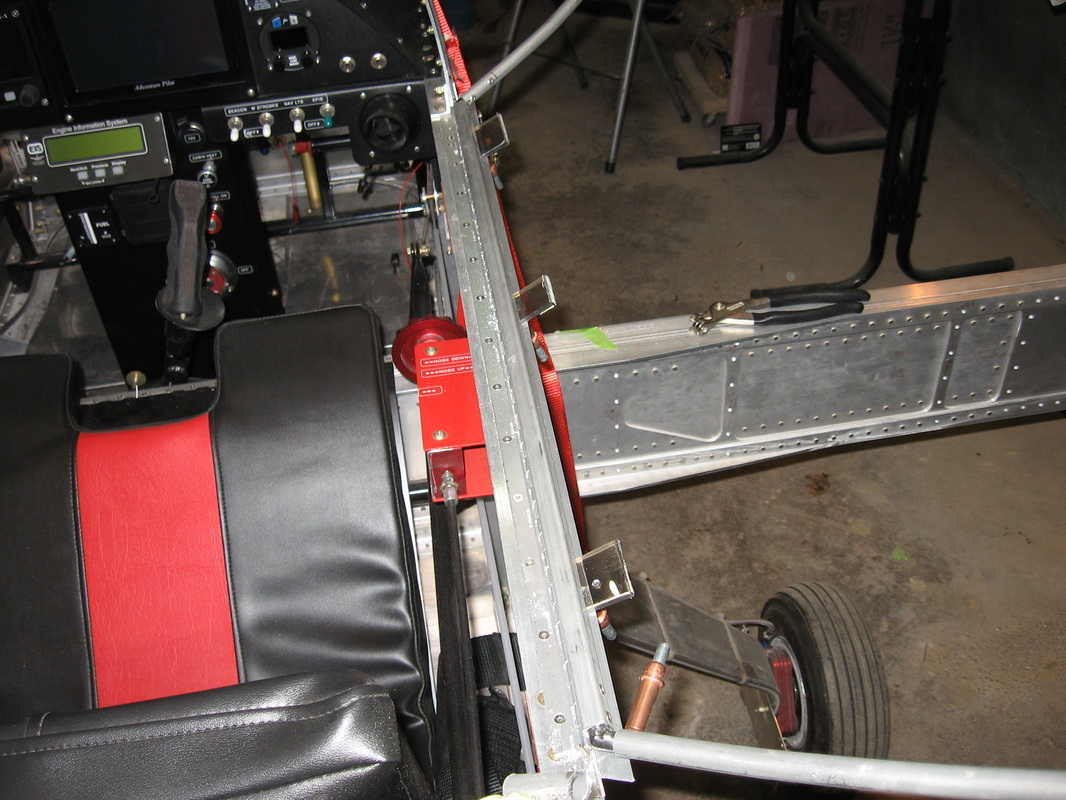
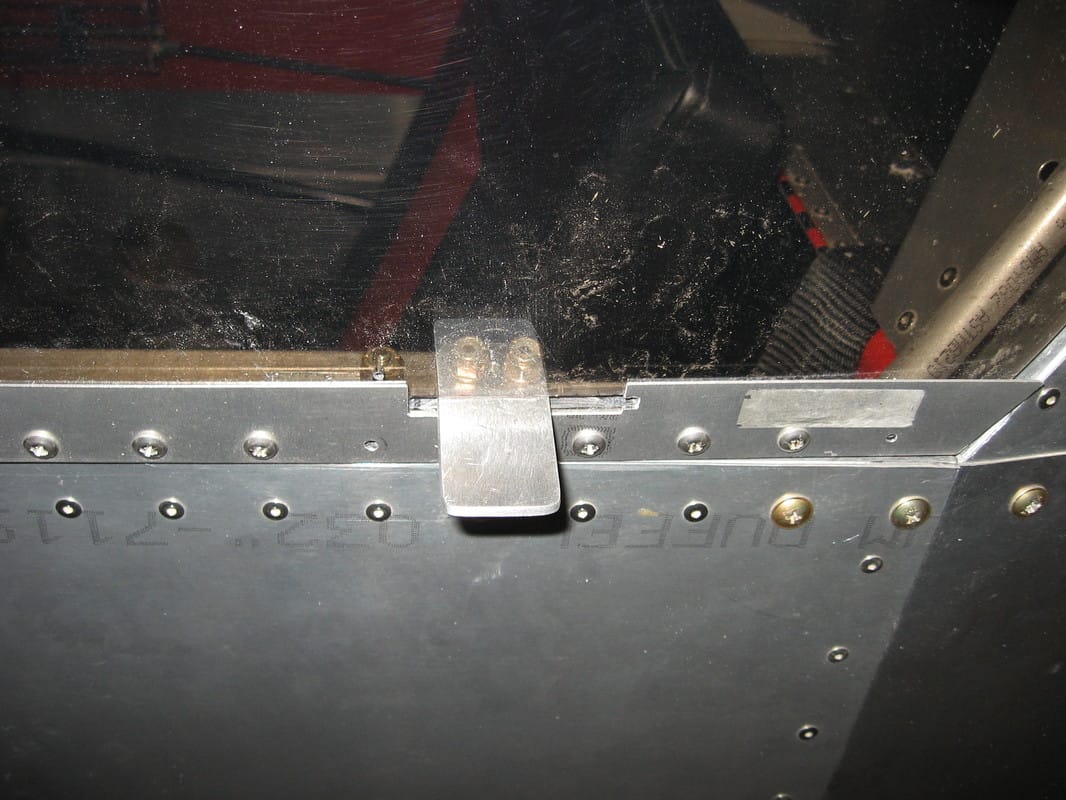
Top right-As per plans drilled for sliding mechanism and drilled locating hole in unlocked position and tapped hole for cut down bolt pin
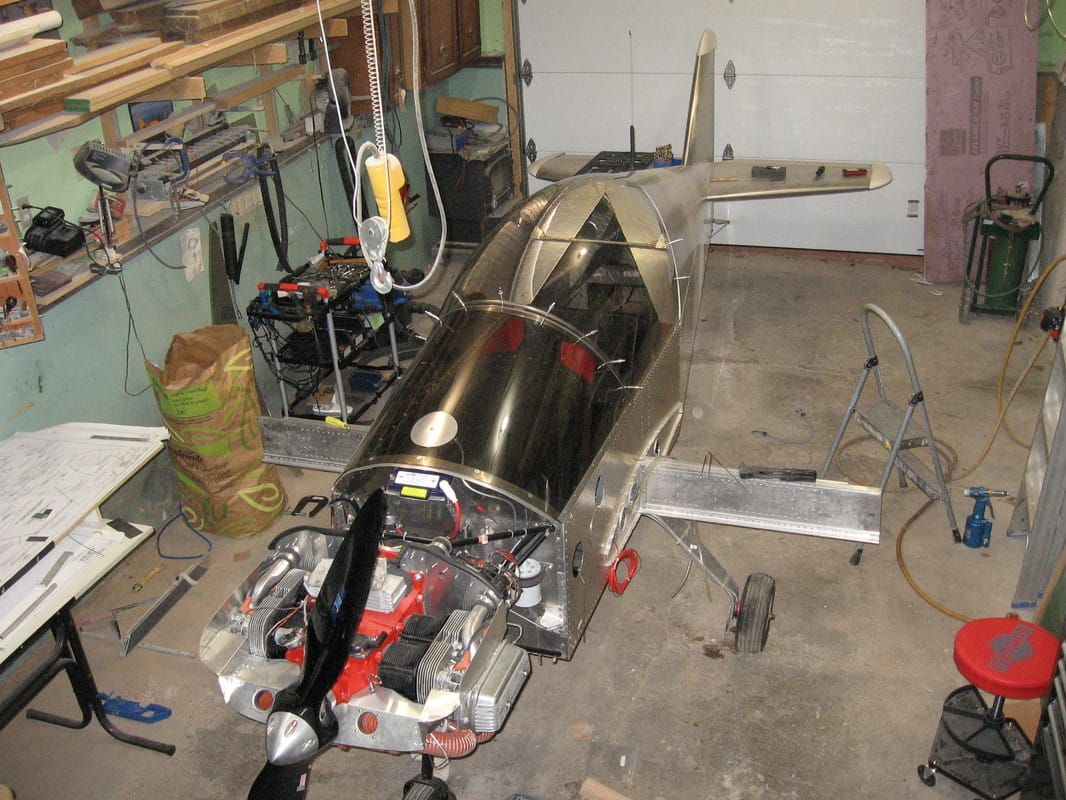
Bottom middle and bottom right- Used canopy cutoffs to temporarily secure canopy frame to hinge
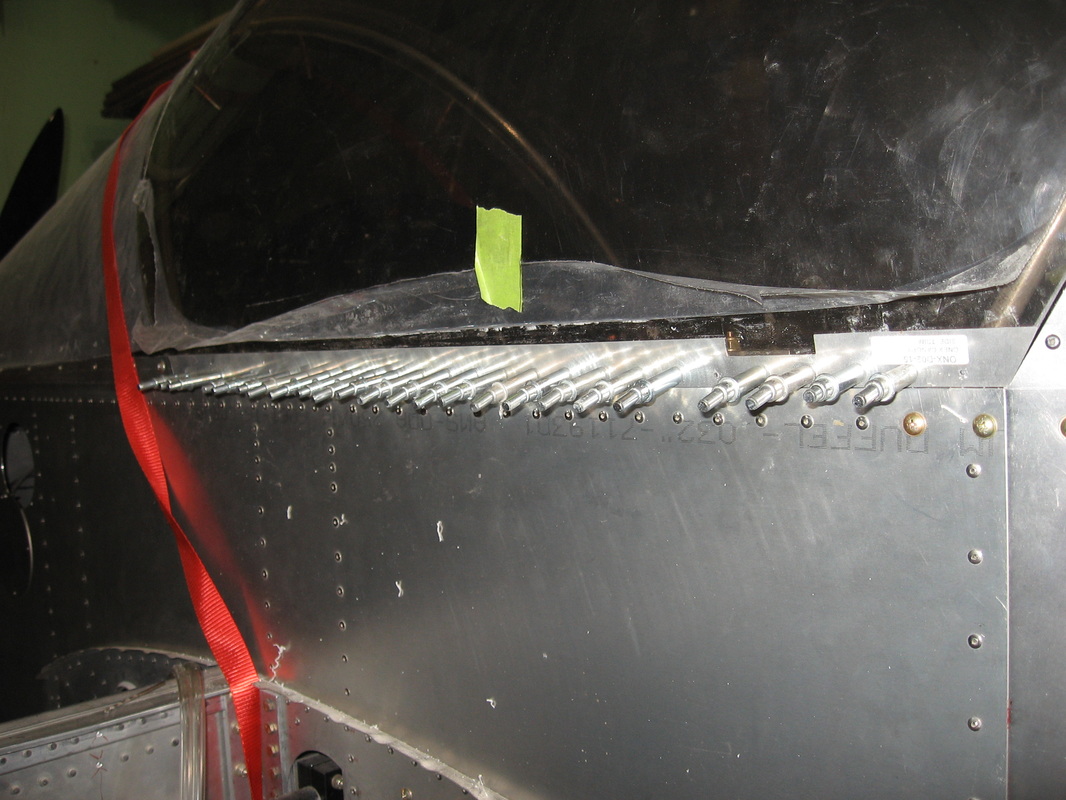
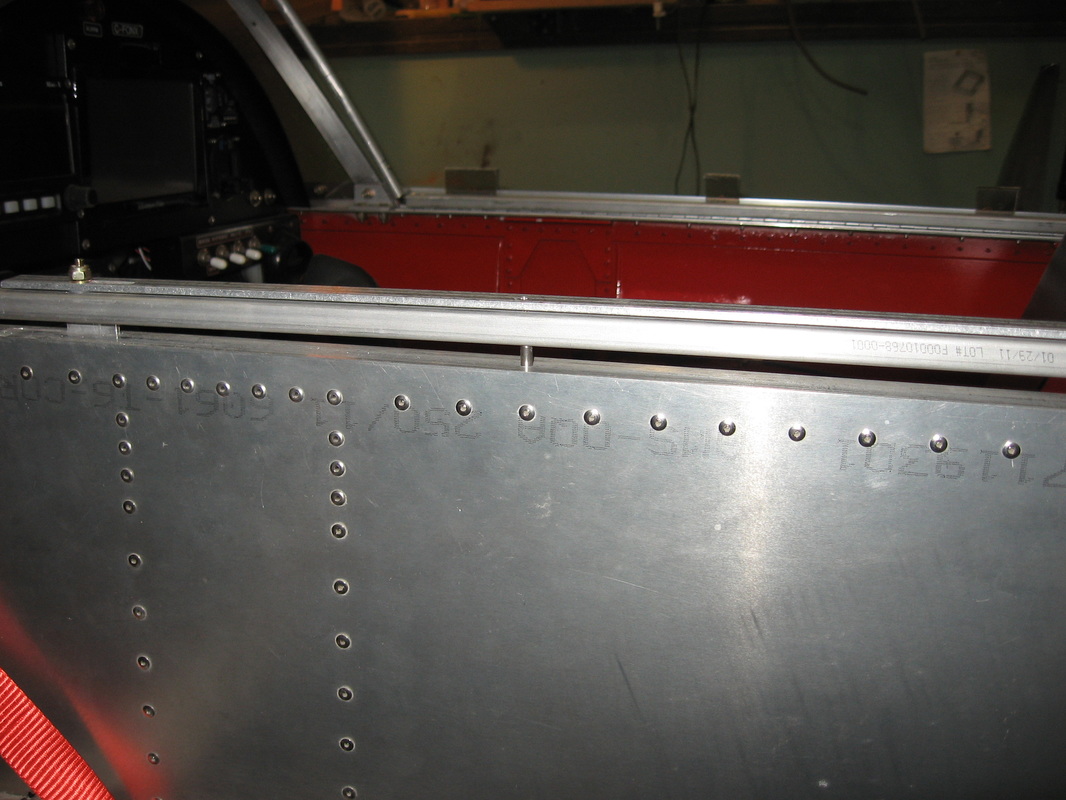
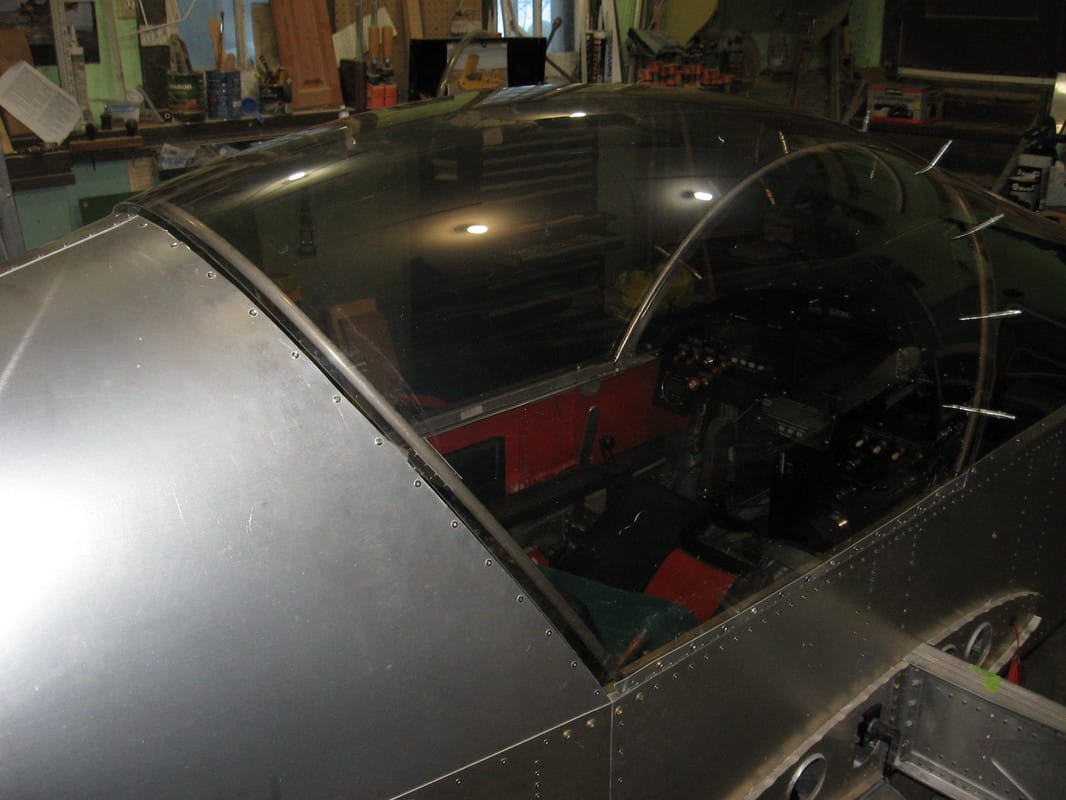
Top middle-Started to attach canopy to frame starting on the lower left side and will work up the bows ,over the top and down the other side and secure the bottom right last.This way any final trimming will be done on lower right canopy.
Please note,this is how I , am doing it. There are more than likely better ways to do it but this is working so far for me.
Top right-As per plans drilled for sliding mechanism and drilled locating hole in unlocked position and tapped hole for cut down bolt pin
Bottom middle and bottom right- Used canopy cutoffs to temporarily secure canopy frame to hinge
Top middle-Started to attach canopy to frame starting on the lower left side and will work up the bows ,over the top and down the other side and secure the bottom right last.This way any final trimming will be done on lower right canopy.
Please note,this is how I , am doing it. There are more than likely better ways to do it but this is working so far for me.


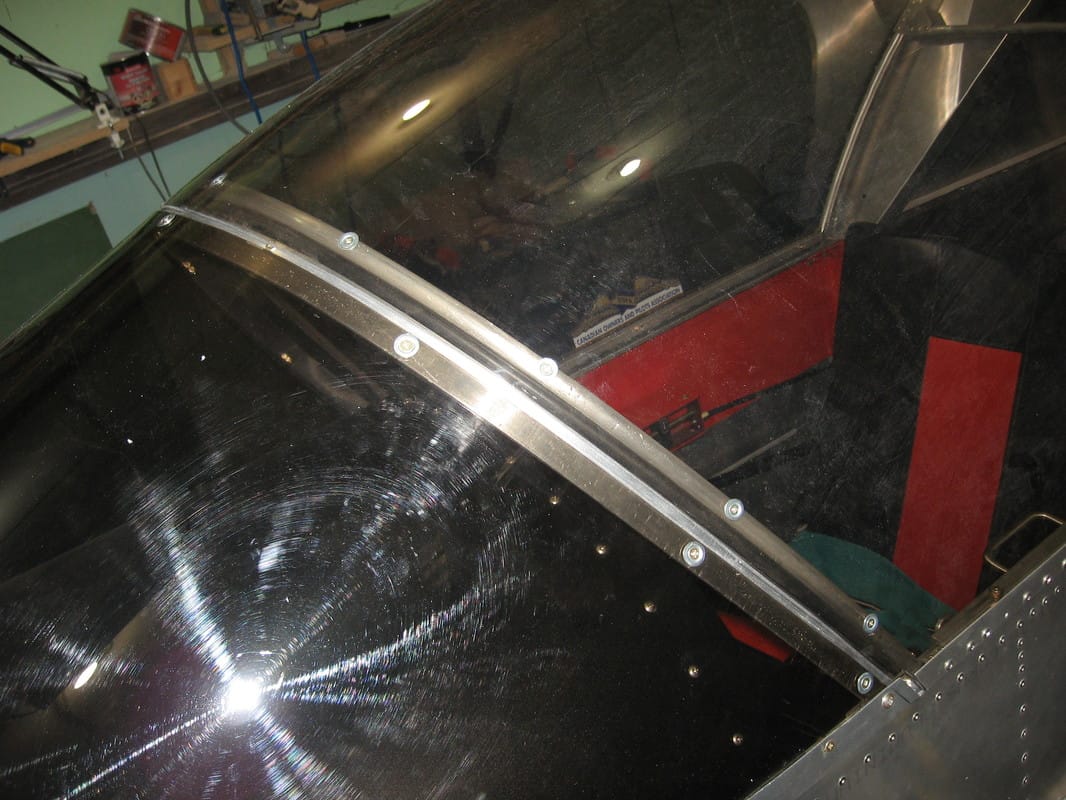
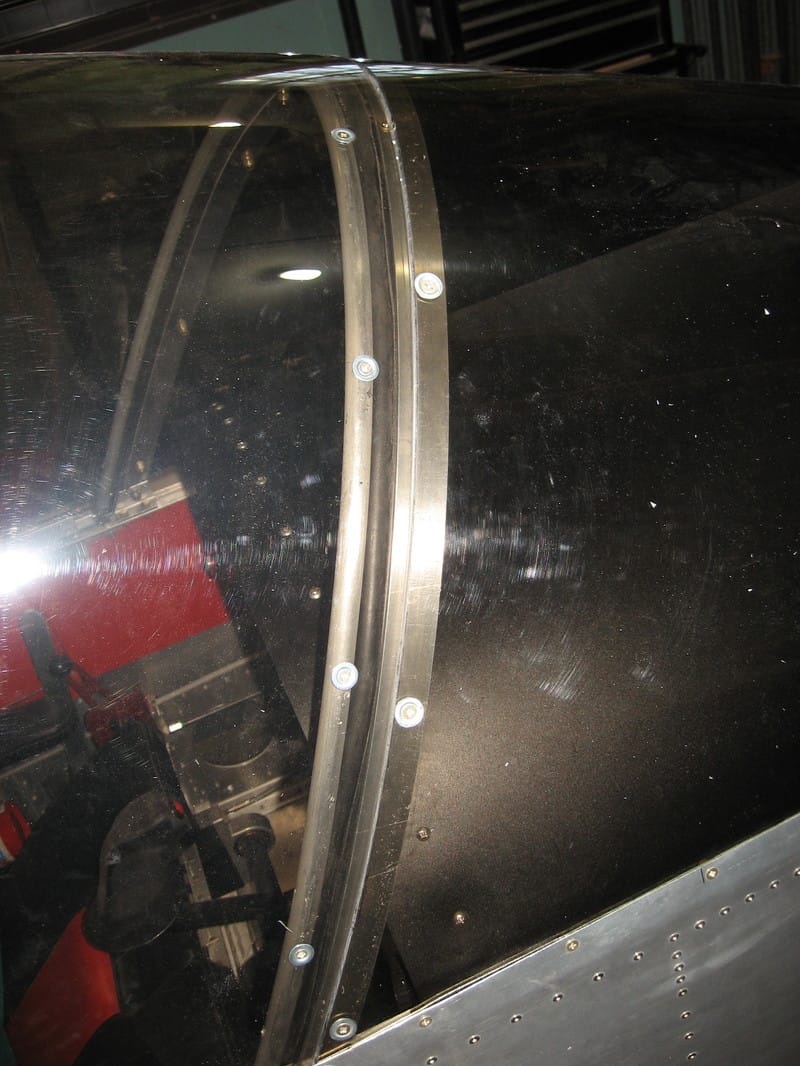
Rubber Seal
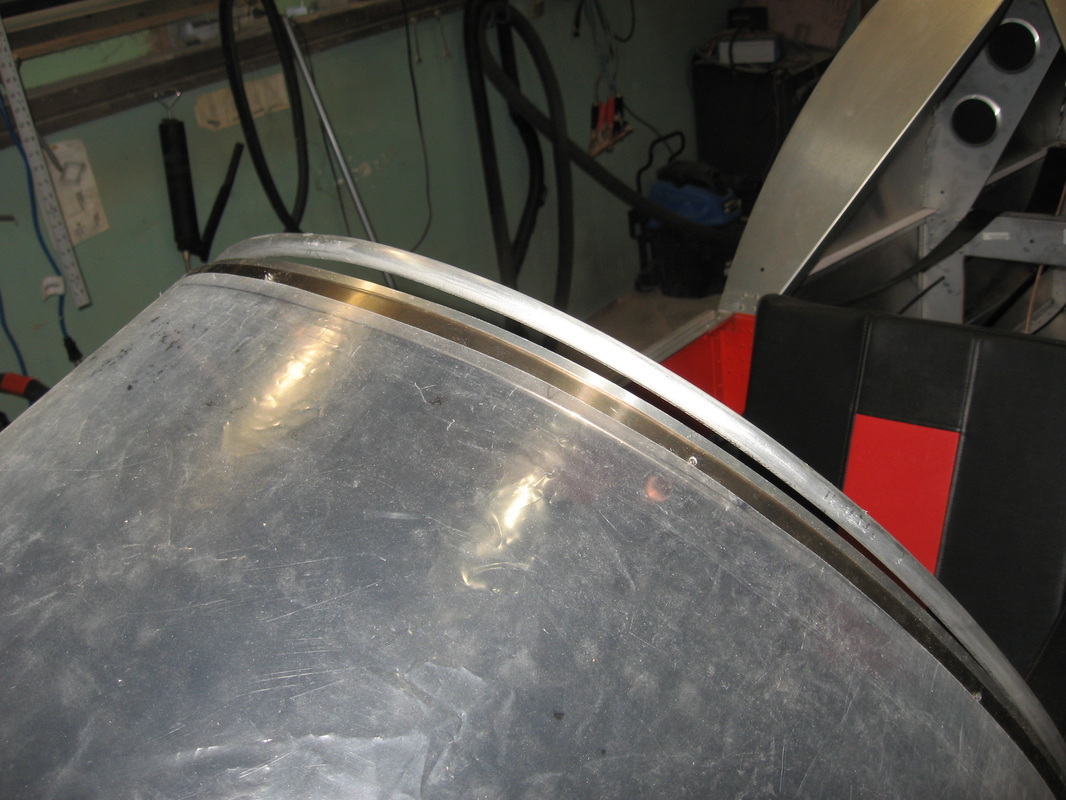
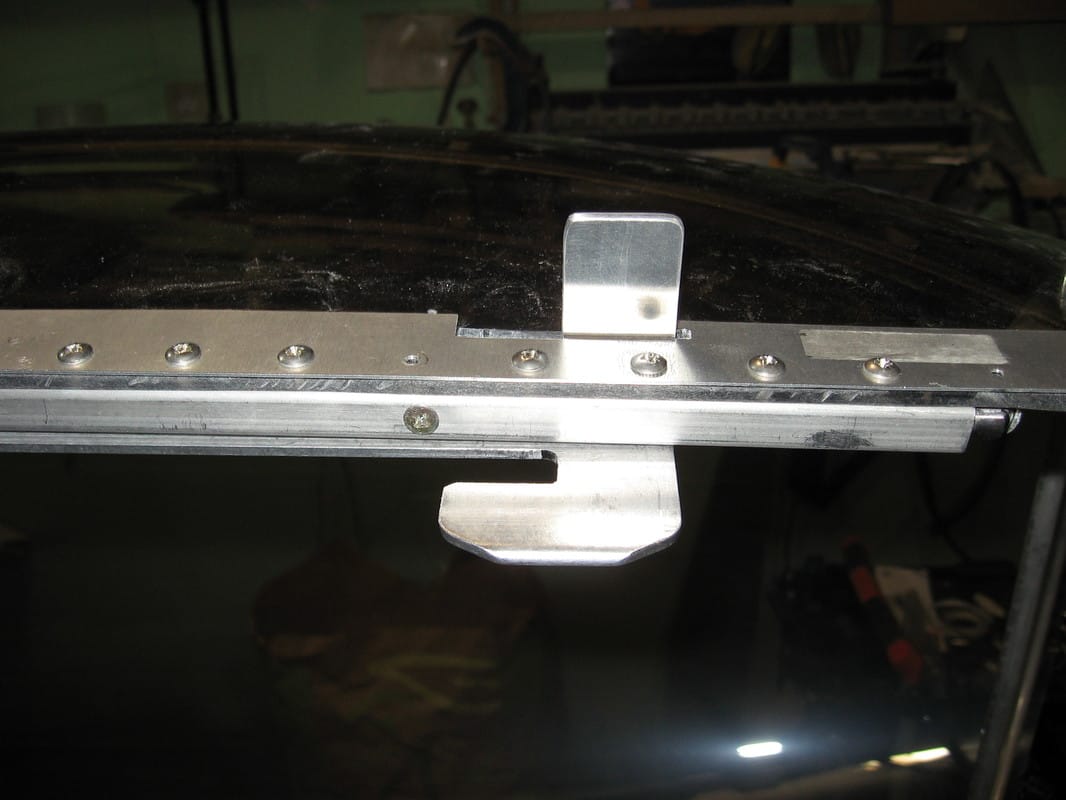
I was not entirely happy with the fit around the front bow and I could see future problems with wind noise and rain getting in so i added a rubber seal which has effectively closed all gaps and I don't think any water will enter either.the rubber used is left over from the baffle seal.
I simply added an 7/8" wide aluminum strip under the bow strap to hold the rubber firmly in place.
Have since removed said rubber seal. It was causing issues with closing and latching.