
Horizontal Stab Assembly
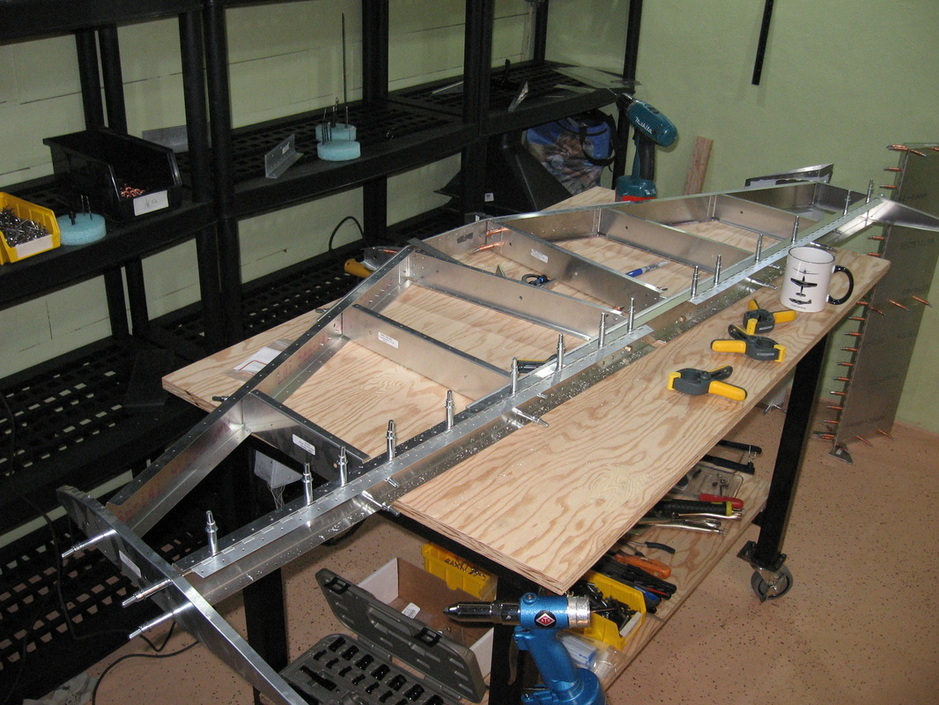
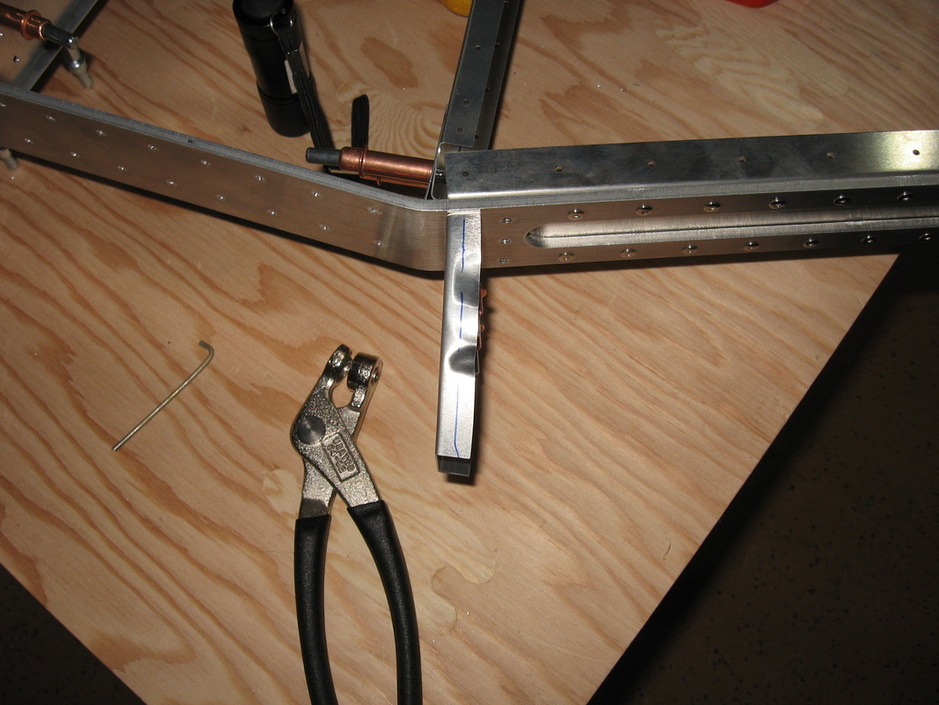
Joining the Aft and Forward spars.After clecoing the ribs to the spars I mounted the hinges for the elevators.Don't rivet anything
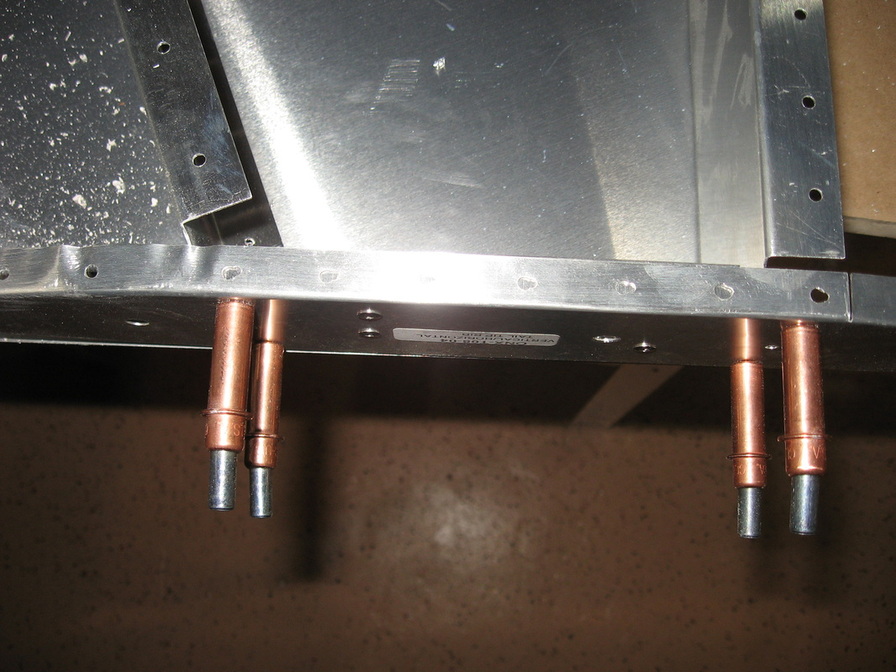
Hinge
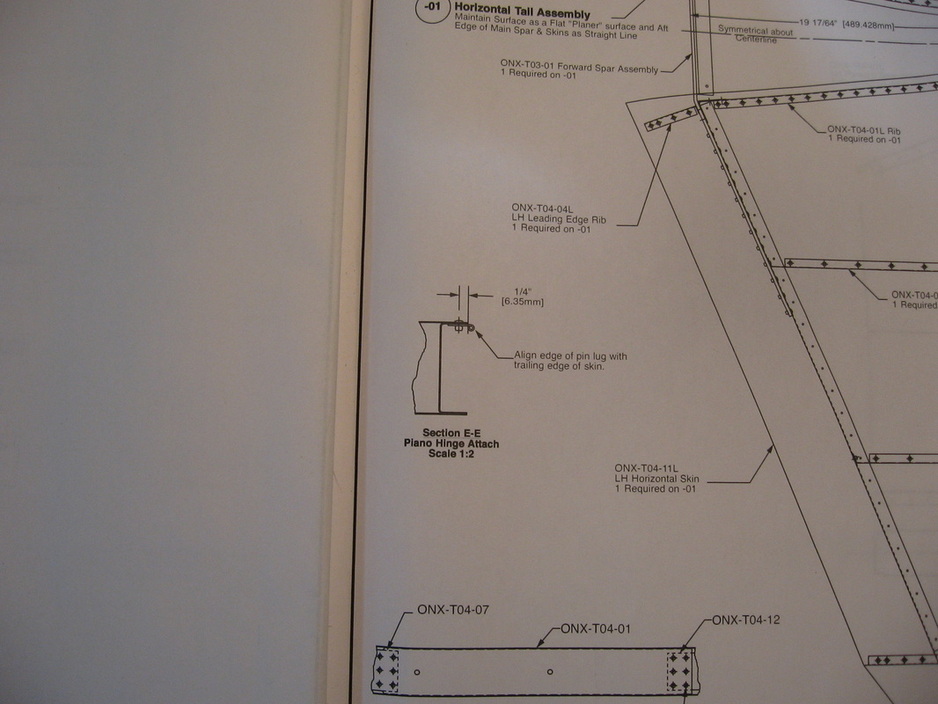
On the plans it says to Align edge of pin lug with trailing edge of skin
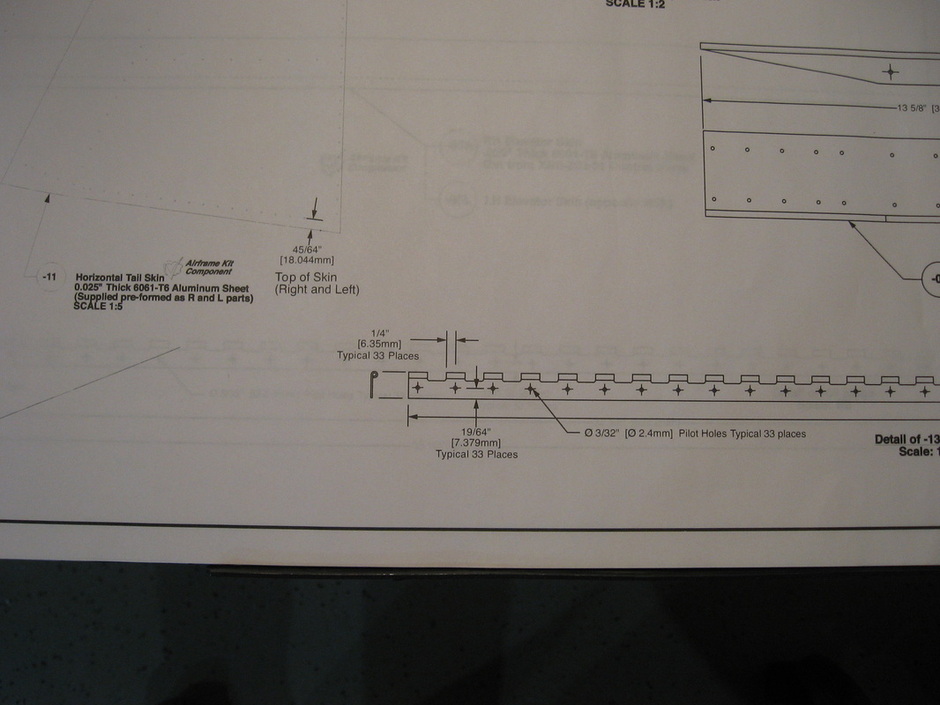
The holes must be 19/64 from edge shown
Using the same tool and method I used for the other half of the hinge ,I set the pin here to 19/64 and made a scratch line at each lug location.(I will use scotch brite to polish these scratches out so as not to leave any stress risers)This way when you put the hinge under the channel it is easy to center the scratch in the middle of the holes in the channel.
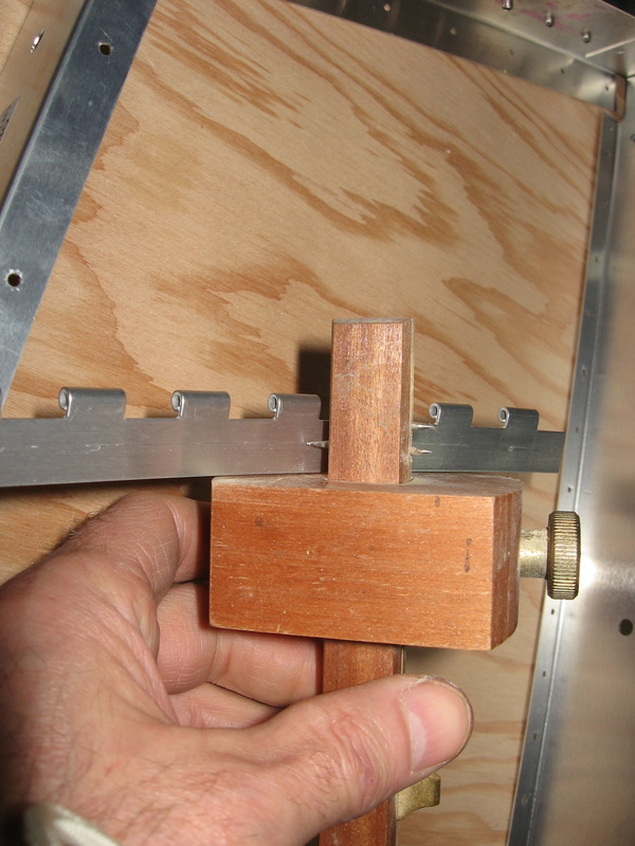
I mounted the other half of the hinge with the rod in place to assure a bind free swing of the hinge before drilling through the hinge.All of this should result in a hinge that is perfectly perpendicular to the Aft channel and the hinge does swing perfectly freely with no binding.
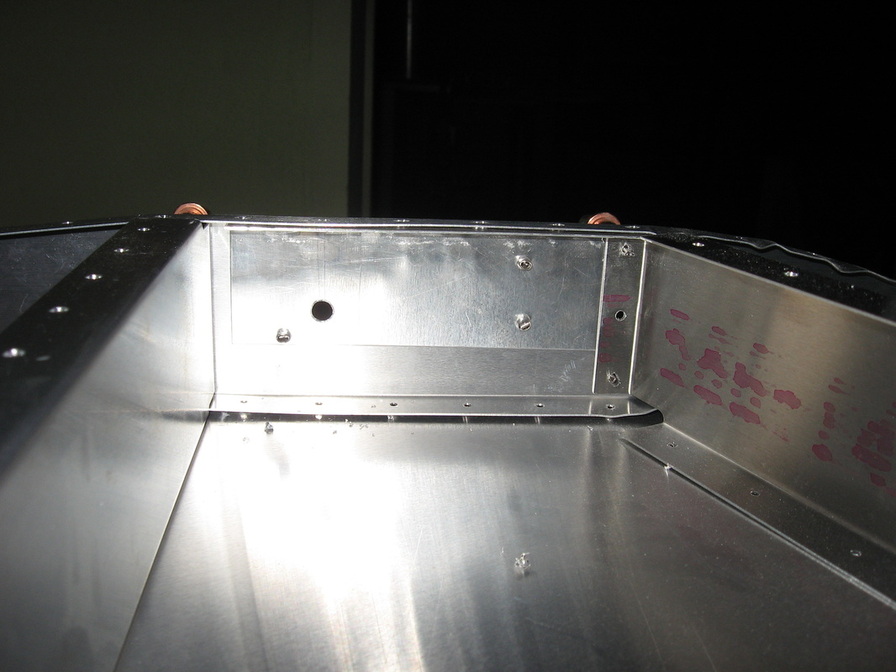
Reminder.Don't forget to draw a line on these ribs so you can locate them once the skin goes over.
Putting the skins on
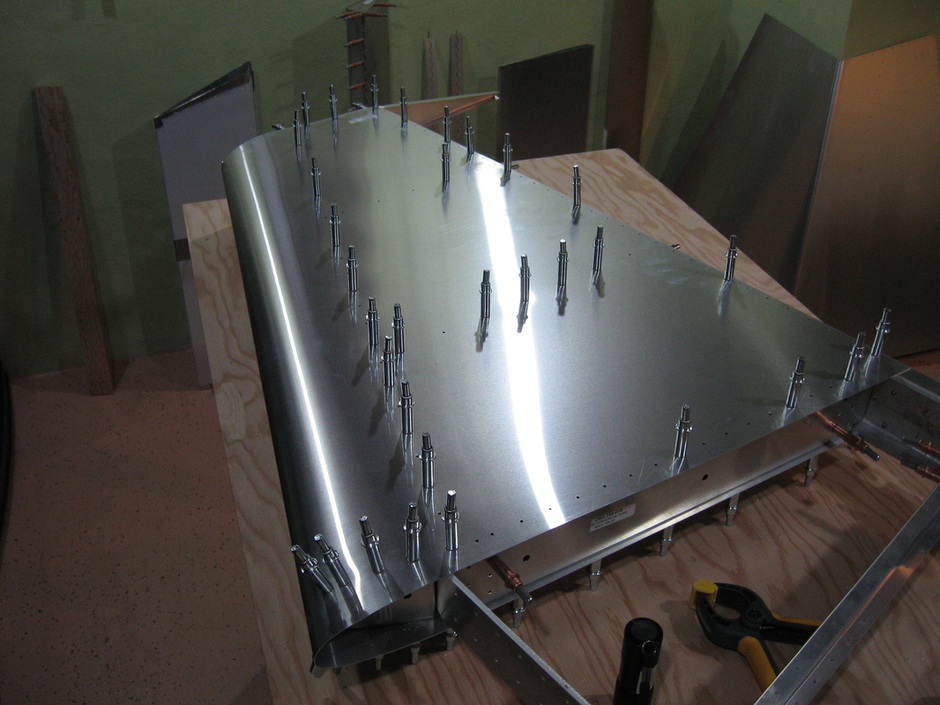
As with the Vertical Stab all the holes lined up beautifully because I didn't rivet any ribs in place (It would make it too rigid and you will wind up with smilies across the skin surface as you try to force the clecos into the holes.Granted you might get lucky and all your ribs will be in the right place but I would not count on it)
Tip Rib Modification
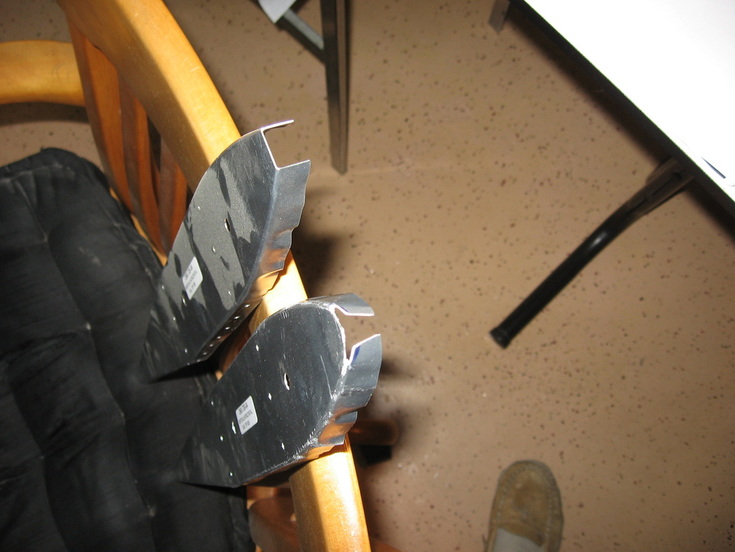
After the skin was clecoed in place I tried to get the fibergass tip in place and It was impossible.The rib on the left is how they come and that wide top end would not allow the fiberglass to slide in place.The rib on the right is after my modification.I took it over to my grinding wheel and shaved of those corners which allowed me to bend the ends in as you see them.The fiberglass tip now fits with very little effort
The result? The high corners are no longer in the way
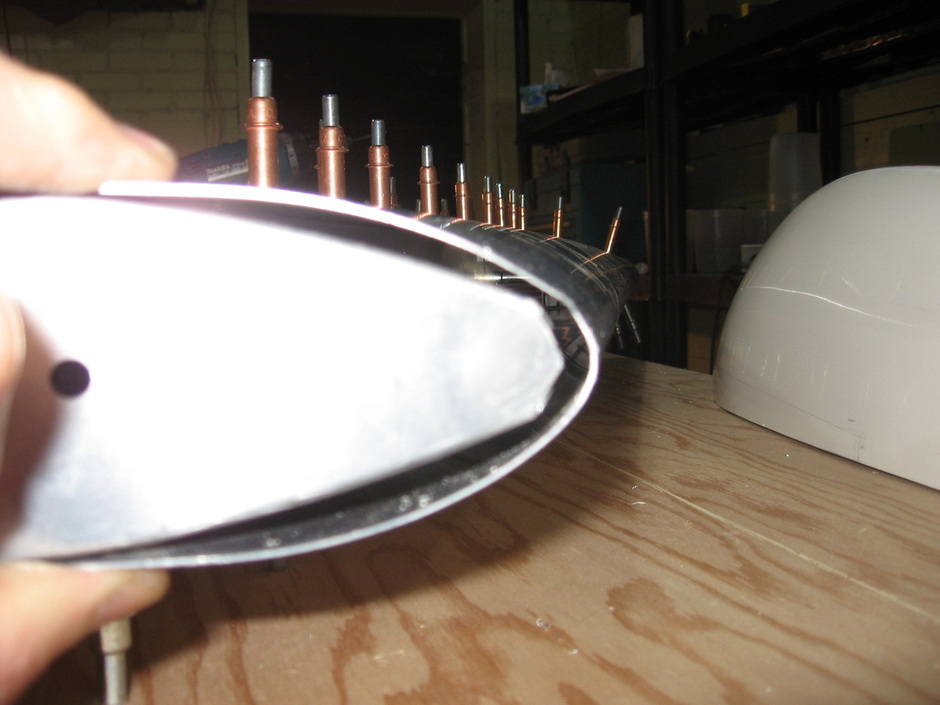
drilling for the fiberglass tips
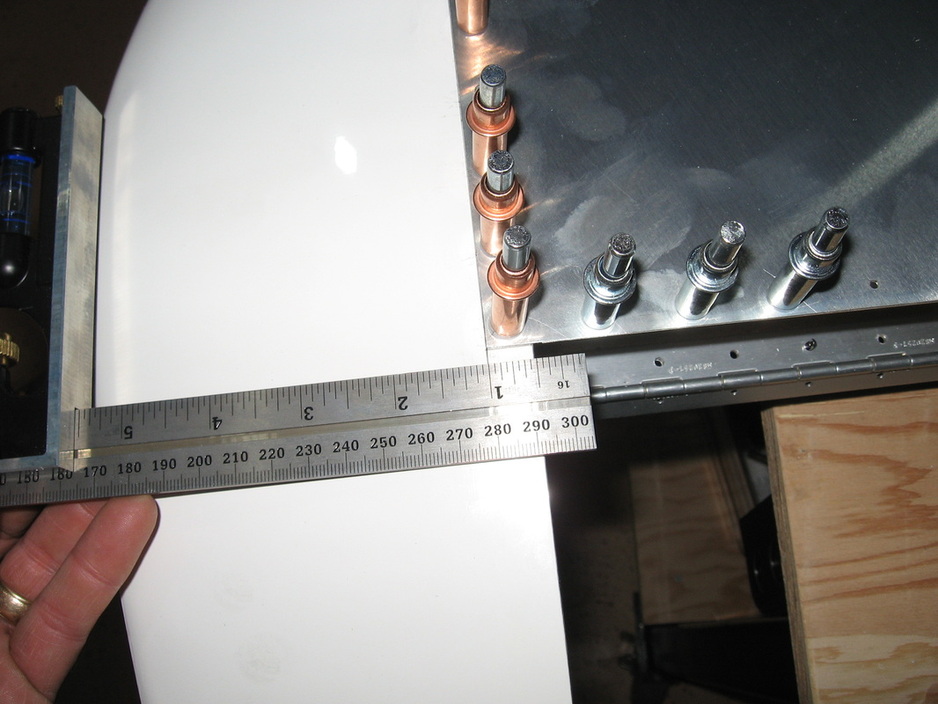
Two things I think are important .1) it sits under the skin exactly 1/2" as per the plans and.....
2) it sits square to the aft spar channel
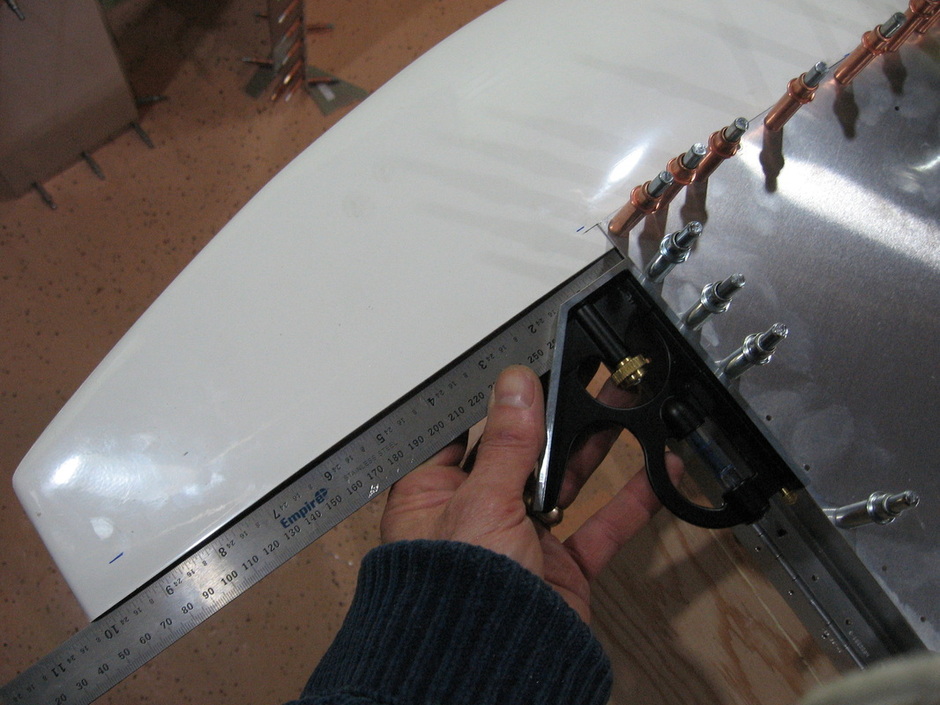
I drew a line 1/2" from the edge of the tip and lined it up with the edge of the skin and up drilled to #31 drill bit
Maintaining the 1/2" from front to back

Please note that the stab side hinge is wrong.It should end in a lug like the elevator half .See below
Skinning the left side
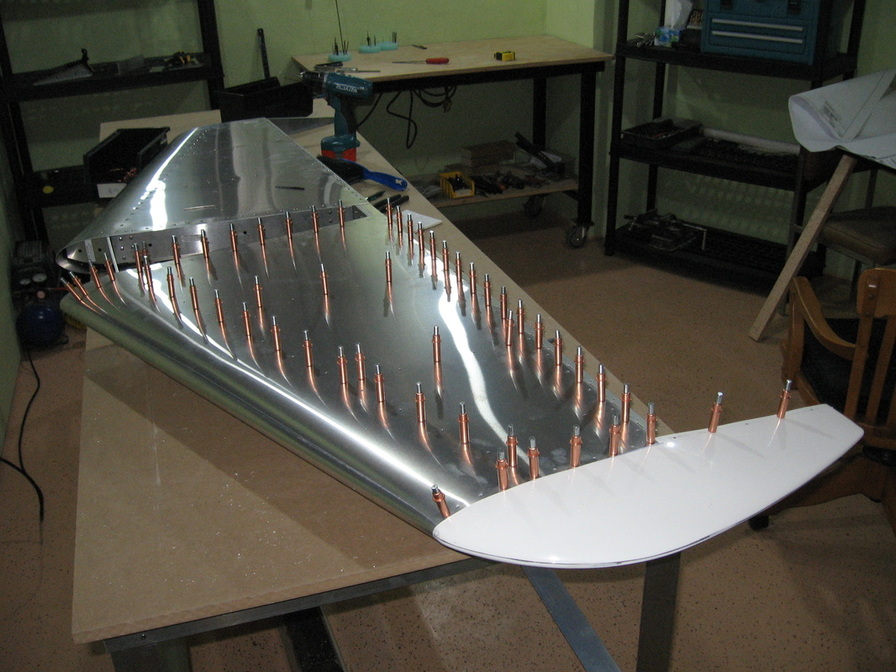
I clecoed the skin both sides then removed the tip rib and ground it like the right side .Attached the fiberglass tip and up drilled from #40 to #31 to #30 as I did with one whole side shown .The hinge was also clecoed in place and up drilled.I then removed all clecoes so all the holes on this side could be deburred.
I then discovered a problem with the drilled holes into the tip rib as can be seen in the next photo.
I then discovered a problem with the drilled holes into the tip rib as can be seen in the next photo.
Elongated holes in the tip rib
Even though all the holes lined up on all the other ribs and channels for some reason when I drilled through the skin into the fiberglass tip ,it did not line up with the pre punched holes in the tip rib so I wound up with elongated holes.I don't know what could have prevented this as both the holes in the skin and the tip rib are pre punched from the factory.In my opinion the tip rib should not come pre punched as once you put the fiberglass tip in it is impossible to know if the holes are lined up. If the tip rib were not prepunched you would wind up with a clean fresh hole in the rib as the drill bit passes from the prepunched skin through the fibergass tip and into the rib,which would pretty well make it fool proof in my opinion.
My fix is next.
My fix is next.
Doubler
As can be seen I fasioned a doubler which I held in place by riveting it to the inside of the rib.You can see where it is bent 90 * at the top so that I can now drill through the blank doubler from the skin down and wind up with a clean hole in the doubler for the rivet to grab onto securely.I think I will have to add this to one side on the right tip rib also.
An oop's,I can't believe I did that!(hoping to make all my mistakes on the tail kit only :)
So far no one else has made this mistake or at least not admitted it so I bare my mistake just in case anyone is tempted to go down the same wrong path I chose.
In the pic above the hinge half that is attached to the stab is supposed to end in a lug ,otherwise that empty hole on the skin 2 in from the edge should have a lug.Long story short I cut the hinge as it sat together to the 32 1/2" length which will give a lug on the ends of 1 side but not the other.The hinge should be cut with both halves apart and making sure each half has a lug on both ends(as is shown in the drawings)Then when you set the hinge back 45/64 from the edge of the elevator everything will line up as it should .The 2 hinge halves will actually be offset 1 lug.Same applies to the rudder ,each half must end in lugs .
This is obvious if you cut the hinge halves as per the drawings but I goofed.So now I will have to drill out the hinge on the stab and cut a new half on each side 32 1/2" long with a lug at both ends.Dad burn-it when will I learn to make exact copies of what is shown in the drawing :( At least now I will get the ailerons right.2 out of 5 woo hoo)
I ordered a new hinge from aircraft Spruce today.Luckily there fairly cheap.