Instrument Panel
Making the instrument panel removable by adding anchor nuts.
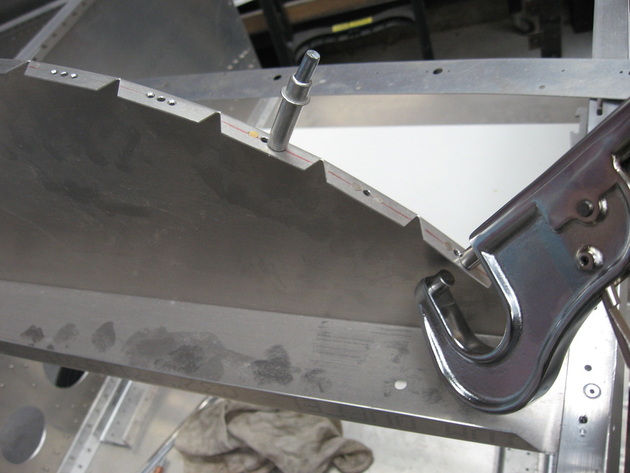
I was going to make the glare shield removable also but changed my mind.The Rivet squeezer is pretty simple to use
I was going to make the glare shield removable also but changed my mind.The Rivet squeezer is pretty simple to use
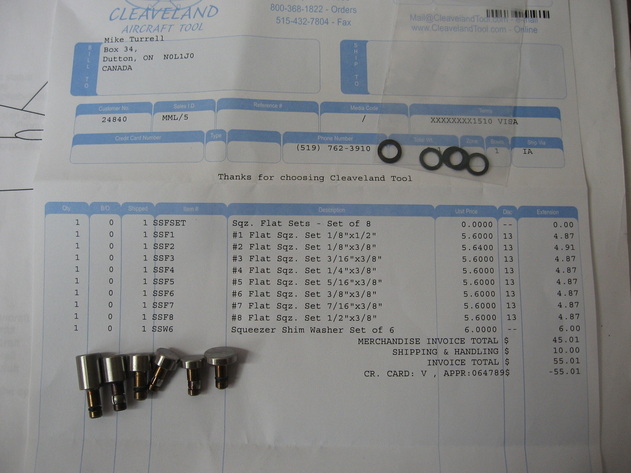
I ordered a complete set for the rivet squeezer from Cleveland Tools.Those are shims in the bag.The people at Cleveland Tools are great to work with ,more than willing to answer any questions you might have.
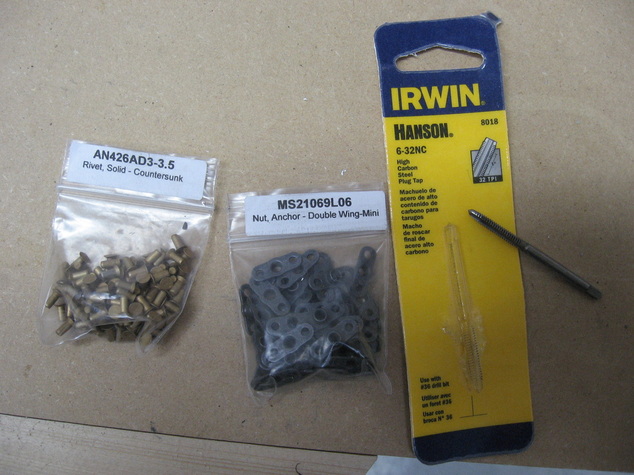
The Anchor nuts and rivets I used.
the tap is for running through all the nuts
as they are coated in whatever they apply to the nuts.That way I won't break any screws.
the tap is for running through all the nuts
as they are coated in whatever they apply to the nuts.That way I won't break any screws.
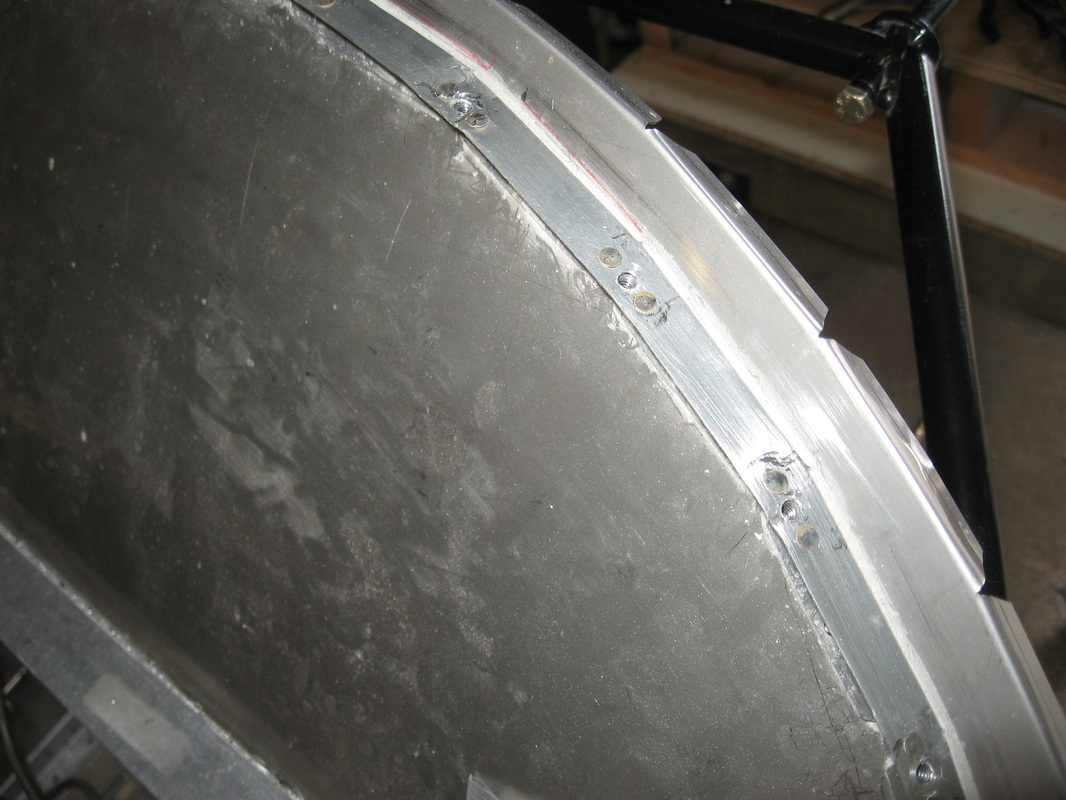
I changed my mind and decided to add anchor nuts to the entire glare shield.Go figure?
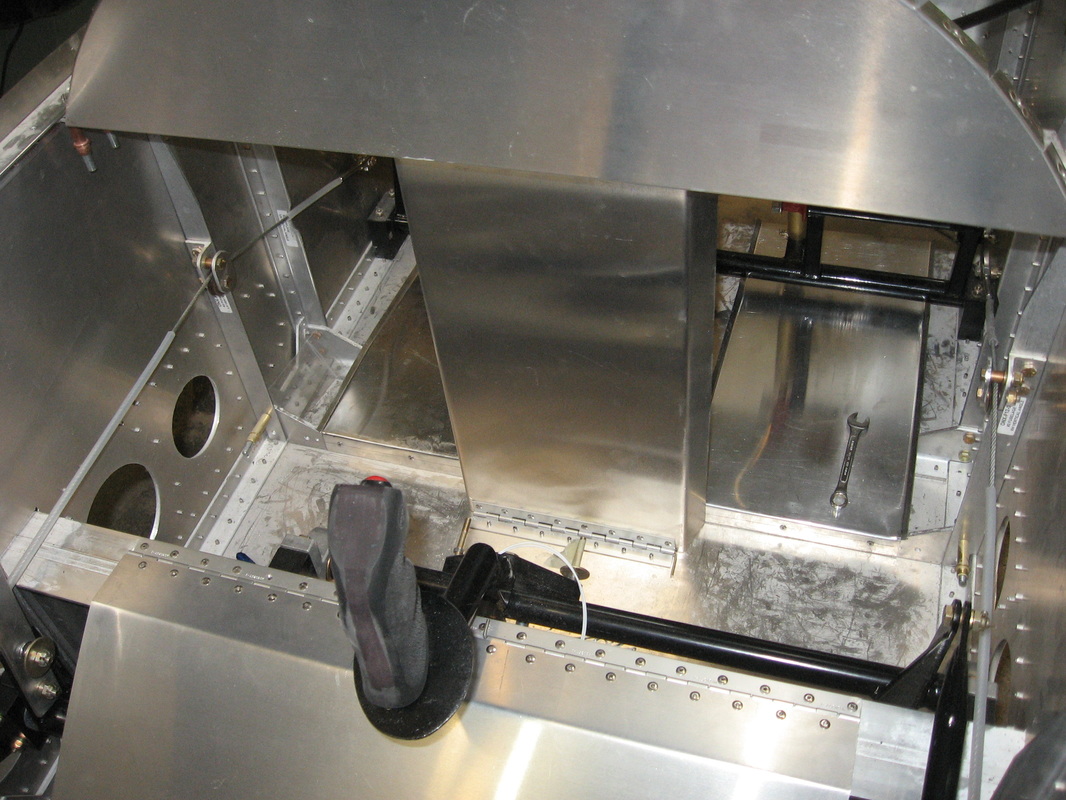
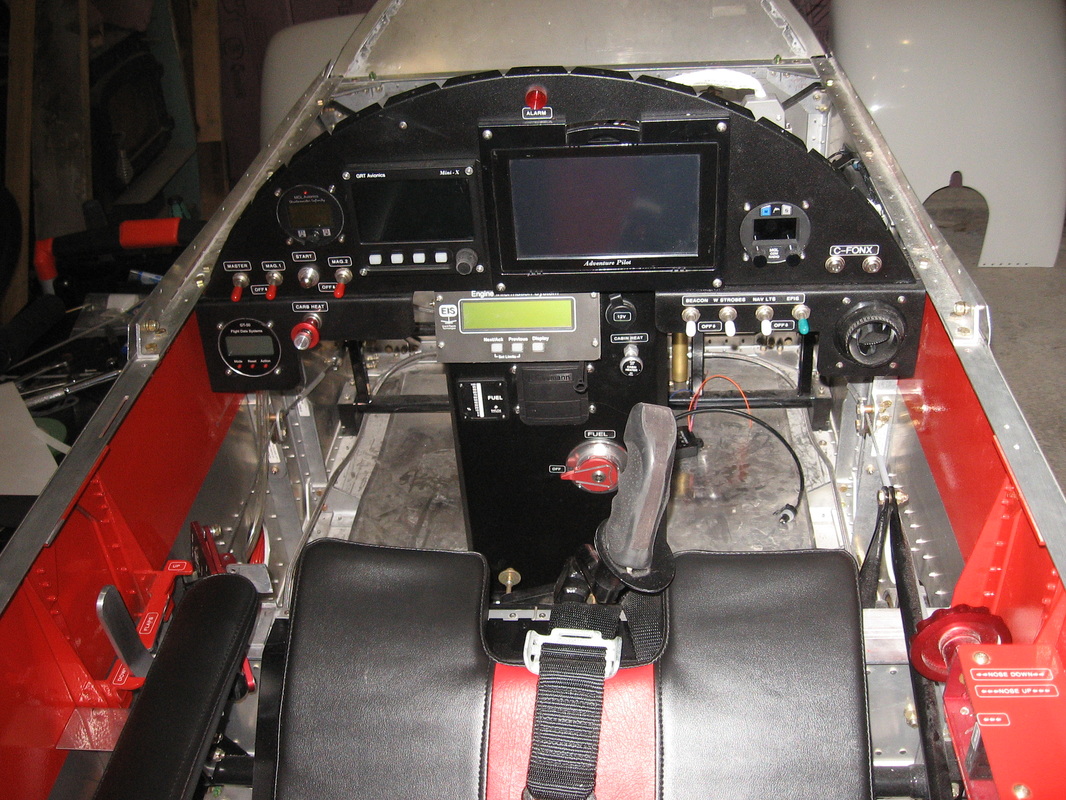
I needed the center panel to hold my fuel shut off and my Fuse Box but it will give me added space for other things also once I figure out my panel layout.
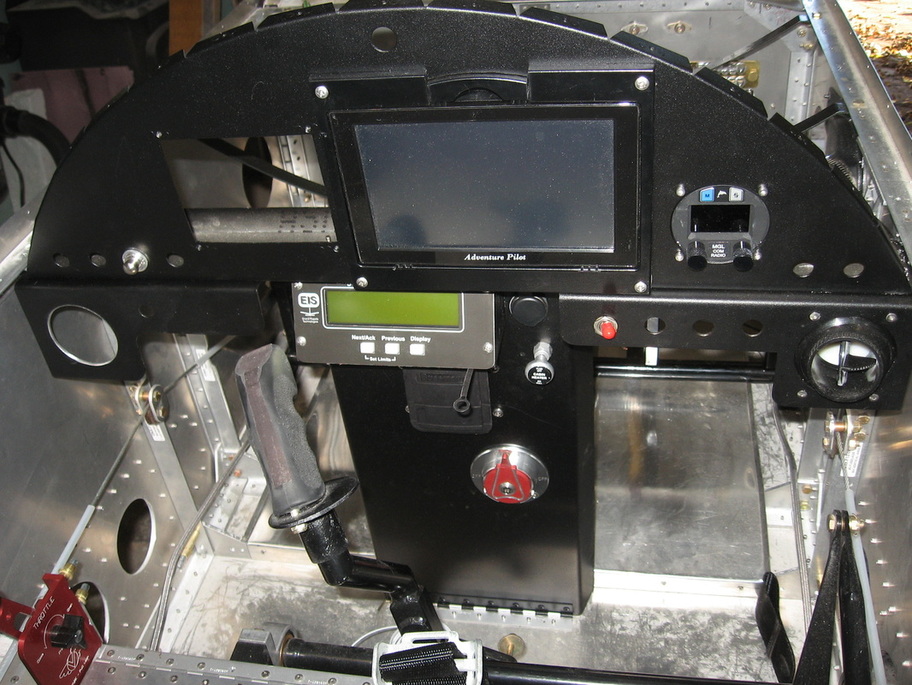
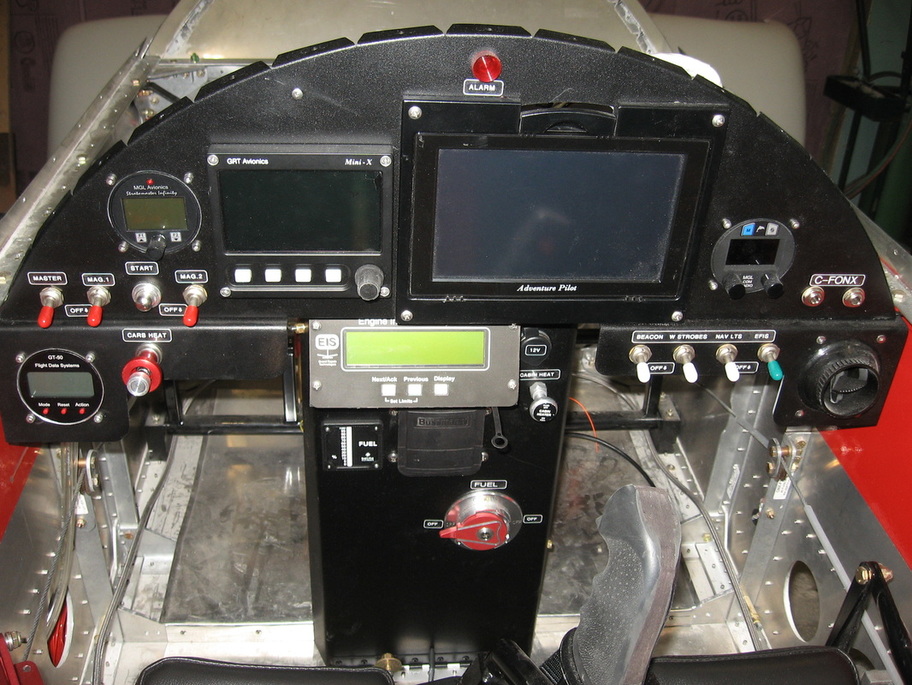
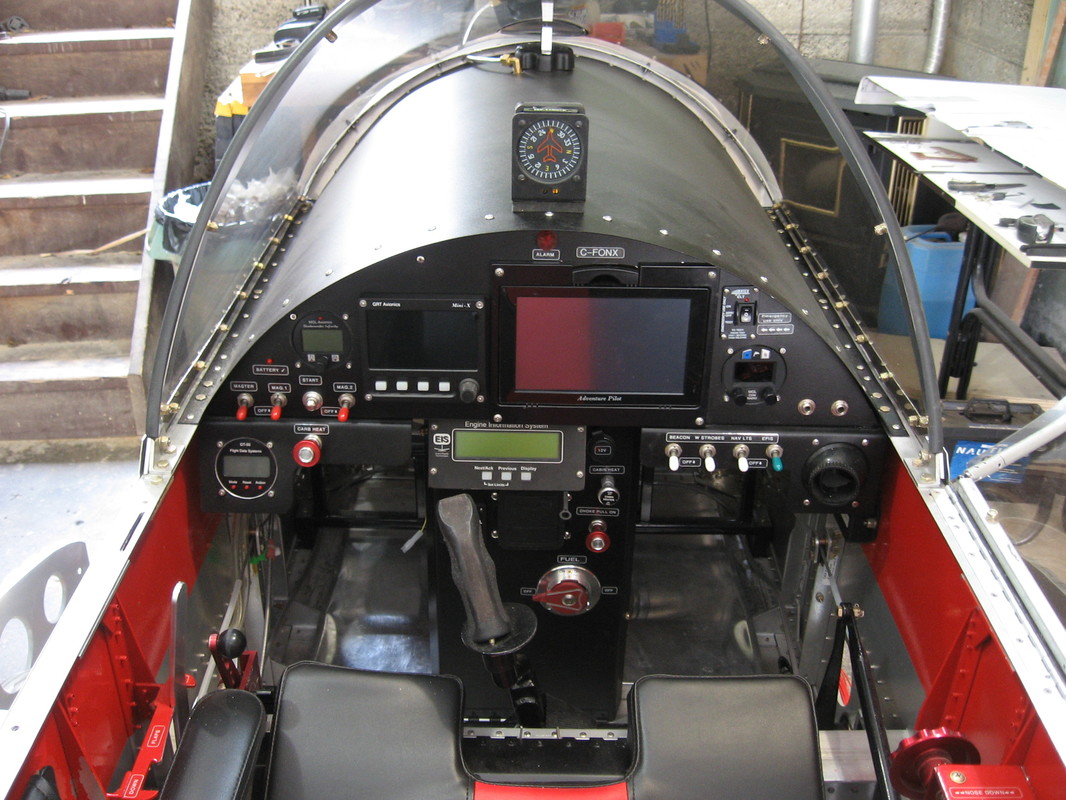
My Onex Instrument Panel
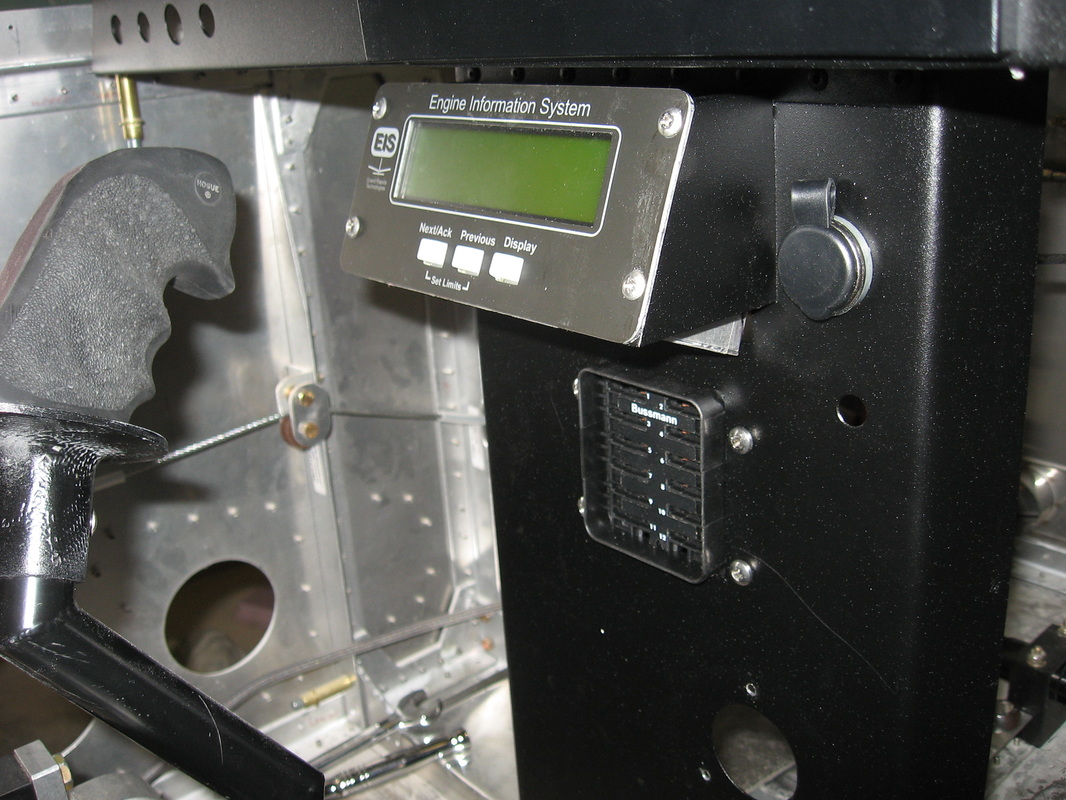
Grand Rapids Mini X with moving map and engine info page, iFly 740 GPS, MGL V6 radio, GRT EIS 4000, Bussman fuse box under it. Fuel selector below that.I had the panels powder coated.
I didn't plan my radio placement very well.The MGL V6 requires a 90* BNC fitting in order for it to fit in the Onex. I placed the radio about 3/4" to high and now the top of the harness hits the top of the glare shield so I have ordered a new panel and will start over.$17 us for a new panel plus shipping.
Ya got'a love kit building!
By the way I highly recommend the iFLY 740 GPS .I have had the 700 for about 4 years now and loved it .It's only shortcoming was the fact that it was not sunlight readable.The 740 is the most sunlight readable gps in the industry 1300nit.Tired of getting your Garmin instruction booklet out to figure out how to use it.Put it on e-bay and buy the 740.extremely intuitive,and no i don't work for, or benefit from the sale of the 740.It's just a darn good product.
https://ifly.adventurepilot.com/FEATURES.aspx
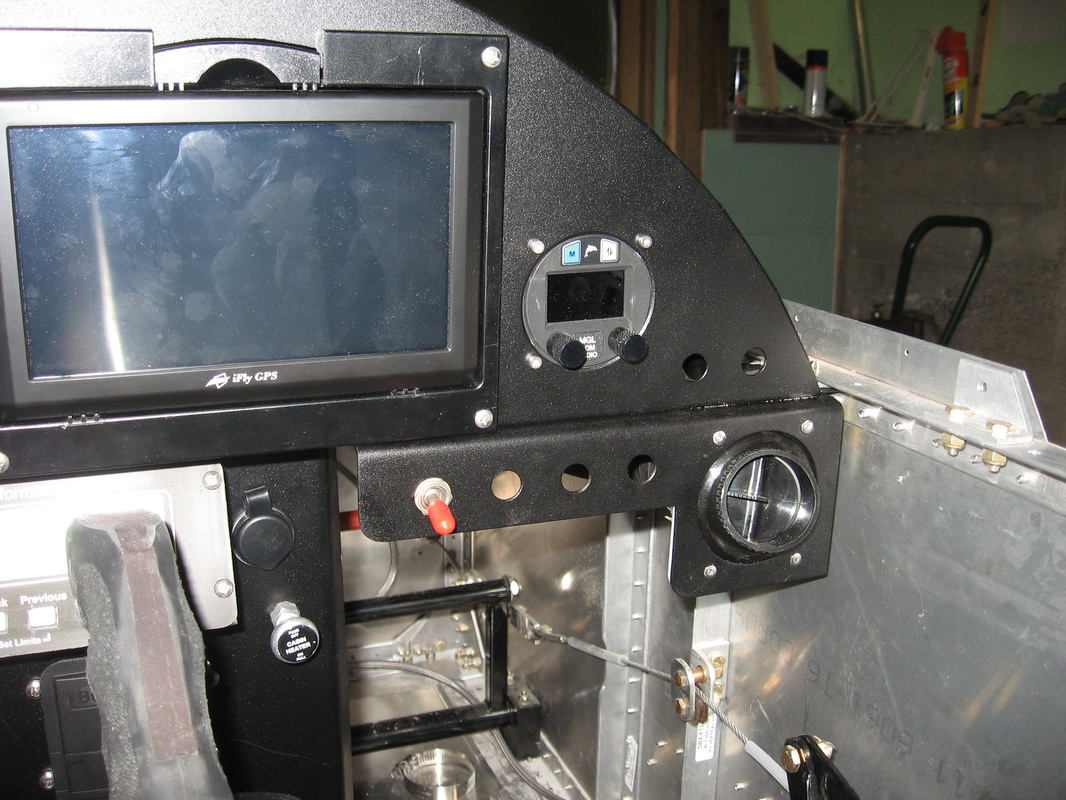
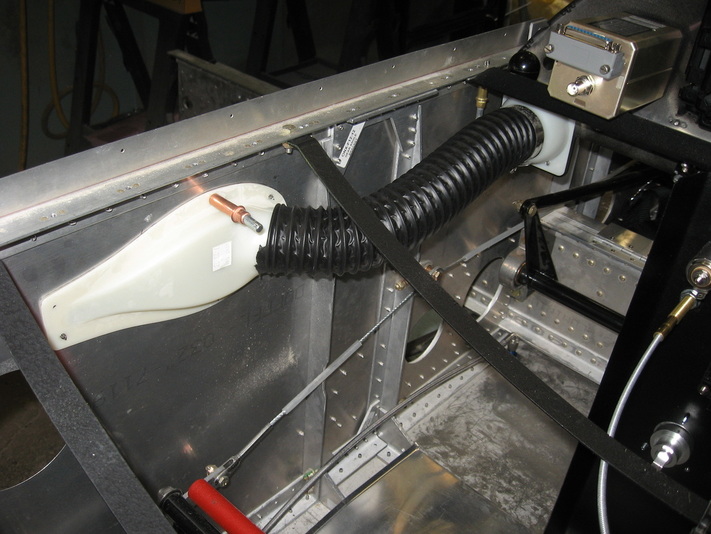
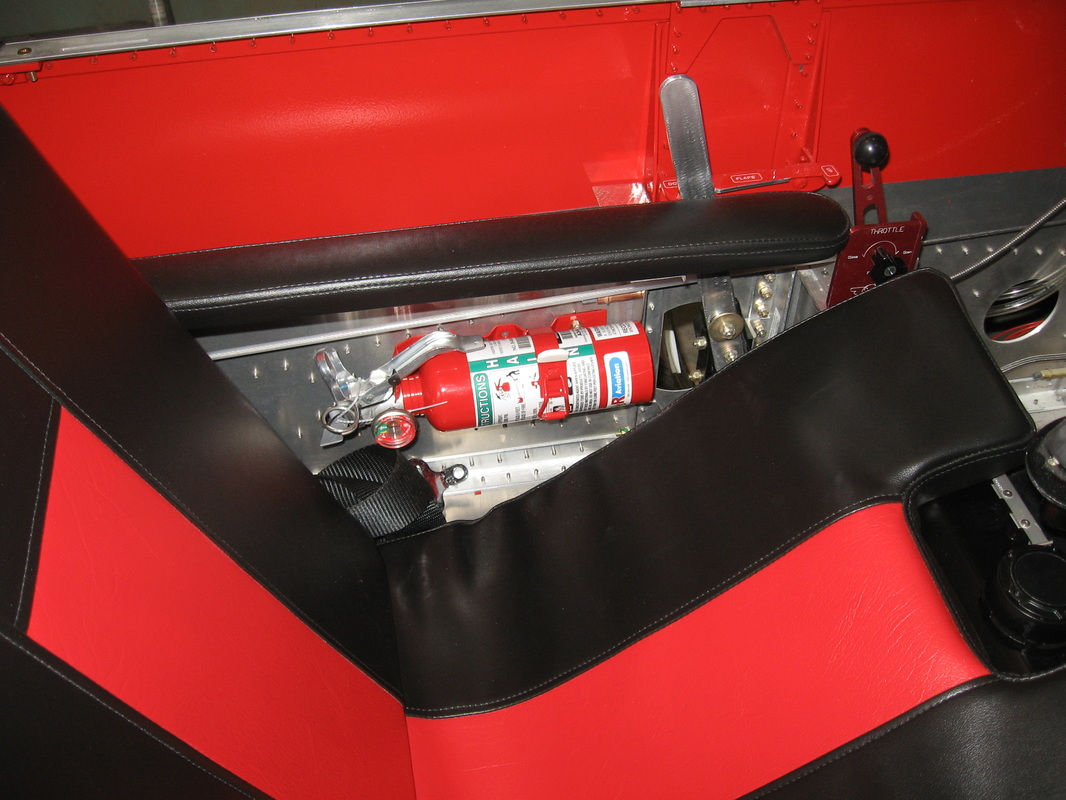
Fresh air vent added to sub panel and I needed room for more switches anyway.
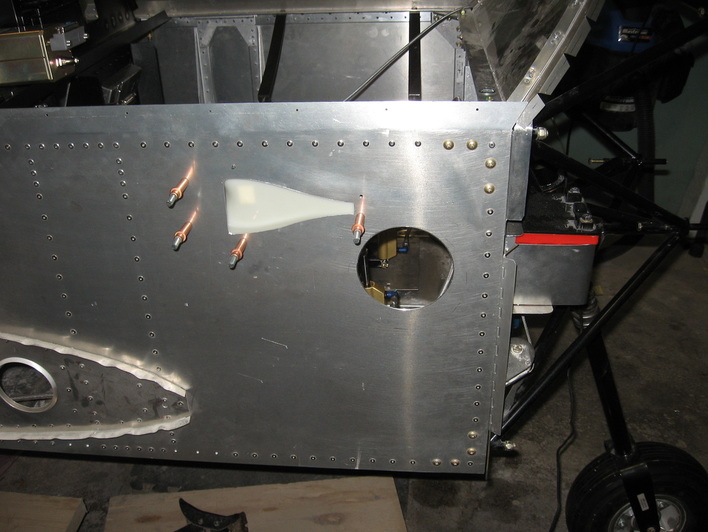
I added an inspection hole for access to the toe brake fittings & gas line fittings.