
Sonex Hydraulic Brakes and my own Toe Brakes
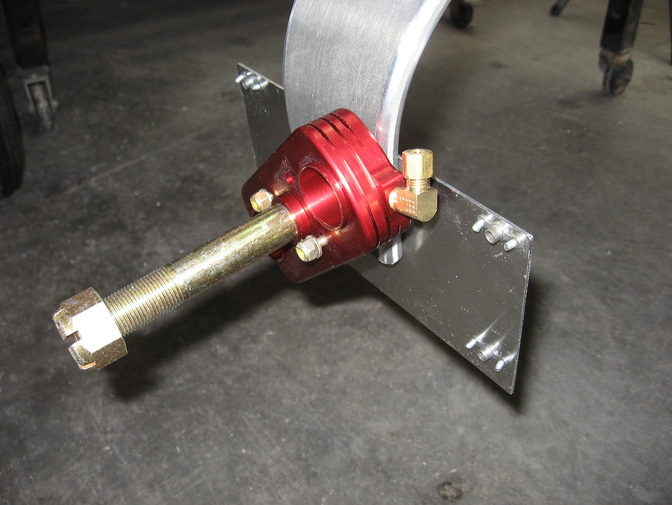
Really nice setup.The brakes come with a full page drawing.and a few pages of explanation.
To be continued
To be continued
A word about my decision to abandon the Onex stock hand brake/lever and design my own toe brakes.
If you have ever been to a congested airport and had to nimbly wind your way between other small planes and the odd 2 million dollar corporate jet you know that it is not the place for a hand brake that does nothing to help you manoeuvre but can only stop you before you hit that Citation.
Sonex will argue that their direct steering is all you need but nothing turns a tighter circle than pinning one wheel and pivoting on the spot.
I know the Sonex philosophy is keep it simple but I will argue that toe brakes are also simple and add a whole to meaning to the word manoeuvrable.I think Sonex gets on a track and can't see any reason to change.Given enough complaining they have changed other things such as introducing hydraulic brakes.Maybe they can eventually see the merit to abandoning their hand brake and introducing a safer and more user friendly toe brakes.Till then it's to thine own self be true.
Cheers
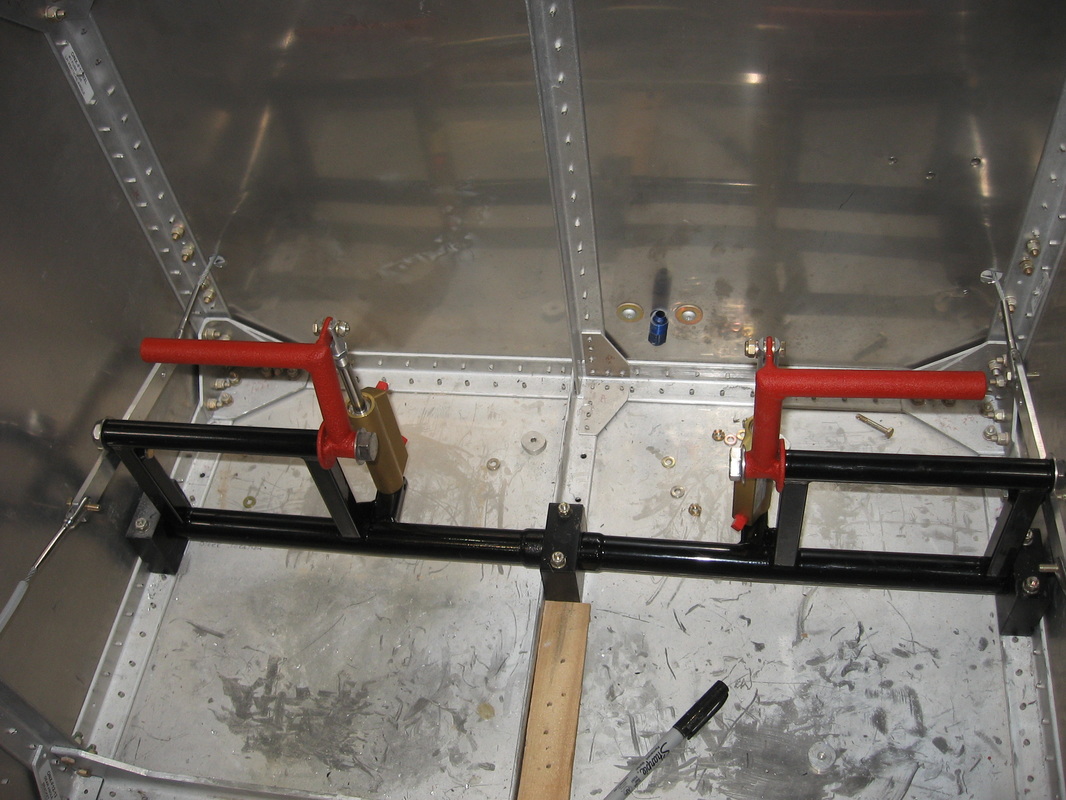
Toe Brakes
NOTICE
To those whom I sent my toe brake drawings please don't go ahead with the plans as I sent them .
After doing taxi tests I found the brakes totally inadequate.Basically the geometry is wrong as I have it laid out.
Go to Matco brakes and view there drawings on proper geometry.You can do one of 2 things
1- purchase Matco's shortest brake cylinder which is 2 1/2" shorter than the MC4 and plan your toe brakes using the geometry as shown on Matco's sight or
2-If you have already purchased the MC4 you will have to extend the rudder bar so that it can connect as shown in Matco's drawings ,which is what I'm doing.I should have the results by Nov 9th 2019 and I will post results and pic's.
Sorry to anyone who went ahead and used my original drawings.
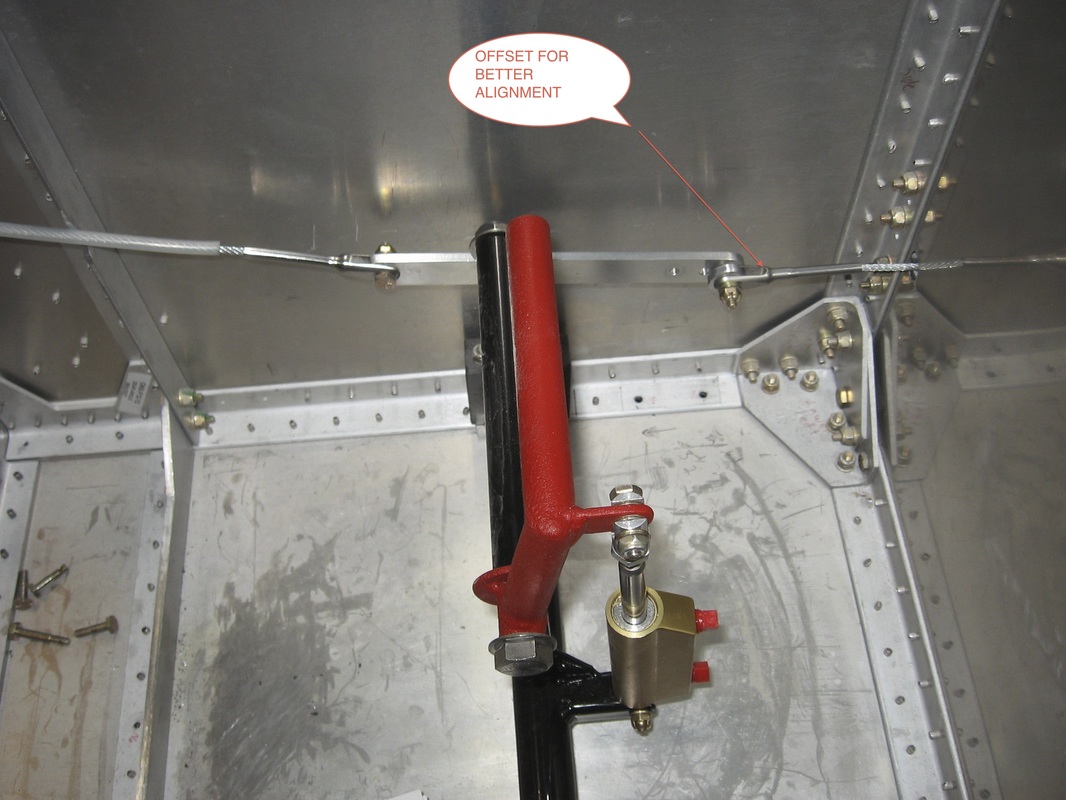
UPDATE
You can see in photo below how the ruer pedal was lengthened and the pivot at bottom was lowered to accommodate the master cylinder wit the toe brake pivot moved to bottom of to brake.
The result was a definite improvement .I can now hold up to 2000 RPM before it starts creeping.The geometry is now correct and i should be achieving about 650 psi at the top of cylinder.So my conclusion is that the Sonex 2 puck system is inadequate for the job.Just not enough surface contact.
To those whom I sent my toe brake drawings please don't go ahead with the plans as I sent them .
After doing taxi tests I found the brakes totally inadequate.Basically the geometry is wrong as I have it laid out.
Go to Matco brakes and view there drawings on proper geometry.You can do one of 2 things
1- purchase Matco's shortest brake cylinder which is 2 1/2" shorter than the MC4 and plan your toe brakes using the geometry as shown on Matco's sight or
2-If you have already purchased the MC4 you will have to extend the rudder bar so that it can connect as shown in Matco's drawings ,which is what I'm doing.I should have the results by Nov 9th 2019 and I will post results and pic's.
Sorry to anyone who went ahead and used my original drawings.
UPDATE
You can see in photo below how the ruer pedal was lengthened and the pivot at bottom was lowered to accommodate the master cylinder wit the toe brake pivot moved to bottom of to brake.
The result was a definite improvement .I can now hold up to 2000 RPM before it starts creeping.The geometry is now correct and i should be achieving about 650 psi at the top of cylinder.So my conclusion is that the Sonex 2 puck system is inadequate for the job.Just not enough surface contact.
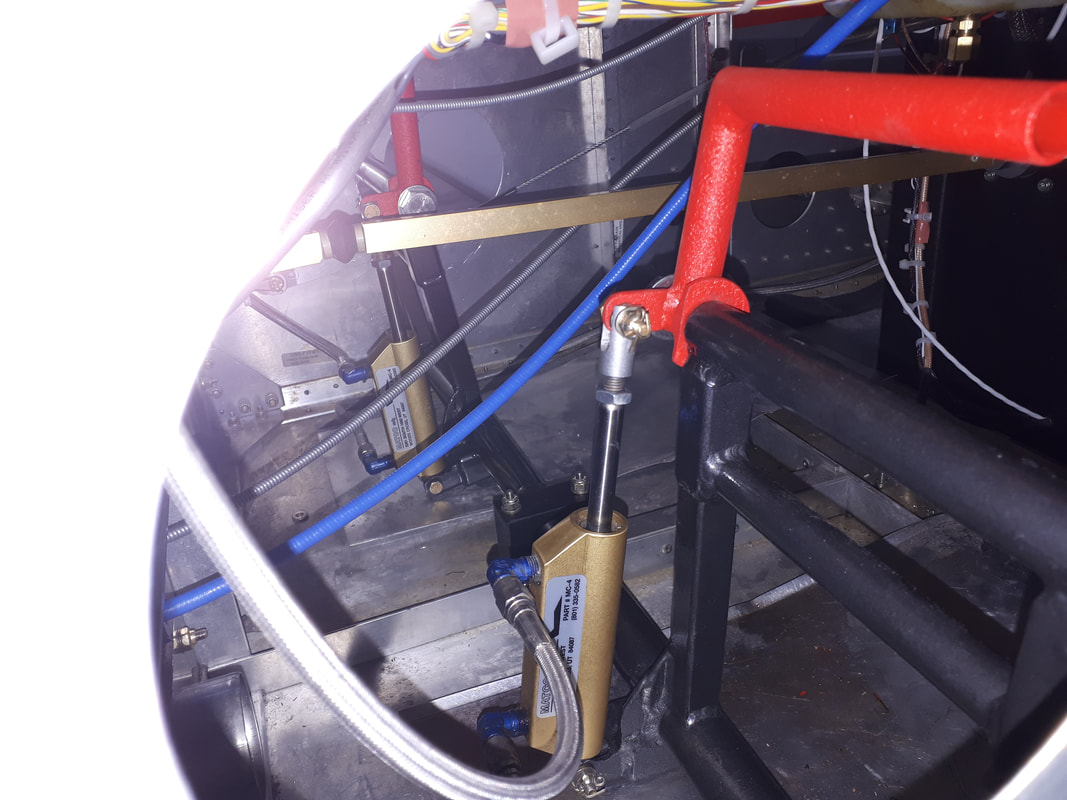
Above you can see the changes I made to toe brakes.Geometry is now correct and should achieve approx. 600psi
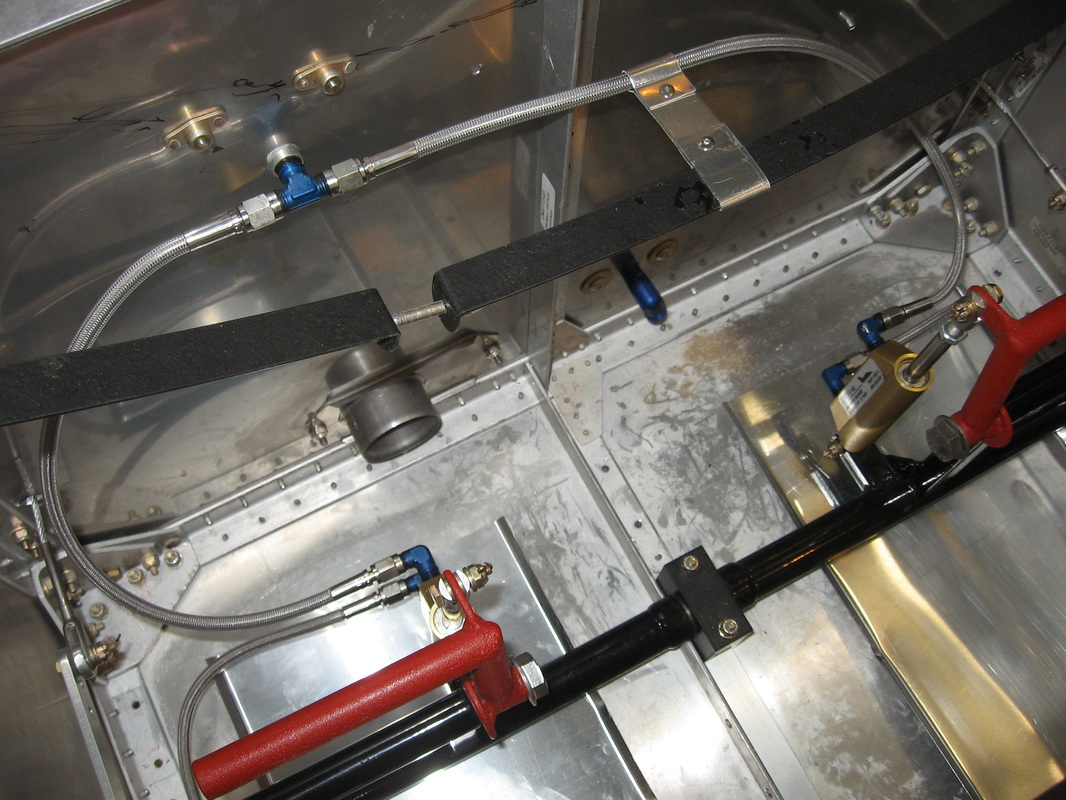
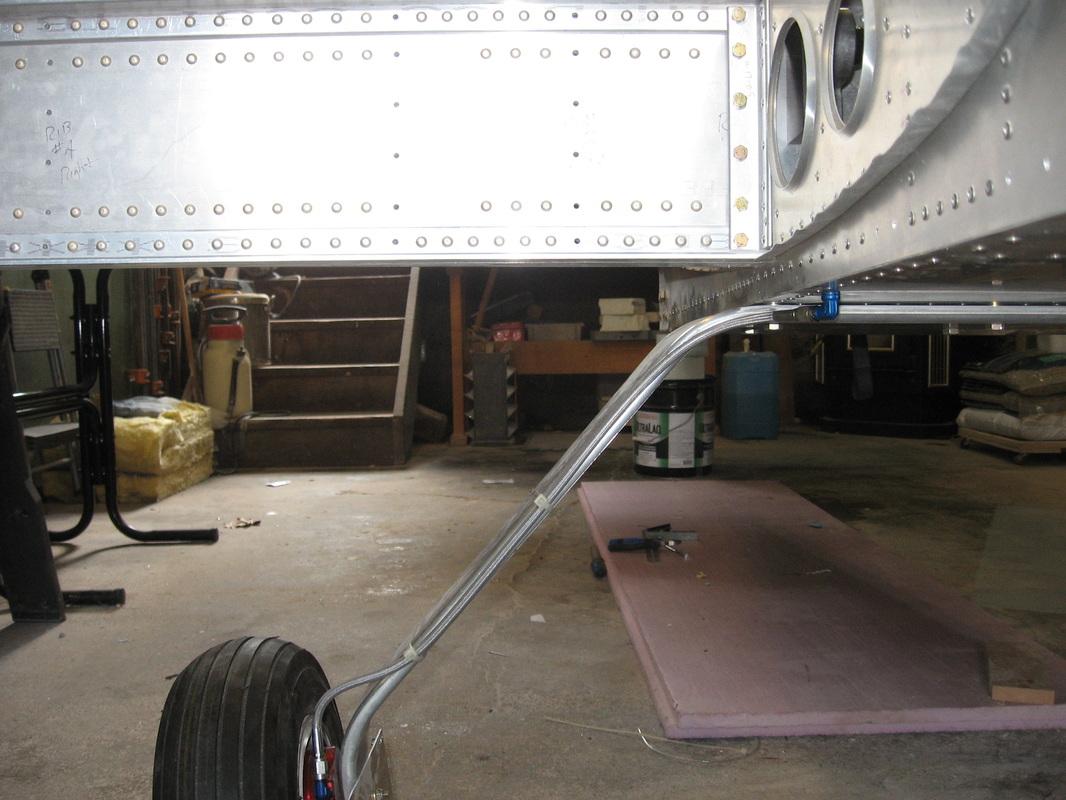
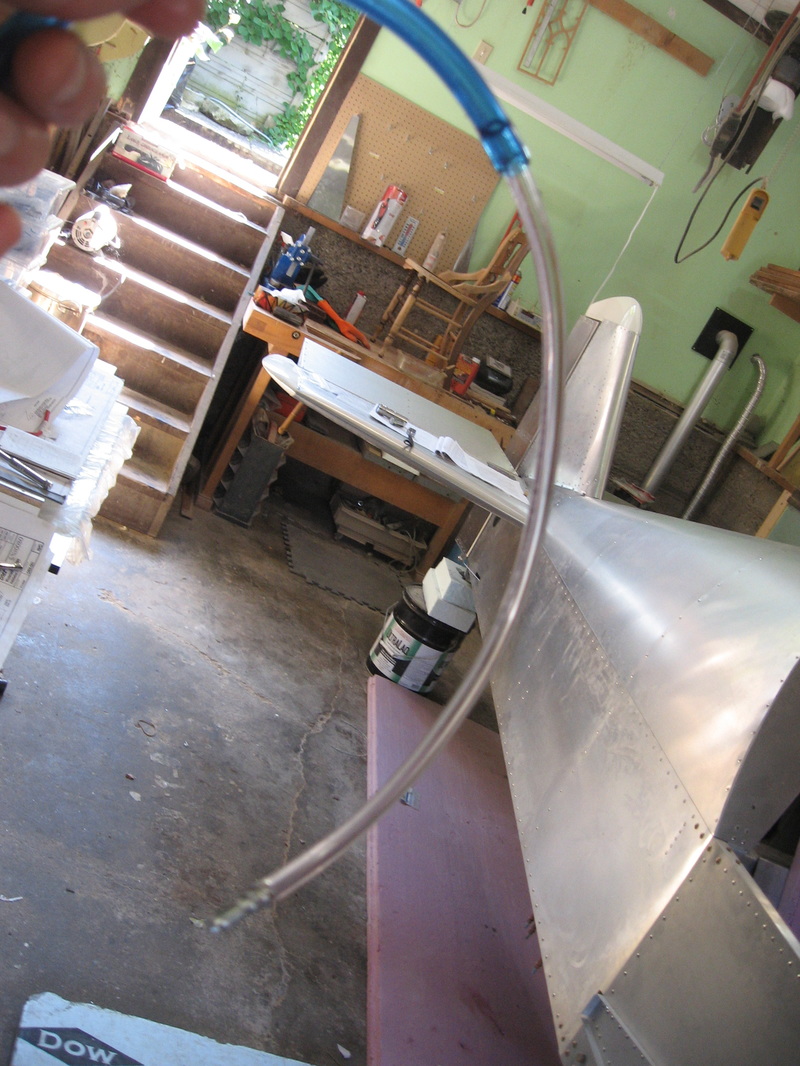
Stainless steel brake lines installed.I ordered them from http://www.aircraftspecialty.com/index.html.Steve was very helpful,and I would recommend his product.
Bleeding my brakes
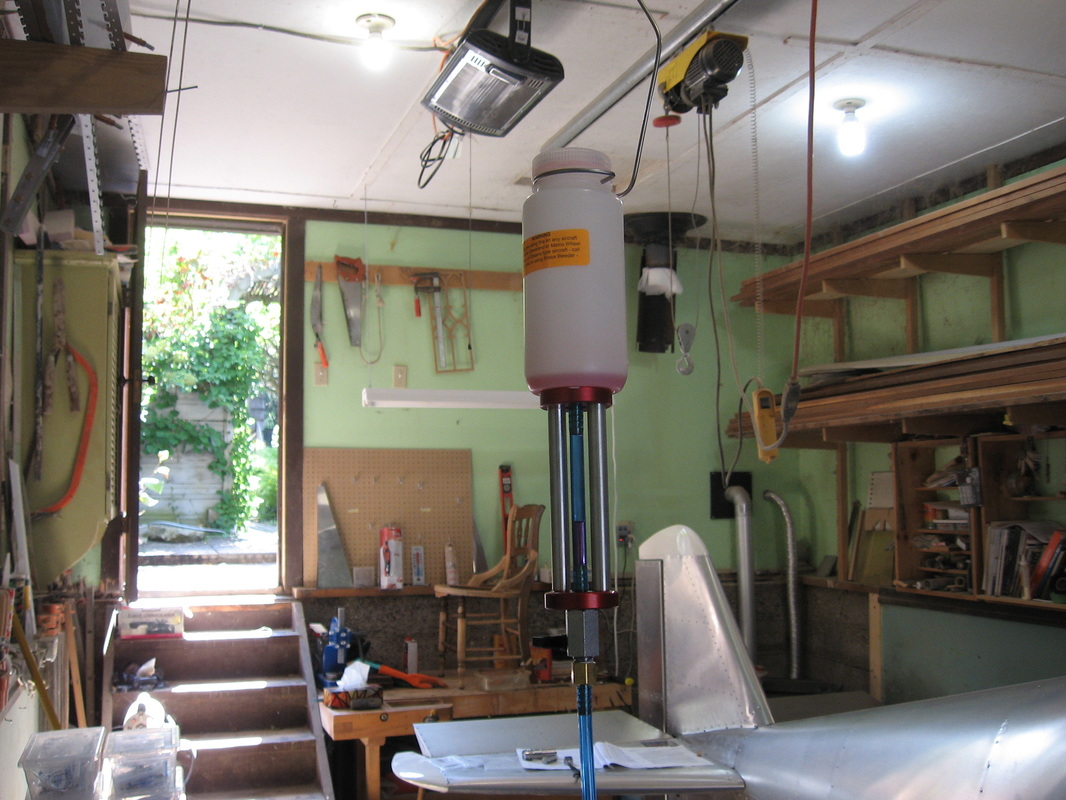
I bought this brake bleeder from Aircraft Spruce.It claims one person can bleed their brakes in 15 min.
The problem with the design is the fact they want you to remove the bleeder at the caliper and use their fitting,which creates a mess if I ever saw one.When the system is filled on one side you have to unscrew their fitting to put the original bleeder valve back on.As soon as you begin unscrewing it the brake fluid starts to drain out onto the floor.and of course it drains fast and furious so by the time I got the original fitting back on I had quit a mess.End result after doing both sides was spongy brakes.Not cool.
So I went to the hardware store and bough a smaller diameter hose to slide into their hose and the smaller hose fit the original bleeder valve nice and tight.
I drained the whole system and started anew.
This time when the brake fluid began to come out the overflow I simply put a wrench on the bleeder valve and closed it,went to the other side and repeated the process till the fluid was dripping out the overflow again and I let it run for a good 5 min.Don't know why just thought if there was any air in the system it would work its way out.Must have worked because the brake pedals are solid no spongyness .
So with my small change to the design it does indeed bleed your brakes with only one person in about 15 -20 minutes.
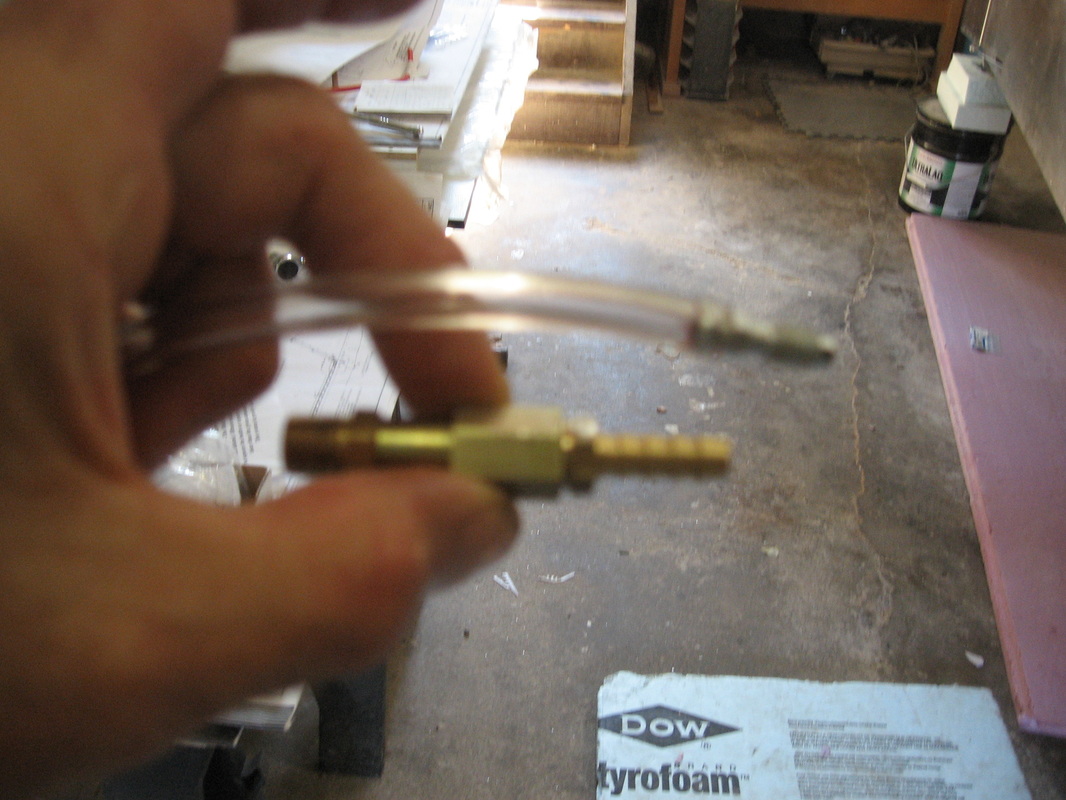
Not a good photo but the fitting supplied and using the bleeder valve supplied with the brakes.

The overflow hose