Onex&nbsp;<br /><br />
  • Home
    • The Sonex Workshop
    • Tools >
      • Piano hinge ruler jig
      • Cutting aluminum
    • Workshop
  • Onex Build
    • Wing attach
    • Electrical
    • Instrument panel
    • Controls >
      • Trim System
    • TAIL FEATHERS-Horizontal Forward Spar >
      • Horizontal Aft Spar >
        • Horizontal Stab assembly
      • Vertical Forward spar assembly &main (aft) spar assemblyy
      • Rudder and elevators
      • Tail installation ONX-T01
    • Wings ONX-W23 thru >
      • Spar -inboard
      • Spar Outboard >
        • Skinning and dimpling
      • Ailerons and Flaps
    • Fuselage F22 to F14 >
      • F13 to F1
    • Landing Gear >
      • Hydraulic / Toe Brakes
      • Nose Wheel
    • Fuel system
    • Windshield-Canopy
    • Cowling-upper& lower >
      • Engine Baffle
    • Paint ,Interior
  • Carb Heat Box
  • My Scott Casler Hummel 2400cc Install
    • First engine start
    • Quick comparison
    • Aerovee >
      • Prop/Hub failures
    • Revmaster
    • Great Plains and Hummel
  • Canopy
  • Trailer
  • Battery box
  • Inner wing build
  • Stuff
    • Bit And Pieces
    • Sonex plans
    • Flying movies
    • Pic's from other builders
  • Other sites
  • Video Hints
  • Written Hints
  • Problems avoided
  • Window shopping
    • Brakes
  • Oshkosh trips
  • Paint

Inner Wing Build

Picture
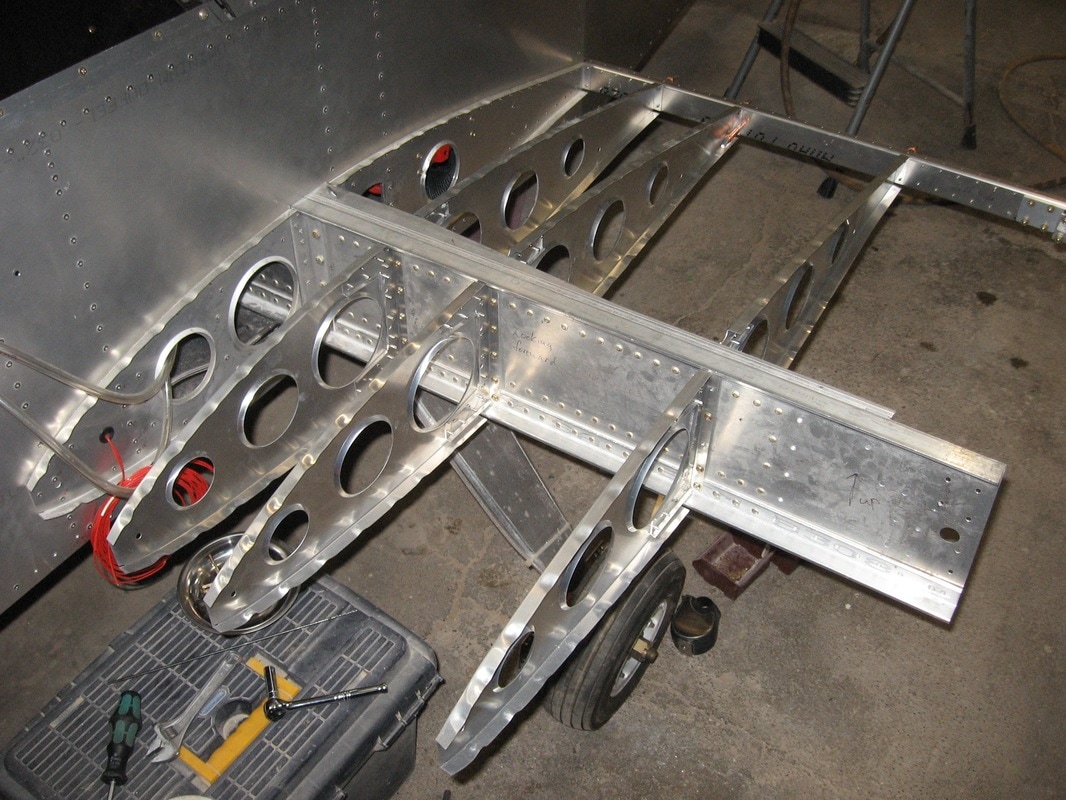
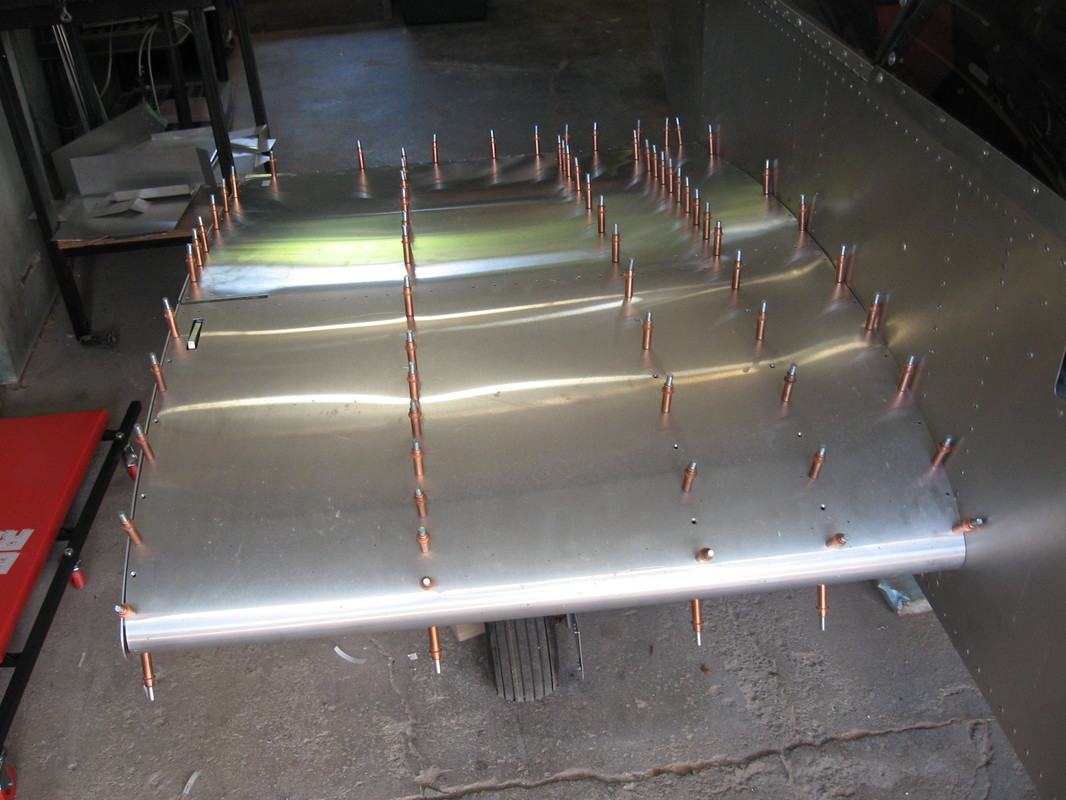
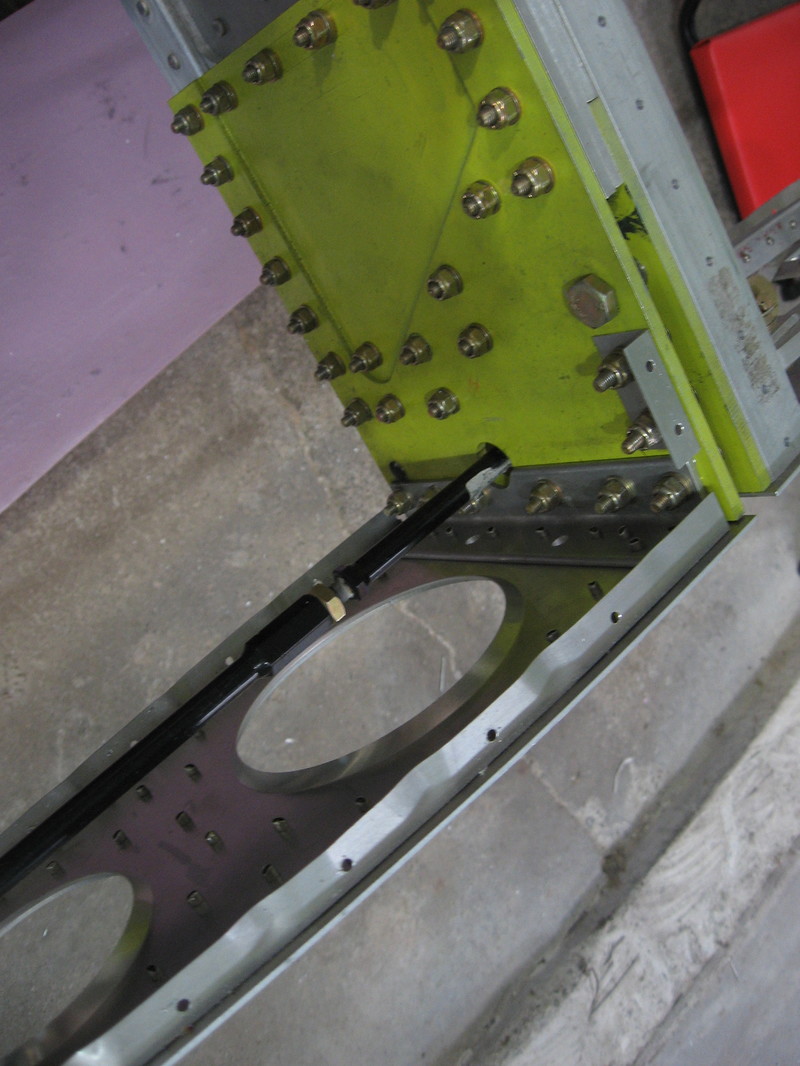
When fastening the rear ribs ,attach the rear spar first,then tighten the bolts on the main spar.
The mains spar attach holes are fixed and the rear spar holes have to be drilled on the 2nd spar and you have to make sure it is in the same plane as the other ribs ie; lay a straight edge across the rear of the ribs and they should all touch the straight edge.

I found it quit difficult to get the bolts through the main spar,and needed a hammer to persuade most through the holes.
Picture
Picture
Picture
Picture
Picture
Picture
Picture
Picture
Picture
Picture
Picture
Picture