
Engine Baffling
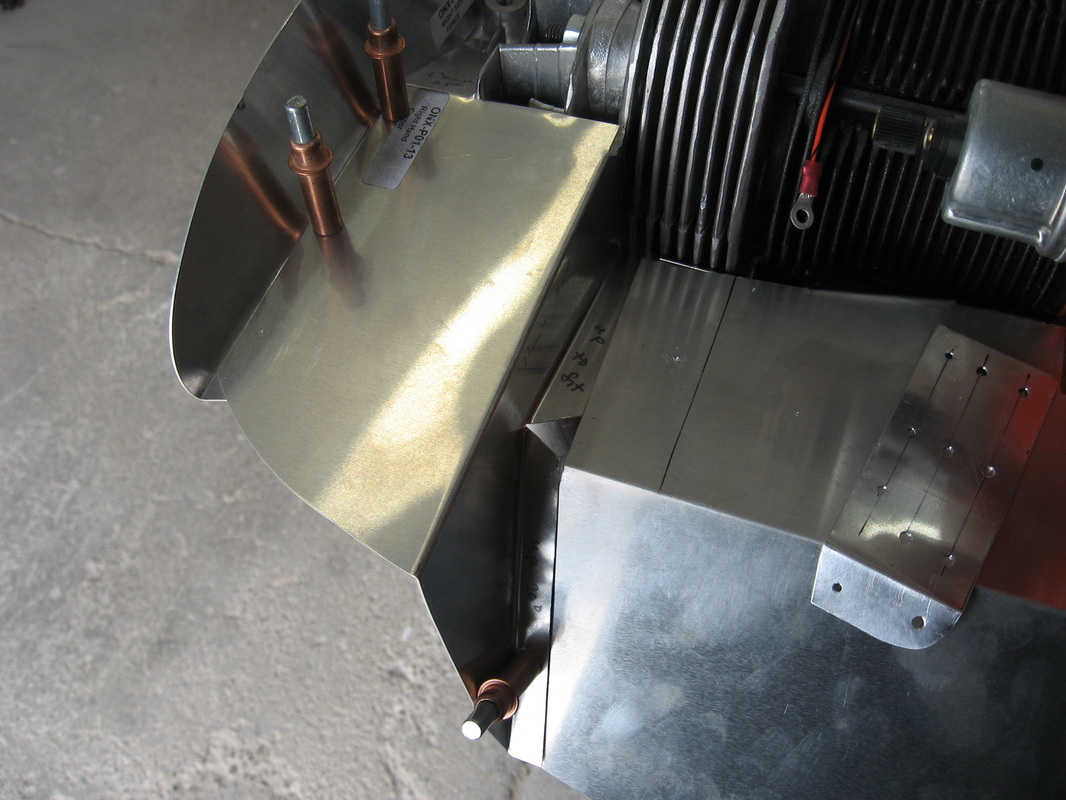
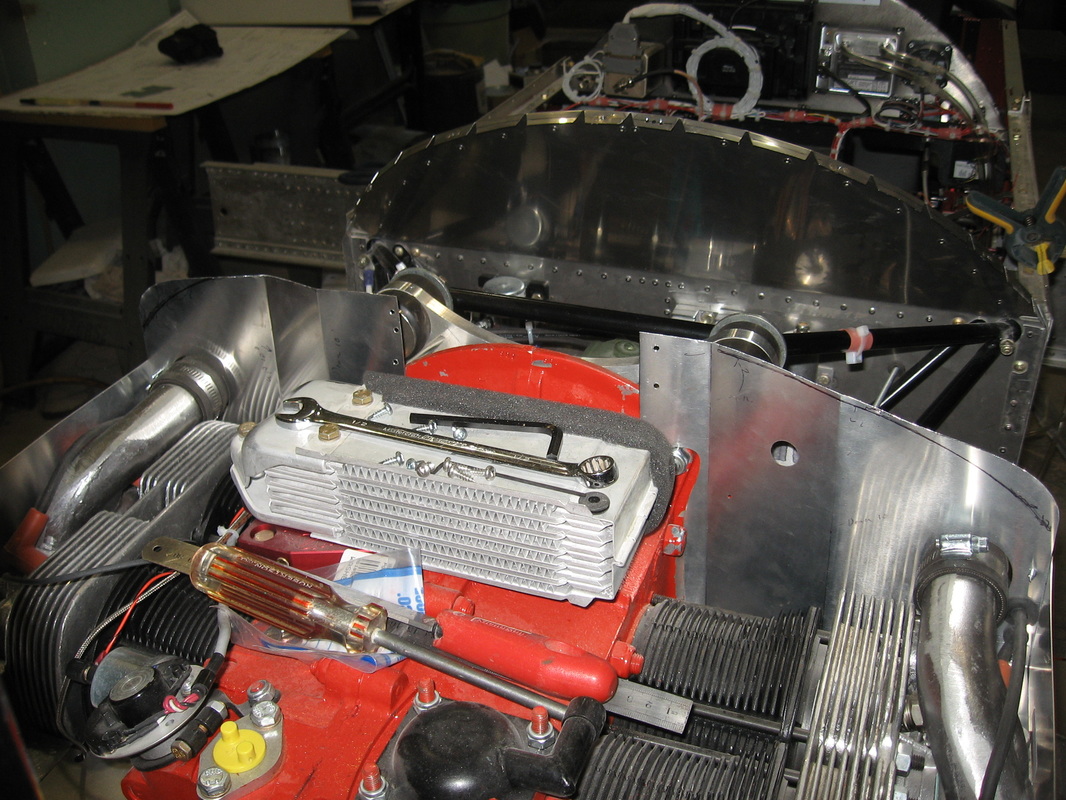
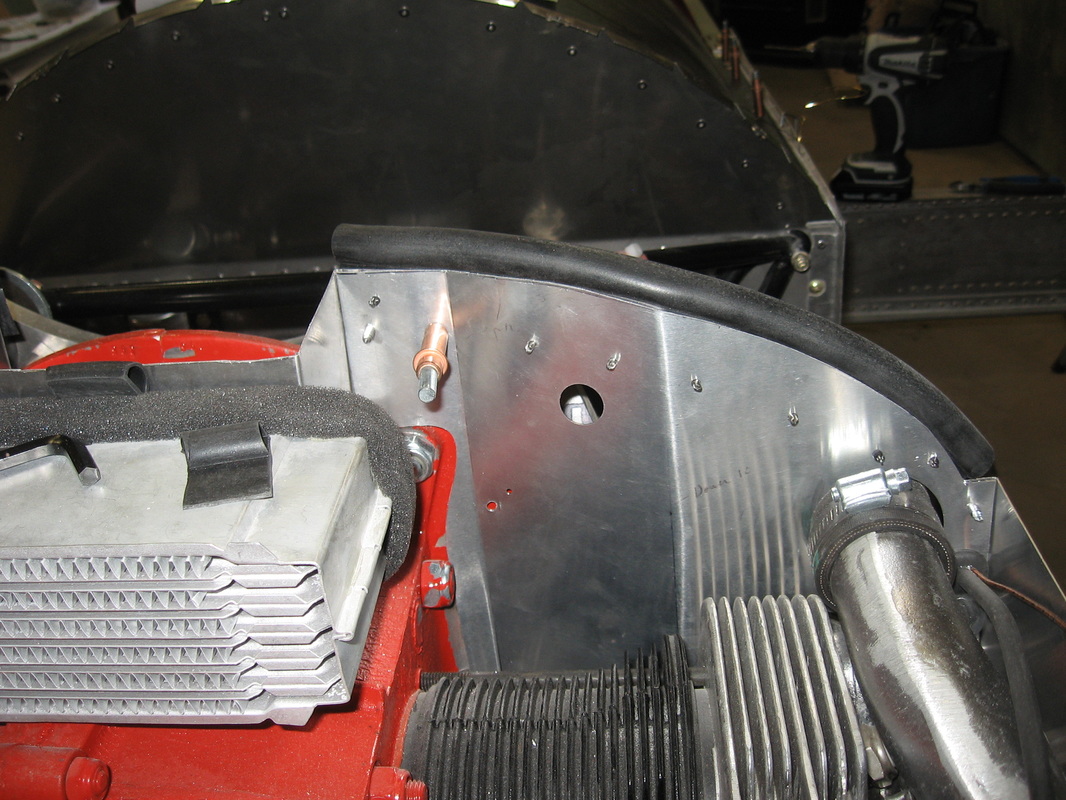
As can be seen from the picture the front baffle doesn't quit reach far enough to fasten the side baffle so I am adding an extension to join the two.I have no idea if it's because this is a Hummel engine and is maybe a little wider?
I have actually pulled the side baffle over to overlap at the bottom where you see the cleco.
I have actually pulled the side baffle over to overlap at the bottom where you see the cleco.
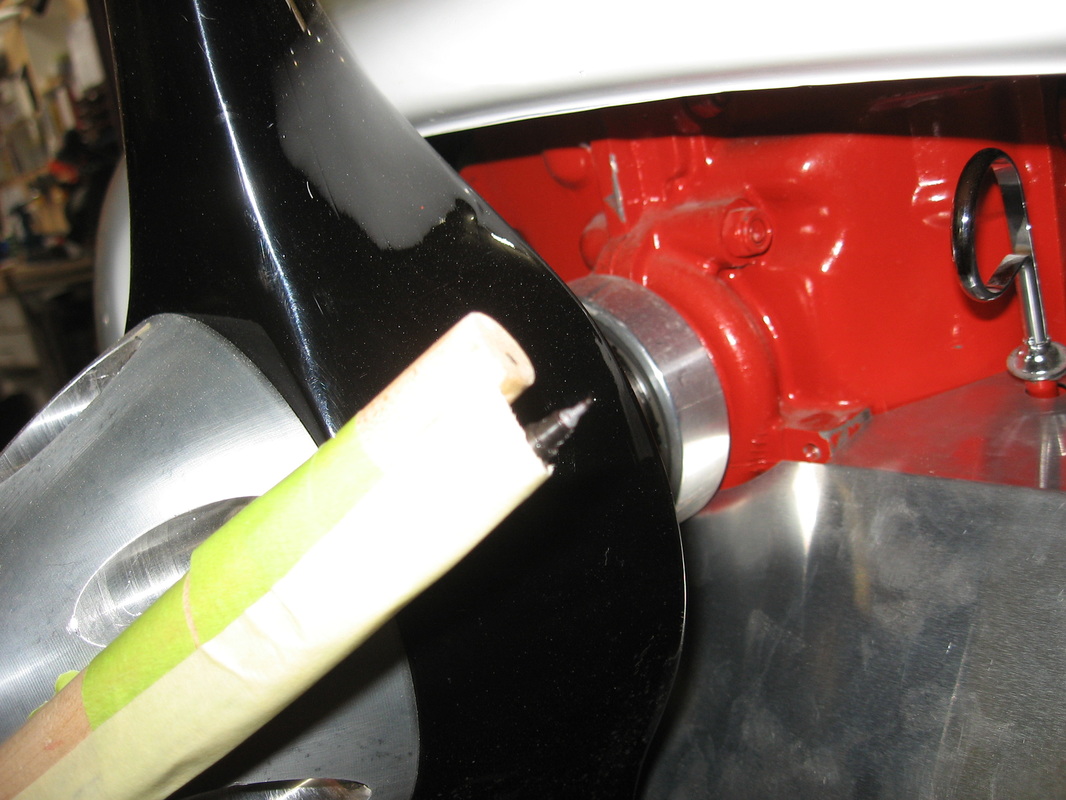
Making a scribe .Taped a fine tip marker to a long dowel

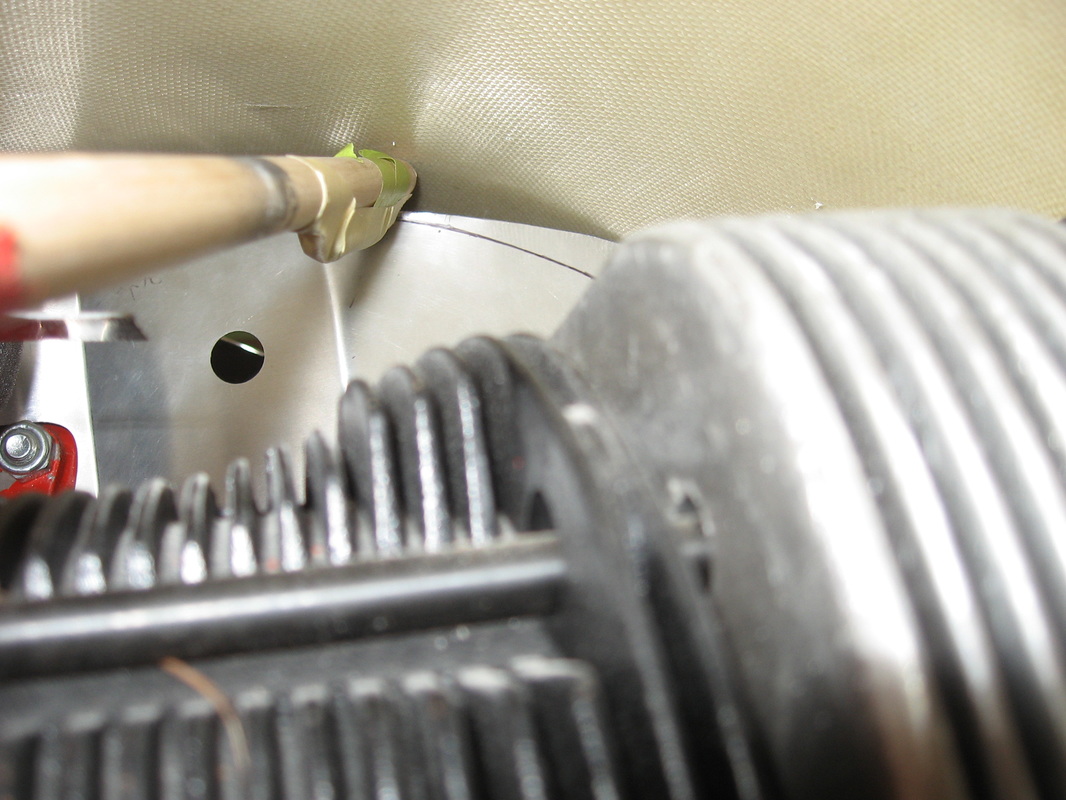
Reaching in with the dowel and scribing the upper cowl shape.
After scribing I cut to the line and then kept cutting more as required to get the cowl to sit where it belonged.the initial scribing gives the proper or close to the proper shape and then the shape is kept intact as I removed a little material at a time to get the cowl lowered.
At a certain point I had to start removing material from the front baffles to get the cowl to move back as I was lowering it.
Very slow tedious work.
At a certain point I had to start removing material from the front baffles to get the cowl to move back as I was lowering it.
Very slow tedious work.

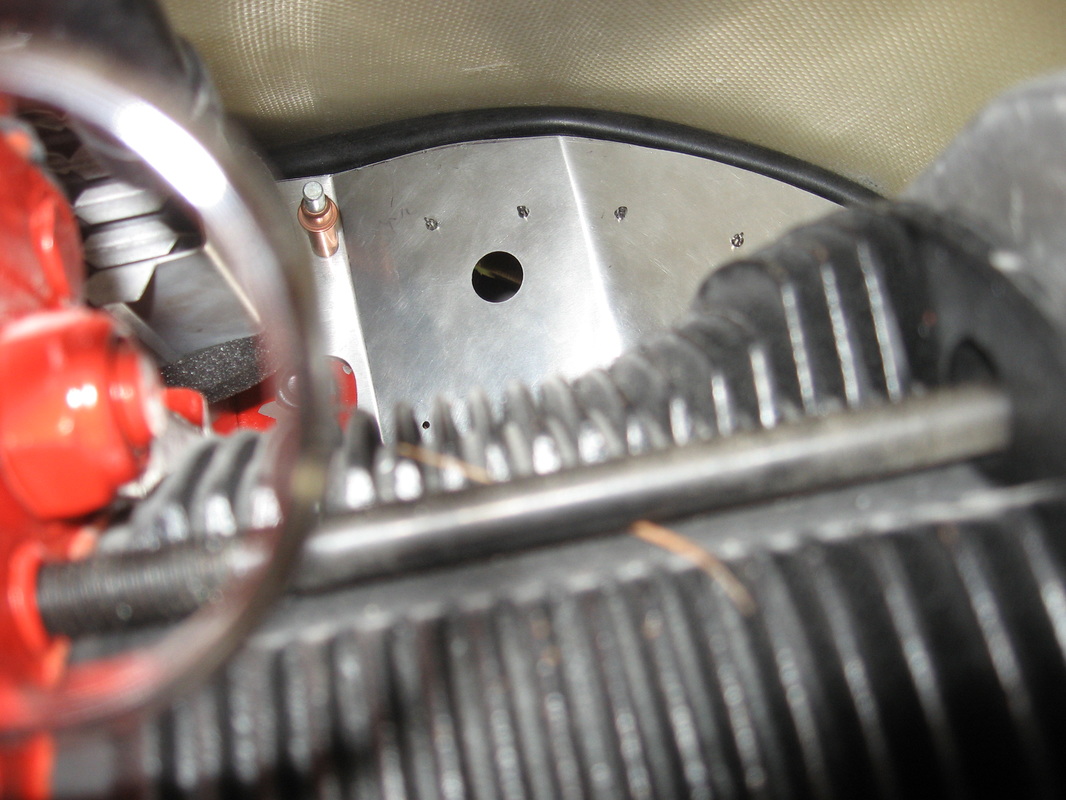
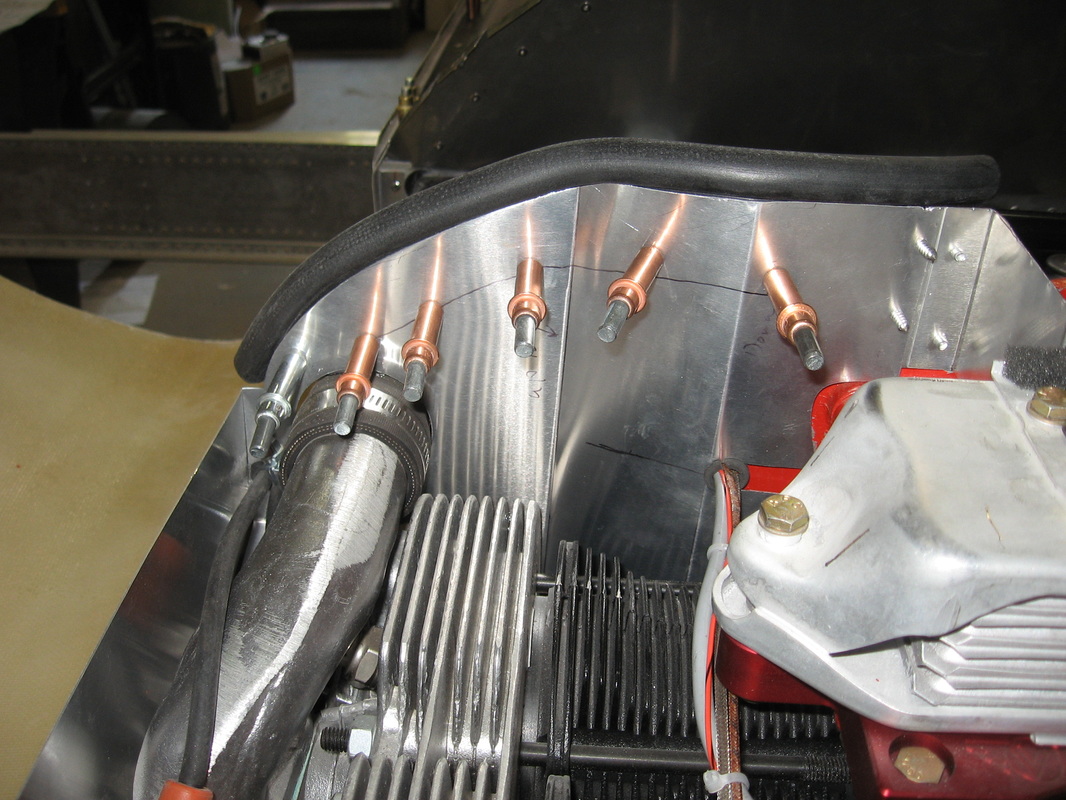
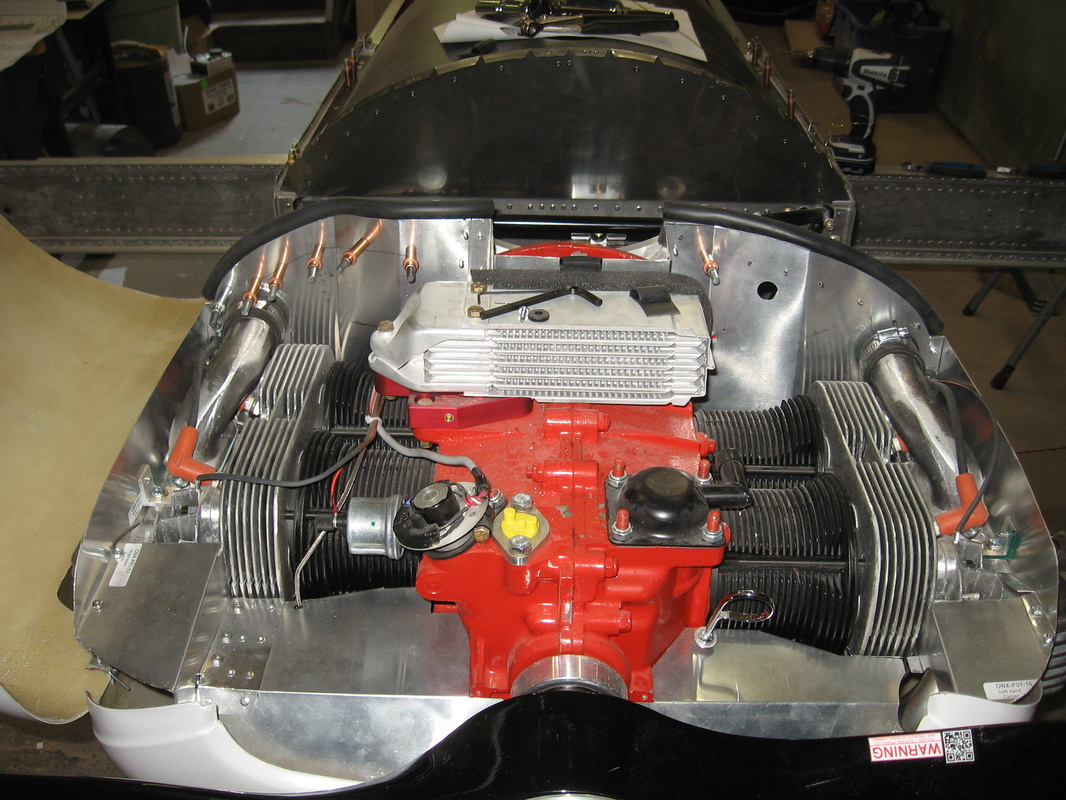
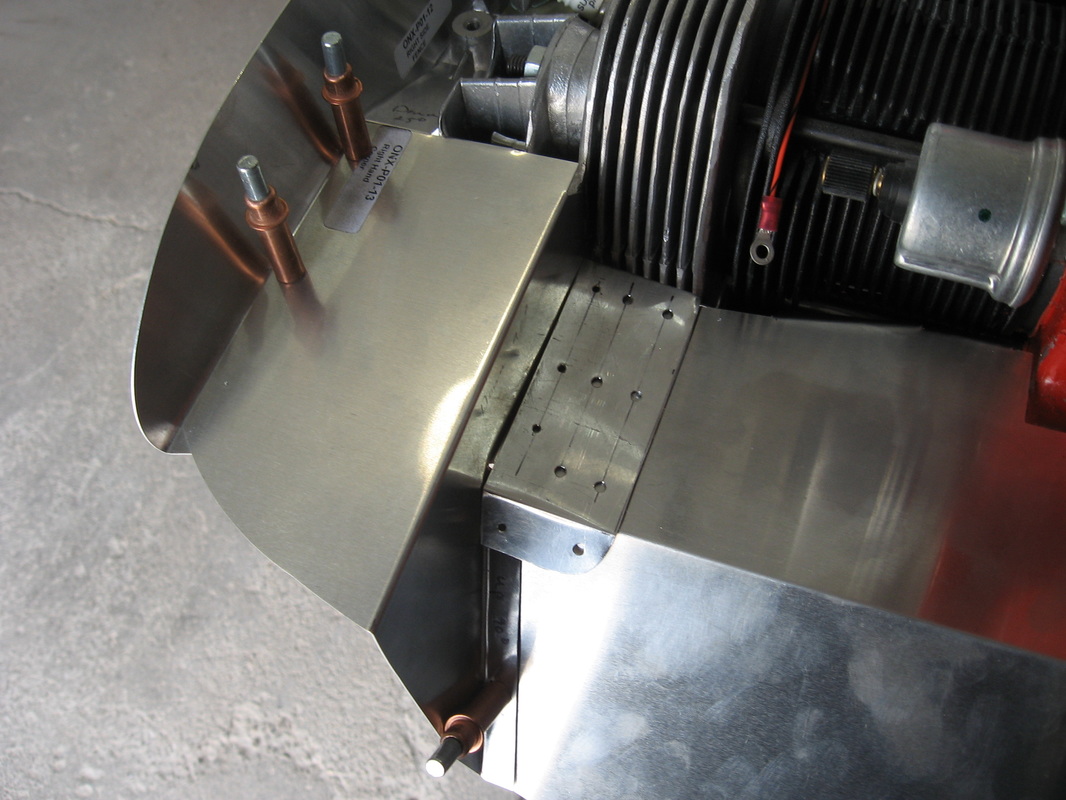
The first two pics show a good seal for the back baffle.(click on any pic to enlarge)
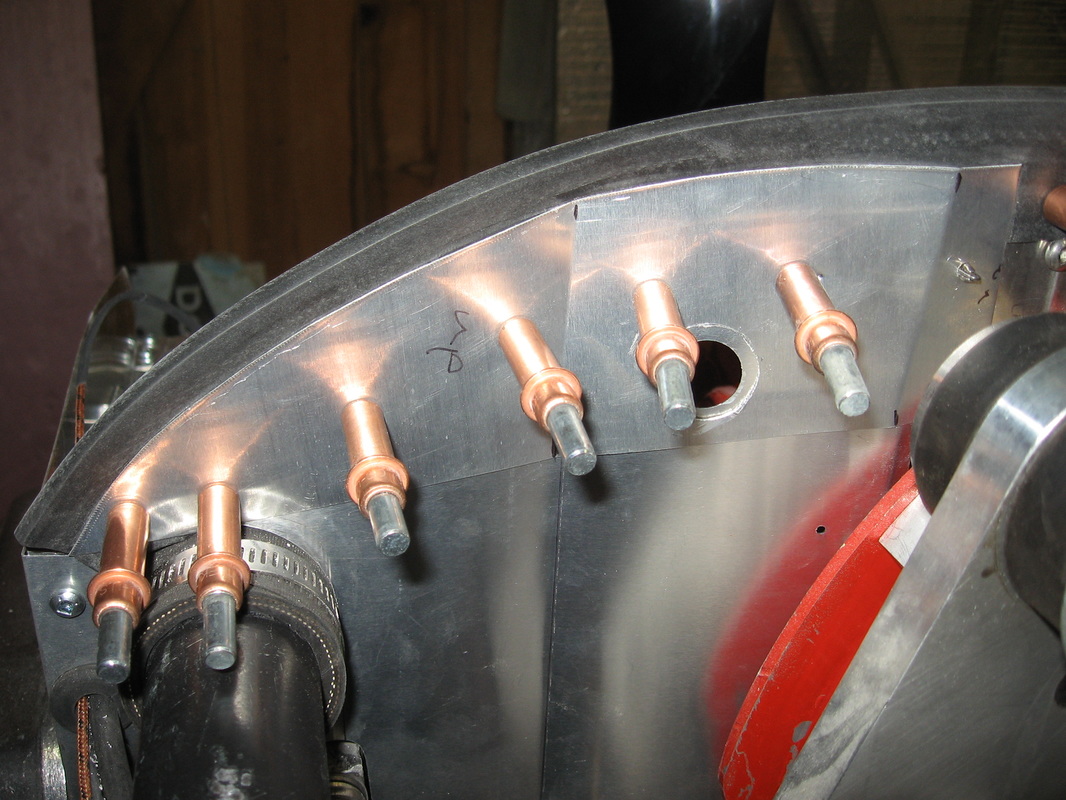
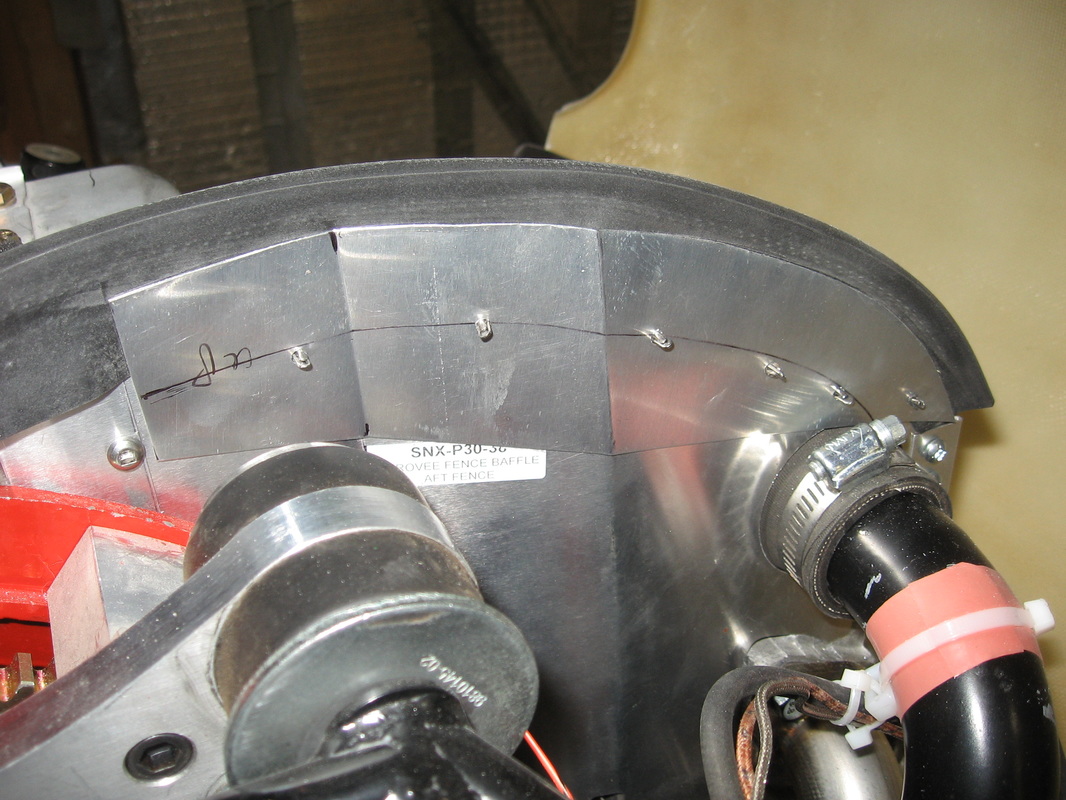
3rd and 4th pics you can see where I didn't use the sonex templates for the backer strips.I wanted to squeeze the baffle material between the baffle and the backer so I just set the 6061 .025 piece supplied by Sonex and traced the upper shape ,cut to the line and left the excess on the bottom so I could cleco it in place ,then placed the baffle material between the baffle and the backer strip .
This way I can put the upper cowl on and see if it needs adjusting.Turns out My scribing was good as the cowl sat where it belonged and as can be seen in the upper pic's a very nice seal.If it was to high I would have been able to take the rubber out and trim the baffle down till it fit right ,then rivet it in place.If to low I could have raised the baffle material.