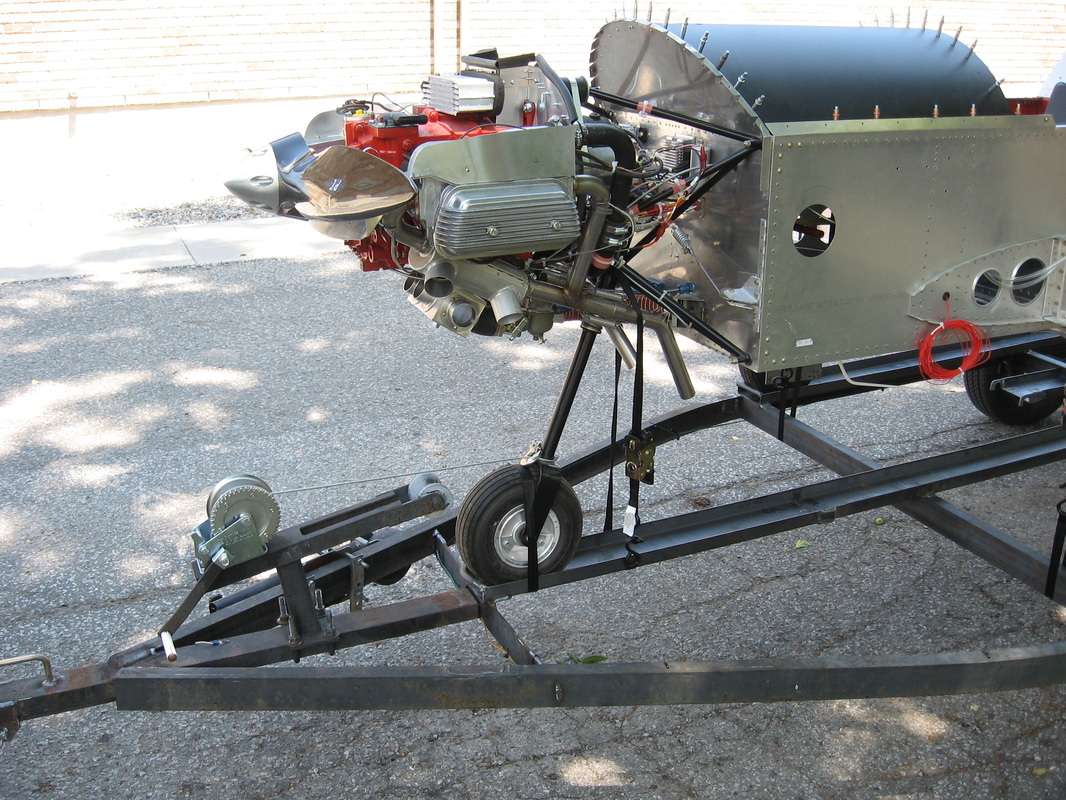
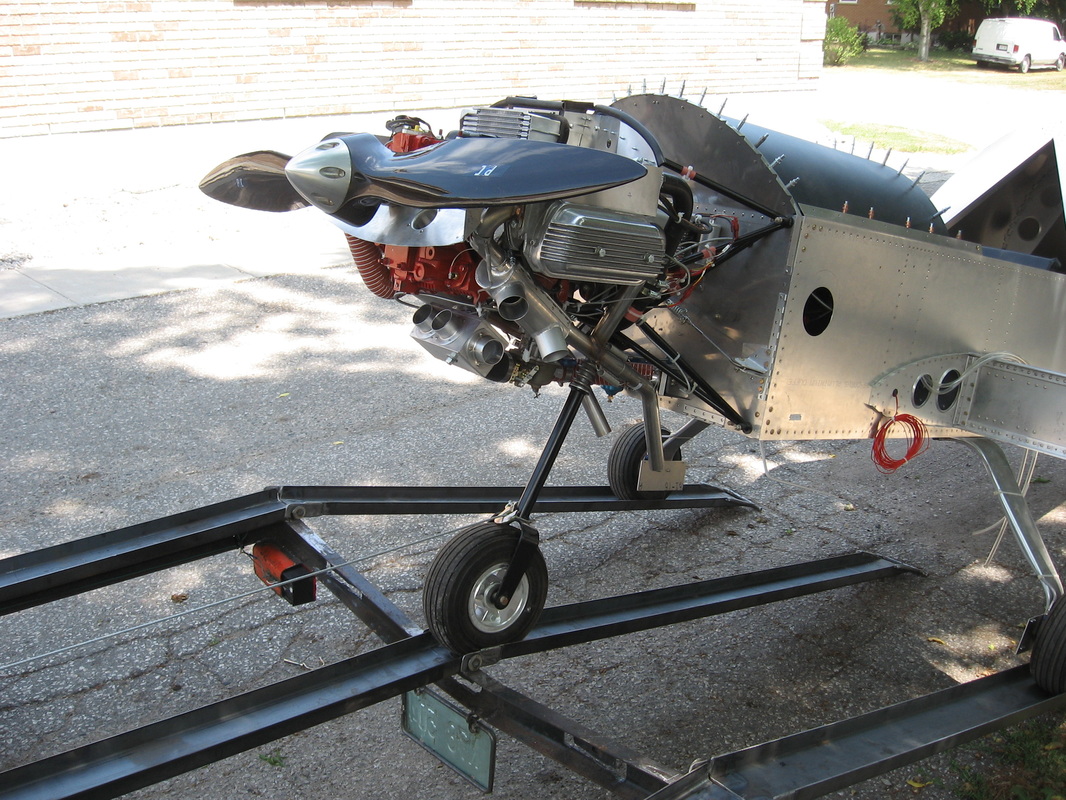
Converted boat trailer
I converted a boat trailer to carry the Onex.The boat winch makes it a breeze to load and unload.


Securing the wings for transport
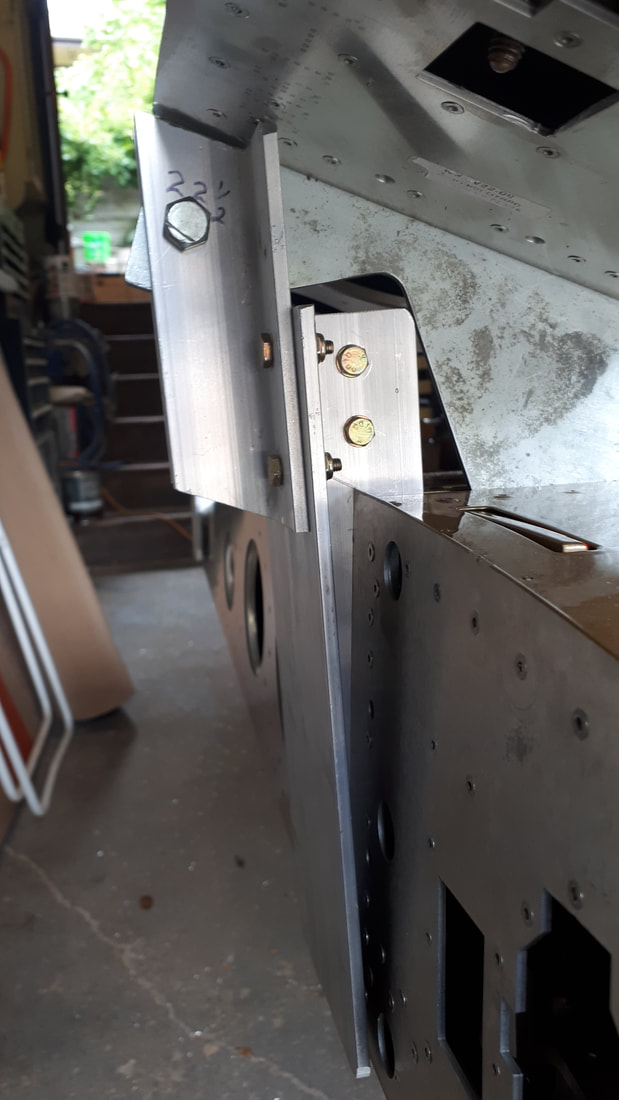
I actually y ordered from Sonex full size plans for the wing locks. After looking at them I realized they require a lot of shaping of the angle pieces and thought it was mostly unnecessary .So I tackled it on my own.Same idea using the locking pin but without as much reshaping.
I used a chop saw for all the cuts and a grinding wheel to relieve the sharp corners.
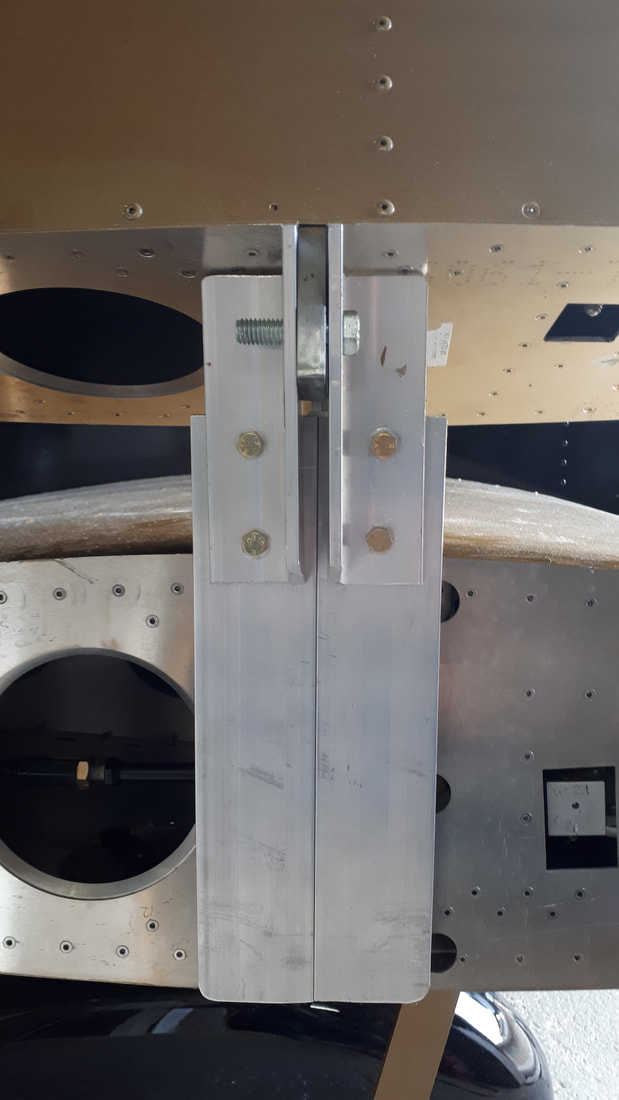
Once you start at it it becomes clear how to proceed. Each piece I slid into the opening I used the locking pin to make a mark on the aluminium angle by simply taping on the locking arm and then removed it and drilled my 3/8" hole .Reinserted it and used the upper hole to guide the 3/8" drill bit to make a starting mark on the angle piece .Removed it and drilled the hole. As can be seen from the pics the angle pieces are left mostly square .You will require a notch to get around the aileron rod.
More pics to follow.
I used a chop saw for all the cuts and a grinding wheel to relieve the sharp corners.
Once you start at it it becomes clear how to proceed. Each piece I slid into the opening I used the locking pin to make a mark on the aluminium angle by simply taping on the locking arm and then removed it and drilled my 3/8" hole .Reinserted it and used the upper hole to guide the 3/8" drill bit to make a starting mark on the angle piece .Removed it and drilled the hole. As can be seen from the pics the angle pieces are left mostly square .You will require a notch to get around the aileron rod.
More pics to follow.