
Skinning the outer wing panels
Putting the skins on has been fairly straight forward.Just follow the instructions on the plans.
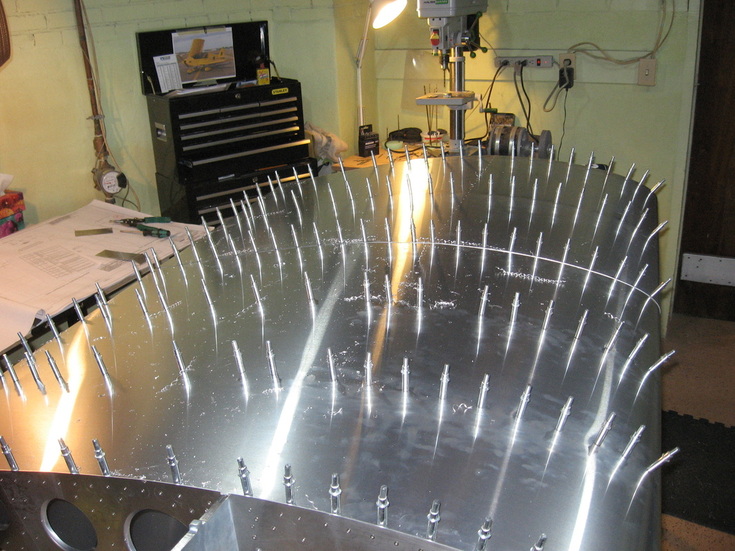
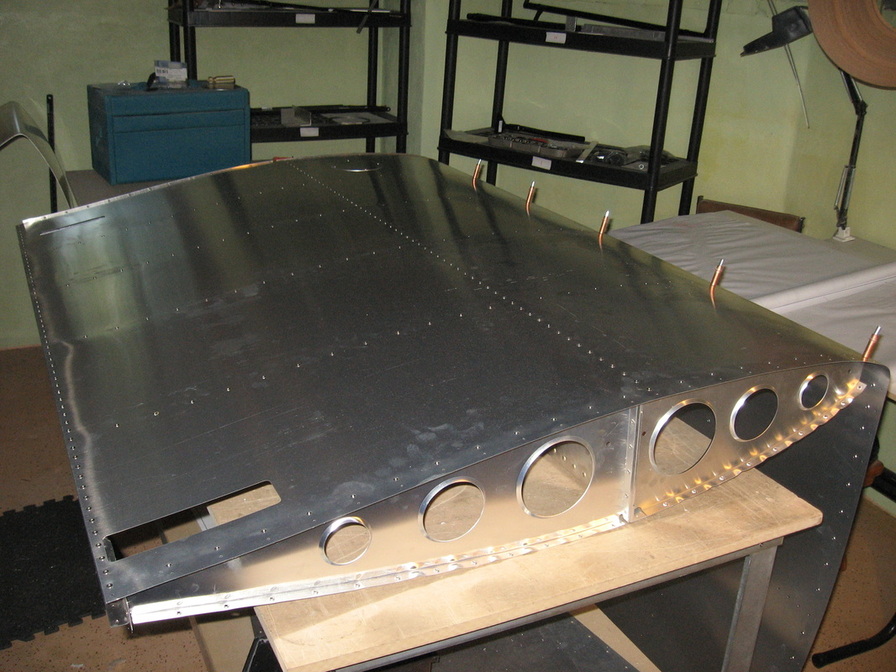
I started each side from the trailing edge and worked toward the leading edge applying a cleco to each rib before drilling the next row .
For the leading edge section I will only up drill to a #31 drill bit so that the resulting hole after dimpling will not get to big and sloppy for the rivet.
I will be using a c-frame to accomplish the dimpling.
It does not show it but the wing is resting on 2 2X4's fastened to the table that have carpet wrapped around the edge. .
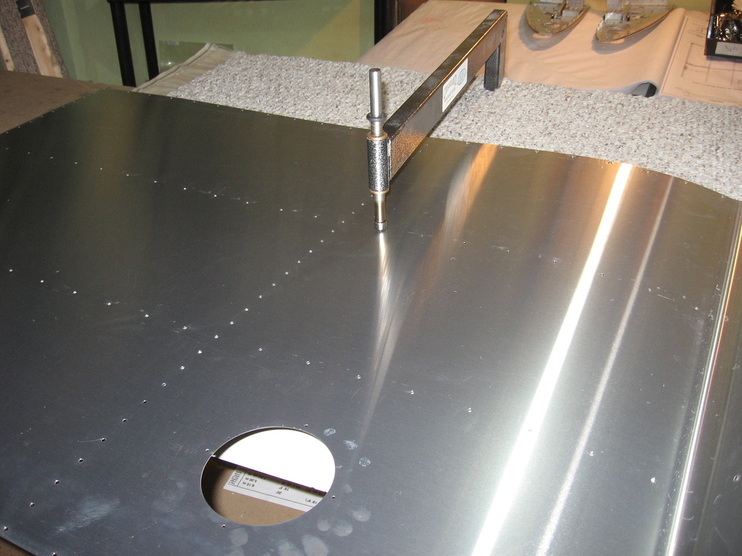
Using the c-frame to dimple is a joy.
Three taps with a hammer and you can hear the tone change on the third signifying your done.
I bought my dies from Cleveland tools.
I did one whole panel both sides in about 20 minutes.Awesome tool.
Three taps with a hammer and you can hear the tone change on the third signifying your done.
I bought my dies from Cleveland tools.
I did one whole panel both sides in about 20 minutes.Awesome tool.

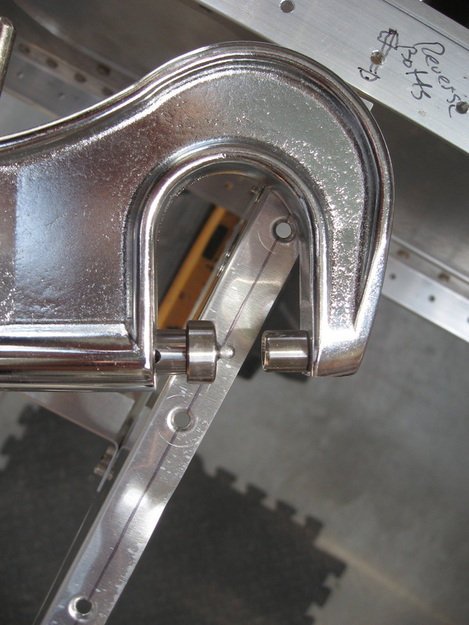
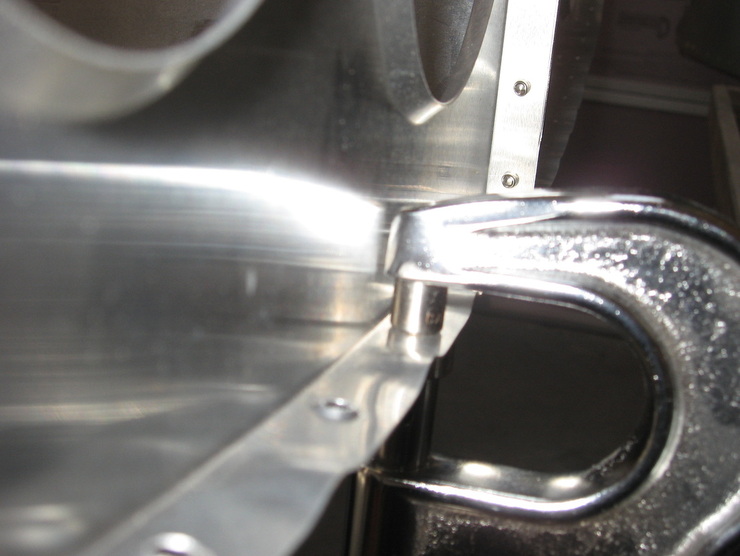
The dies which I purchased from Cleveland tools also do an excellent job.The
c-frame….priceless
c-frame….priceless
Short Video of the C-frame in use.As can be seen it is very quick
After dimpling the skins I moved on to the ribs.For this I used a rivet squeezer with the dimple dies inserted in the yoke I purchased a reduced diameter female die and removed material from the nose of the squeezer so that it would fit into tight places http://www.cleavelandtool.com/Small-Dia-Female-Die-1_8-Rivet/productinfo/DIE4264S/#.U3qRZv0guf8
The next photo shows it better.
The next photo shows it better.
I probably shaved about a quarter inch off the nose.Here it's about an eighth of an inch from touching the side of the rib.
Bottom of the left outer wing skin riveted.I have to leave the upper side clecoed asI live in Canada and the interior has to be inspected before I close it up.