TAIL INSTALLATION ONX-T01
Both the horizontal and vertical skins require trimming to fit snug against the Fuselage.
A dremel with a cutoff worked beautifully as I could remove as little as 1/32" in one pass.
A dremel with a cutoff worked beautifully as I could remove as little as 1/32" in one pass.
THE FOLLOWING WILL BE ABOUT FITTING THE VERTICAL AND HORIZONTAL TAIL,UP DRILLING AND LOCATING ALL BOLT HOLES AND TRIMMING THE SKINS WHERE THEY CONTACT THE REAR FUSELAGE BUT NOT ATTACHING PERMANENTLY AS I CAN'T CLOSE UP THE SKINS UNTIL I GET THE PRE-CLOSE INSPECTION.
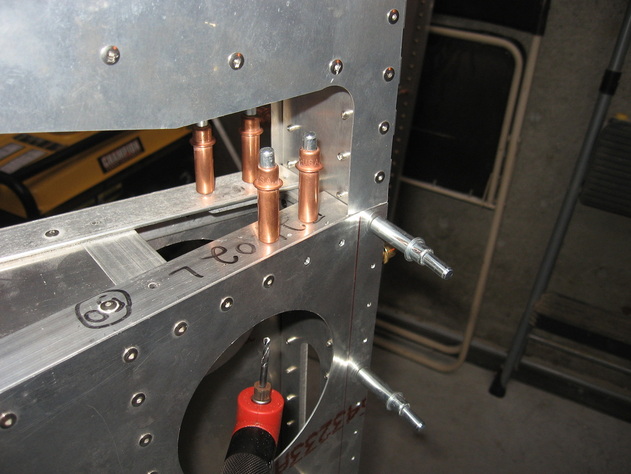
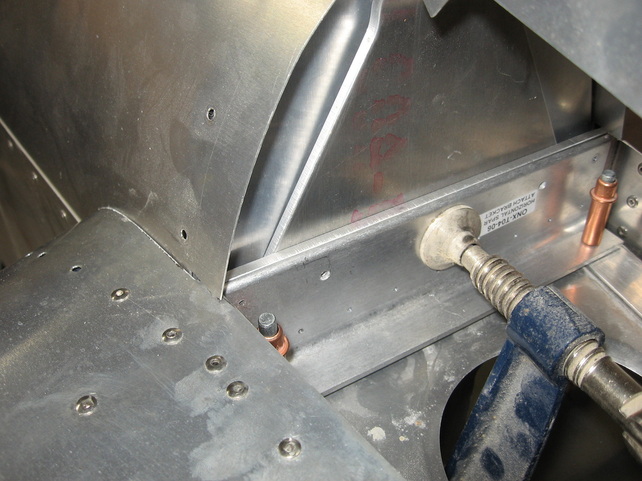
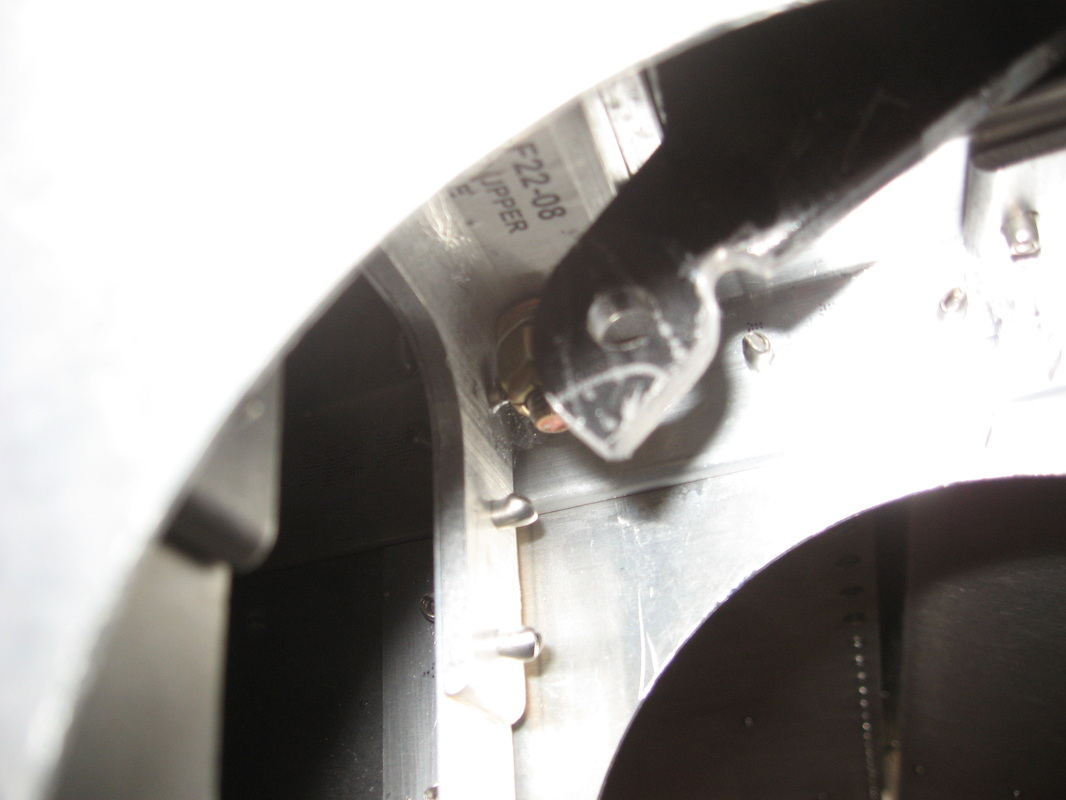
I first clamped the angle bracket to the rear spar and drilled the 4 holes through the bracket for the bolts.Then used 1 bolt and nut to make sure the bracket stayed tight to the spar.Using a 90* angle bit drill to drill holes through the upper longeron( make sure angle bracket is tight to the spar with the spacer between bracket and spar)to secure ONX-T08-13 in place.
I drilled 4 holes this way then removed vertical tail to drill remaining holes.
I drilled 4 holes this way then removed vertical tail to drill remaining holes.
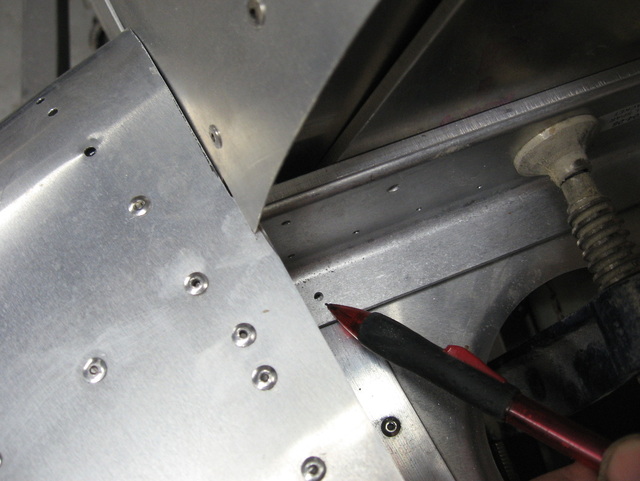
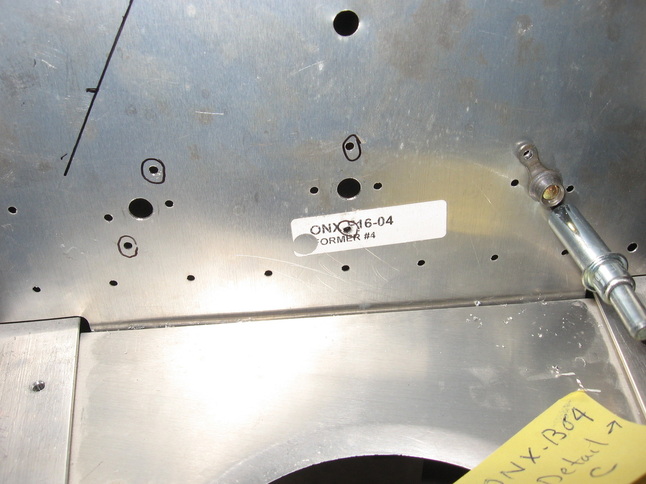
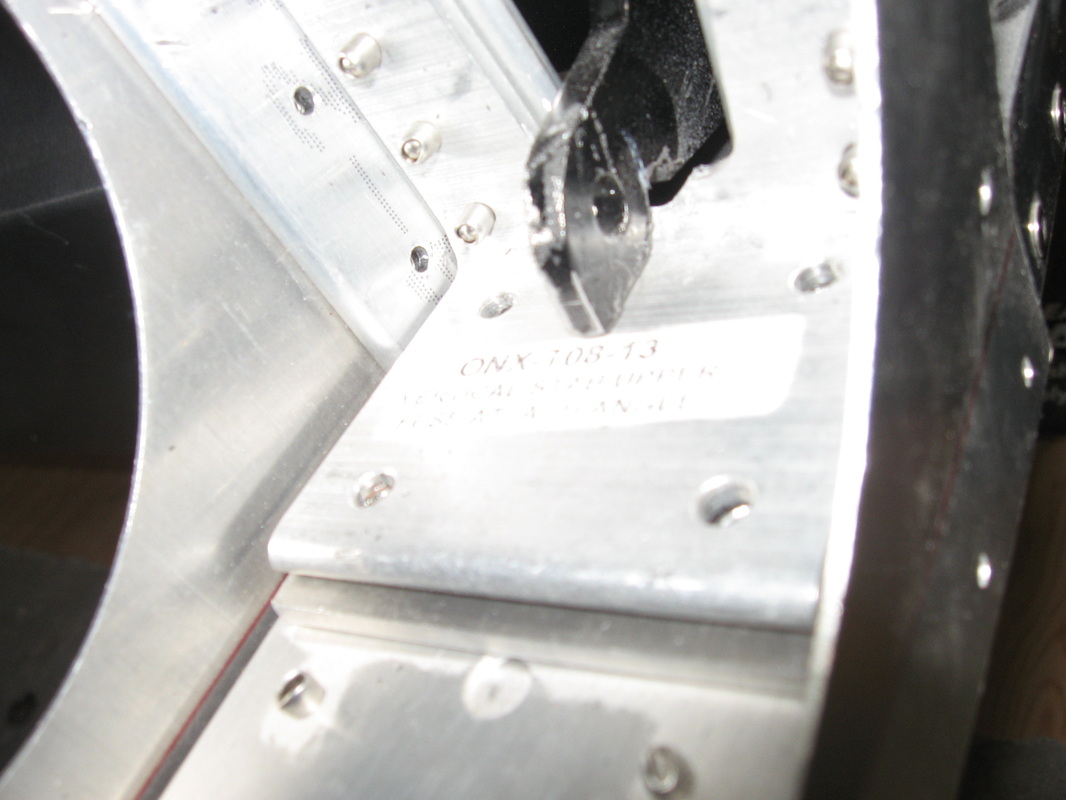
When I tried to place the horizontal stab in place I couldn't get it to line up with the holes in the upper longerons.The reason was the #4 former was to far rearward.On the right side there was slight gap.
Sonex should put out a revision telling builders not to rivet the turtle deck skins to the #4former till the tail feathers are clecoed in place.Then you would be able to push the former against the spar .
See next pic.
Sonex should put out a revision telling builders not to rivet the turtle deck skins to the #4former till the tail feathers are clecoed in place.Then you would be able to push the former against the spar .
See next pic.
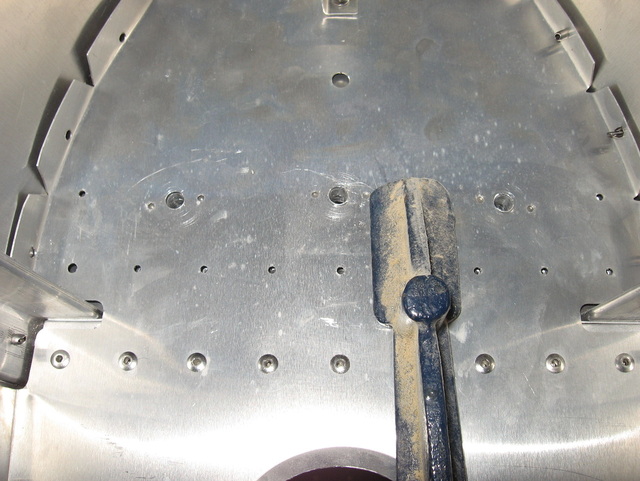
Indeed ,I removed the rivets on the #4 former,which allowed me to line up the holes in the longerons, used the clamp to pull everything together and will now re-drill the holes in the former and re-rivet.
Moral of the story don't rivet your #4 former till you have your Tail Feathers clecoed in place.
Moral of the story don't rivet your #4 former till you have your Tail Feathers clecoed in place.
Up drilled to the required 1/4" from the former side.
To drill the holes for the anchor nuts I did it from the aft side .I just started the bolt to hold the nut in place and then drilled one side of the anchor nut,Clecoed it and drilled the other side and repeated for all 3
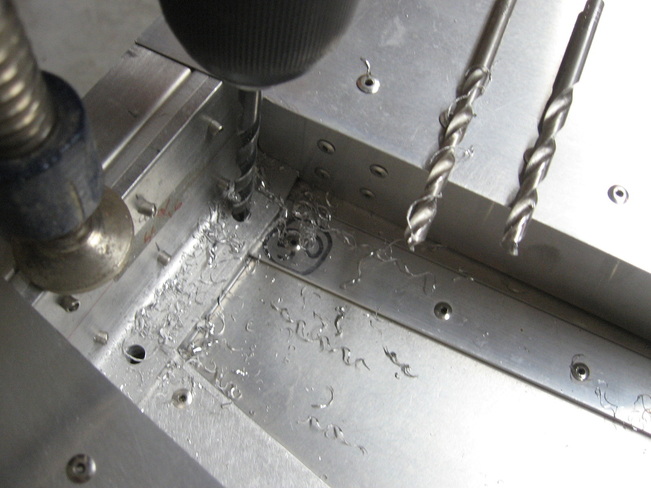
Up drilled the rear horizontal spar bracket it steps ,clamping it tightly to the upper longerons
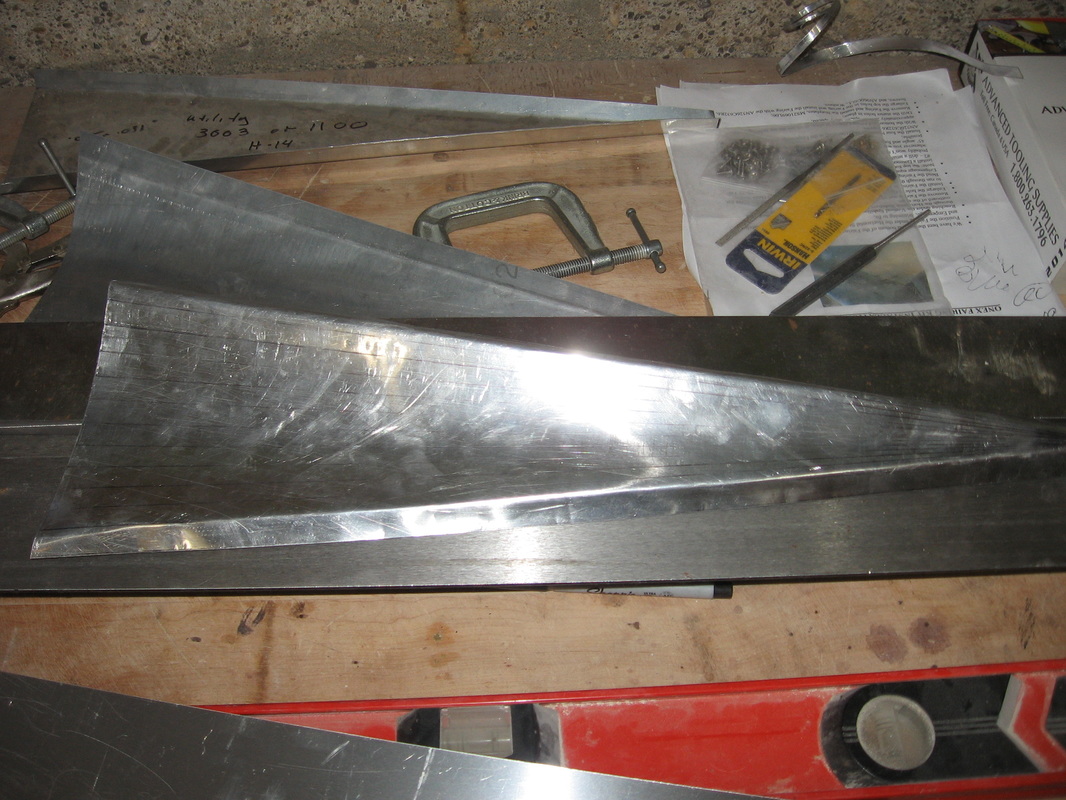
I remover 3/4" from the tail tip bottom to achieve a smooth transition.
I cut it on my table saw (82 teeth)
I cut it on my table saw (82 teeth)
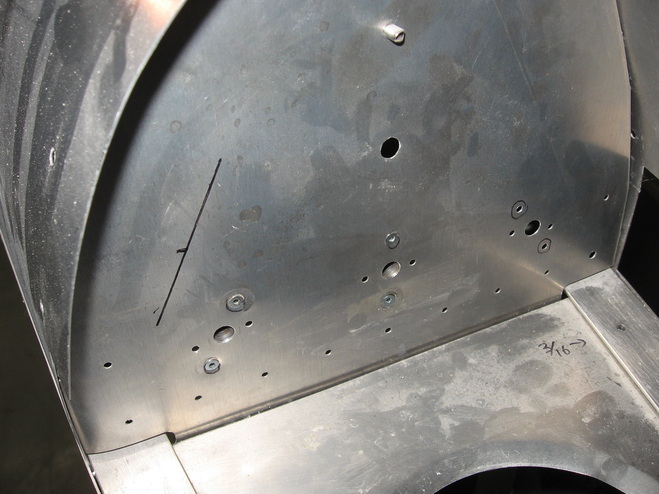
Securing the anchor nuts to the #4 former
The former should be dimpled before the former goes in (####!!!!).It was a pain to do them in situ.
I used a 3/32" dimple die and had to reach up under the turtle deck and hold the female side tightly against the former while I used the gun to quickly form the dimple.Two people would be better and the best is already having it done long before the former went in as I could have used my rivet squeezer.


Cutting 3/4" off the horizontal stab tips on my table saw.Warning this method is quick but if you don't feel comfortable doing it find another method.I use a table saw every day .
Really good transition after removing the 3/4"
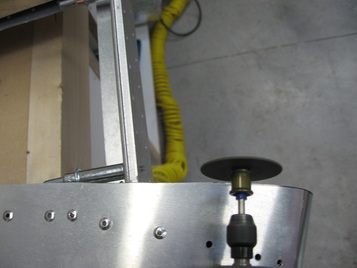
Elevator up travel headache (down travel is honkydorey)
The problems with trying to achieve 25 degrees up travel on the elevator is that it just won't go that far.Go figure!
The pic shows how much material I removed from the elevator horn.When I sent photos to Sonex they said that 18 degrees is all that is required.
Thats fine but why can't I get the 25*? Considering all the holes are predrilled,it should work but it doesn't.When I pointed out I am not alone and others have complained of the same thing (months and months ago I might add) they simply told me they were aware of that and to reread their earlier note stating 18* is all that is needed.I think you can feel my frustration here.
I will say that you should make sure your elevator skin is tight to the rib end before you drill and rivet.Mine could maybe move 1/16" to be tight which i am sure would help a little.
Do something about it Sonex or just write and show 18 degrees in the plans ,don't write 25 and tell everyone to settle for 18.
Long story short I managed 21 degrees only after I relieved the angle bracket the horn hits against.The geometry is obviously wrong .I can see having to remove maybe an eighth of an inch off the horn but not as much as I removed and then only achieving 21.
Enough of my rant,I feel better now. :8-)
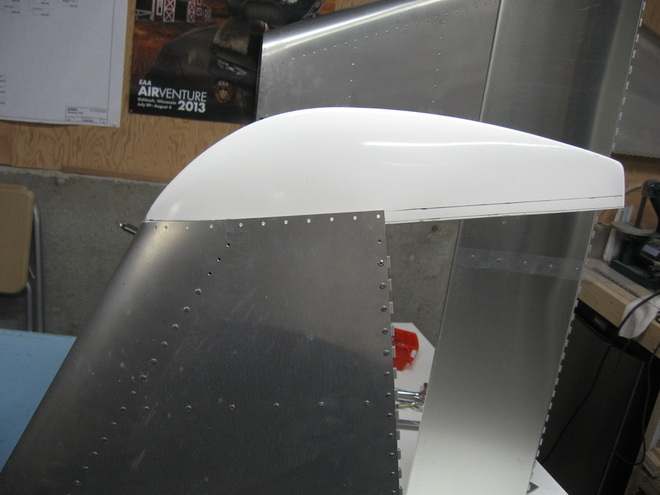
Tail Fairing
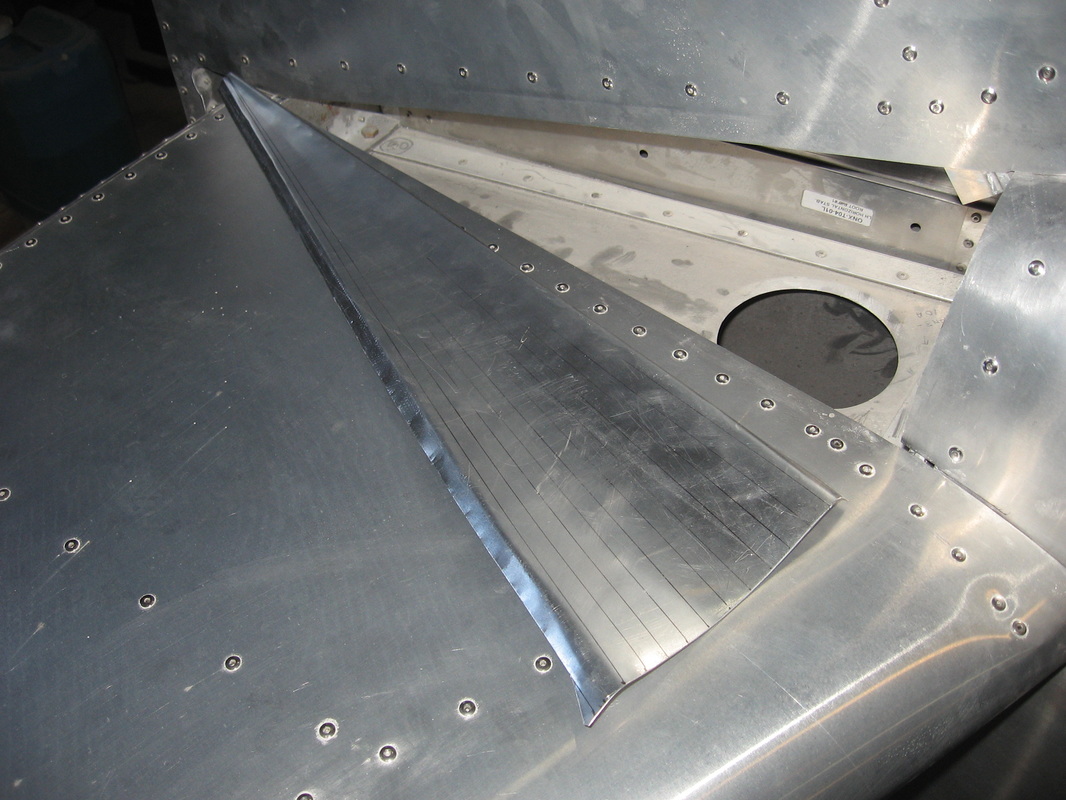
I have seen some builders using fibreglass fairings for this task and I personally think it looks to beefy so I decided I would as the plans call for use aluminium.
The following pics show the tail fairings I made.I used a brake to gently give the fairing some curvature by drawing radial lines on the back side of the fairing and lining each radial up in the brake and very and I mean very gently give it a slight bend without actually putting a crease in it.( An idea given to me by the president of the RAA Gary Wolfe)
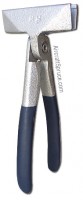
I then used a hand seamer to put the bends in for the attach seams.
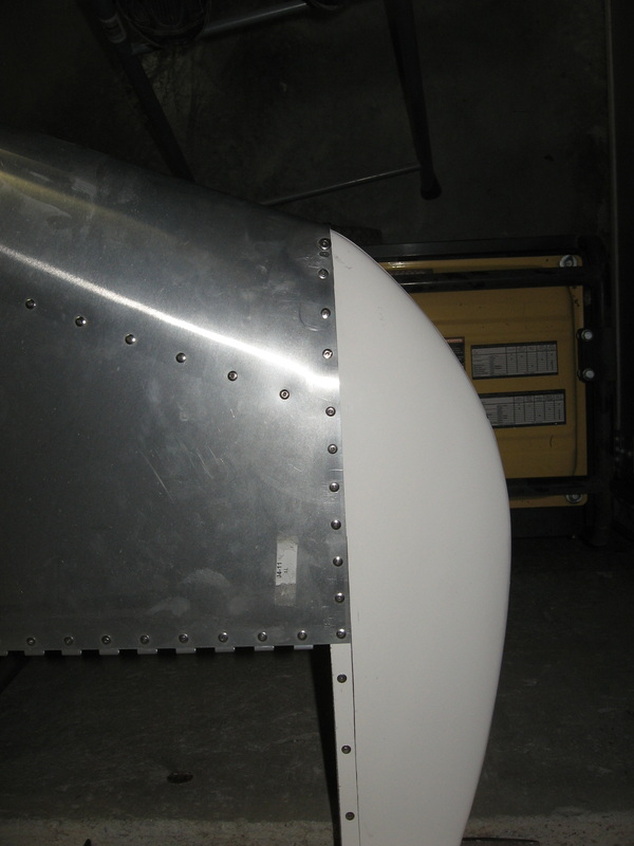
It took a lot of trial and error (luckily aluminium is very forgiving)but I am more than pleased with the results.
The following pics show the tail fairings I made.I used a brake to gently give the fairing some curvature by drawing radial lines on the back side of the fairing and lining each radial up in the brake and very and I mean very gently give it a slight bend without actually putting a crease in it.( An idea given to me by the president of the RAA Gary Wolfe)
I then used a hand seamer to put the bends in for the attach seams.
It took a lot of trial and error (luckily aluminium is very forgiving)but I am more than pleased with the results.
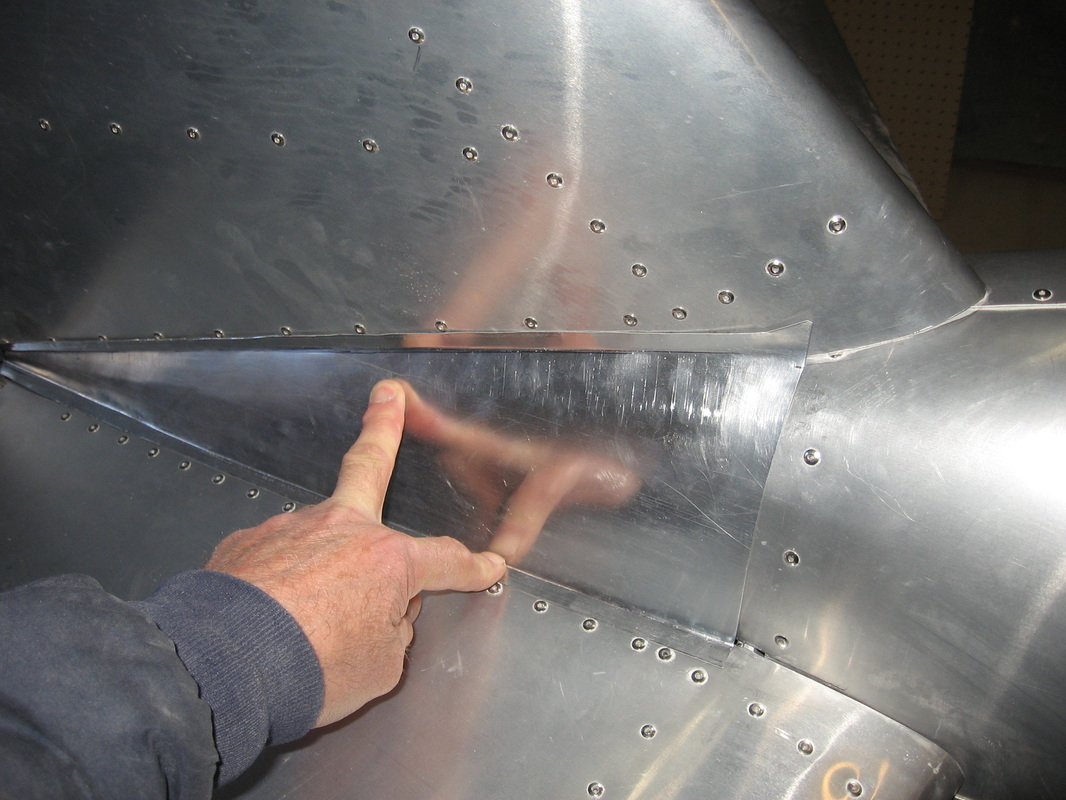

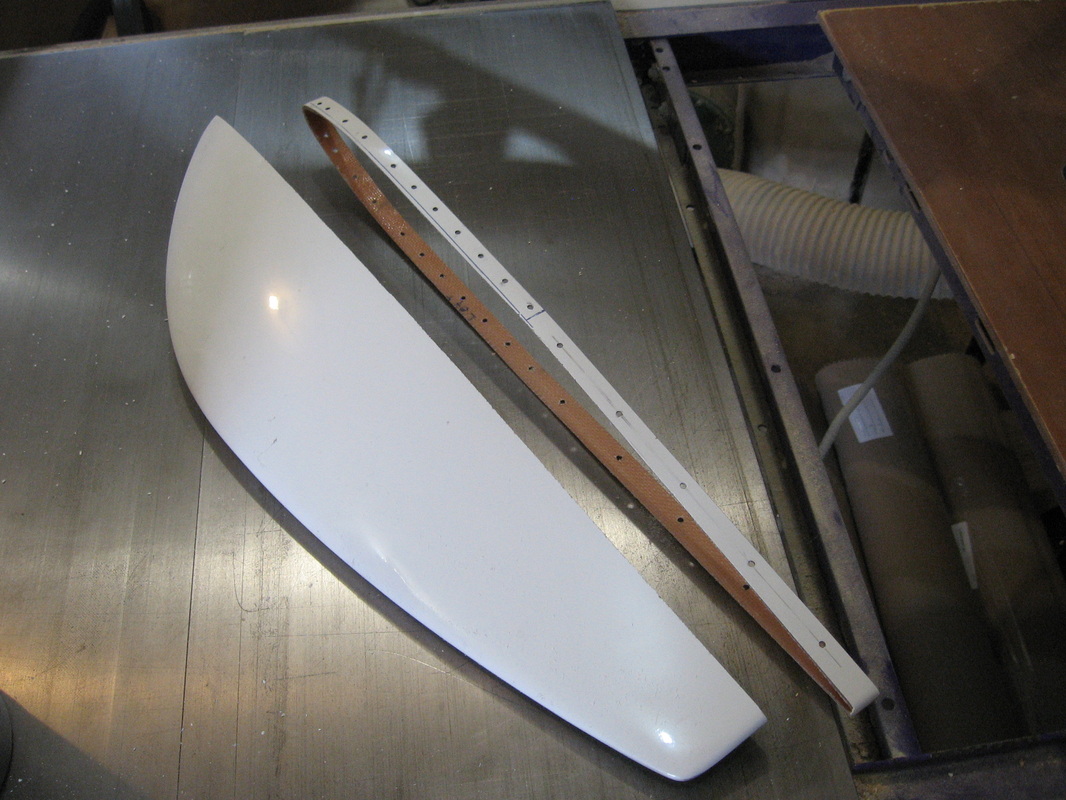
I will use nut plates to secure it .
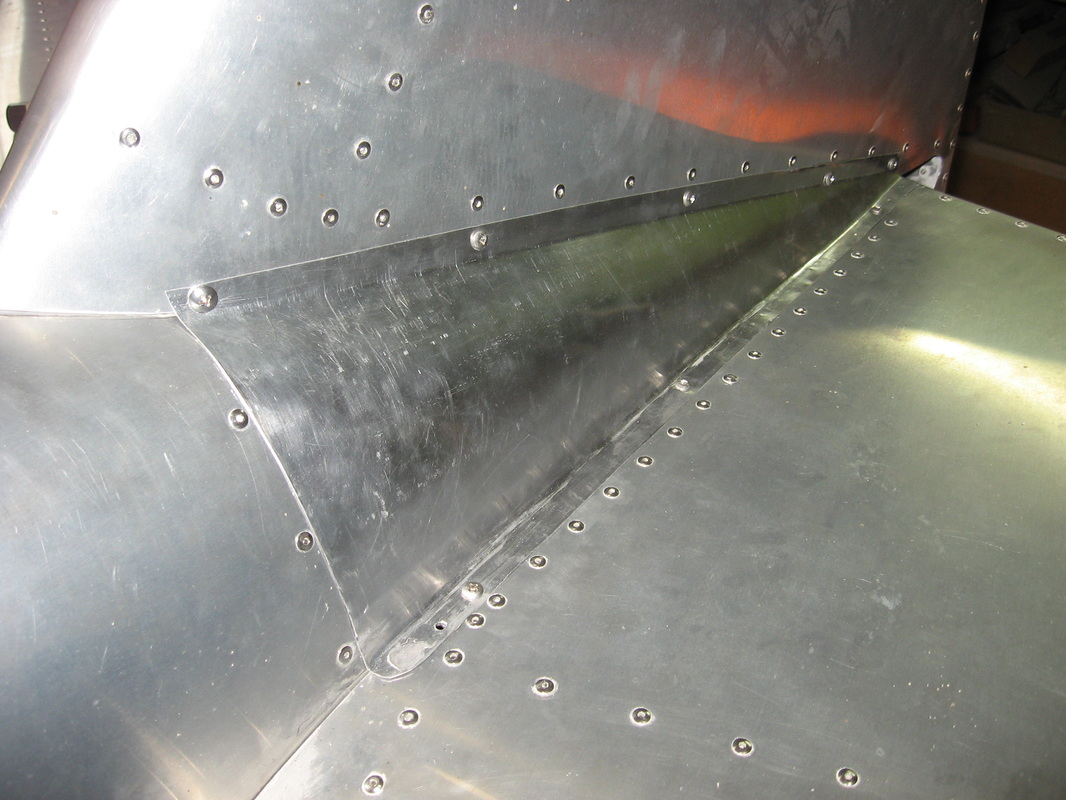
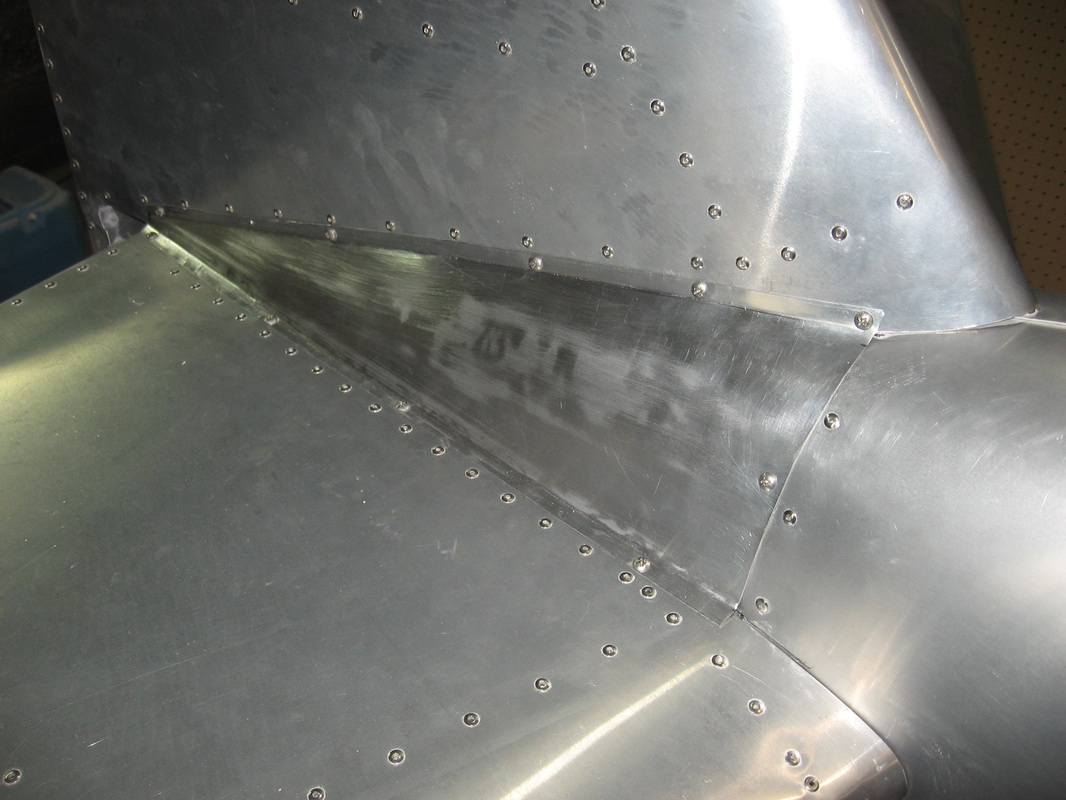
Not the easiest place to get nut plates in but doable.
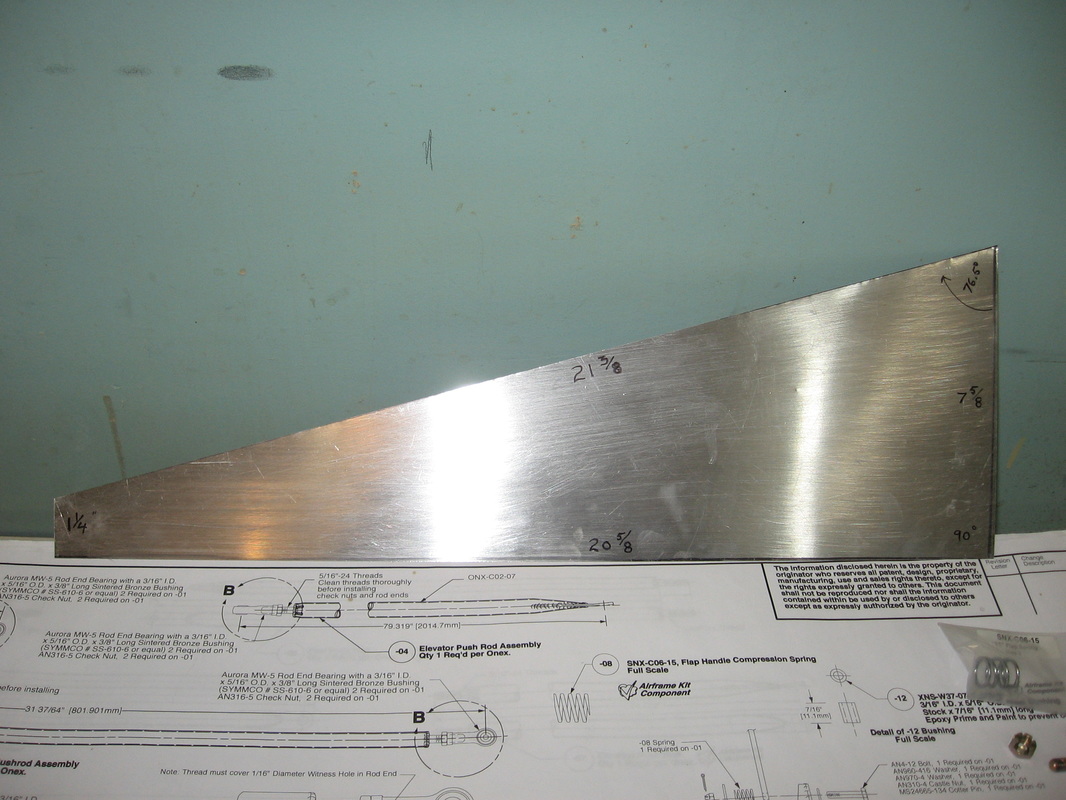
The upper right on each side has no nut plate behind it for obvious reasons and the rear left on the one side also has no nut plate.I found the nut plate screws went in nicely in these nutplateless places.How long they will stay is another matter.If I see that they are beginning to back out on my walk arounds I will replace them with metal screws.The next photo is the blank size I started with for each side.I used thin utility aluminum.
The upper right on each side has no nut plate behind it for obvious reasons and the rear left on the one side also has no nut plate.I found the nut plate screws went in nicely in these nutplateless places.How long they will stay is another matter.If I see that they are beginning to back out on my walk arounds I will replace them with metal screws.The next photo is the blank size I started with for each side.I used thin utility aluminum.