Inboard Spar Build
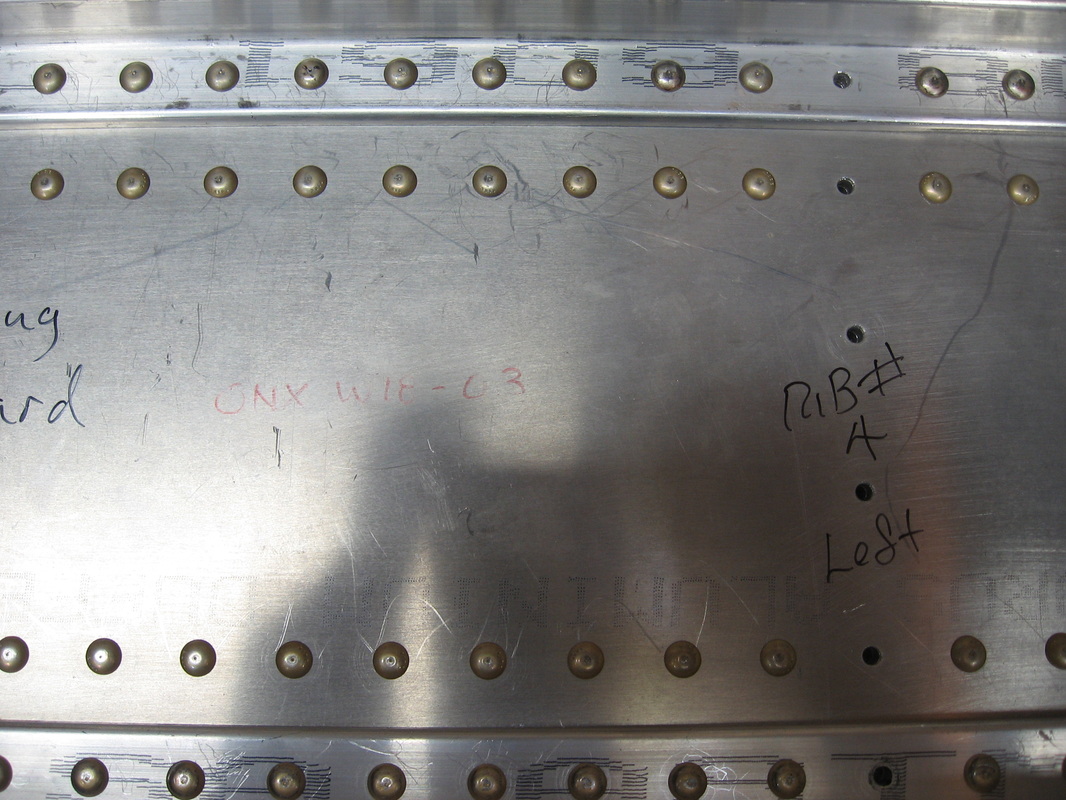
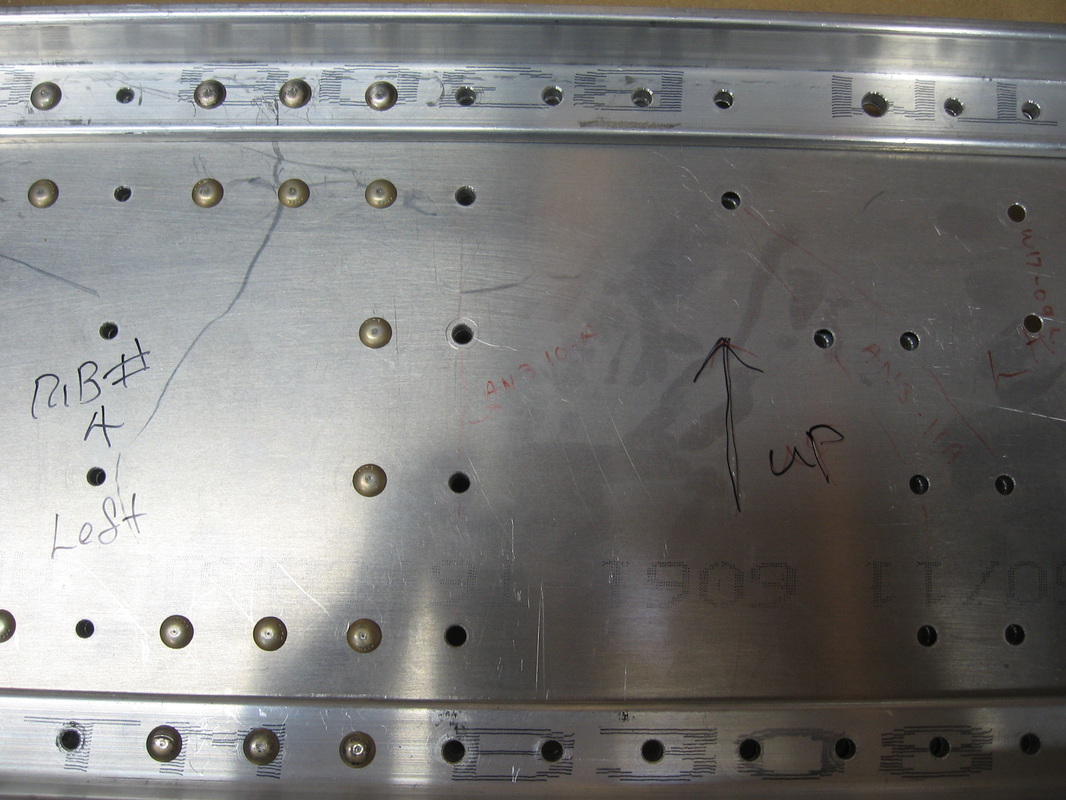
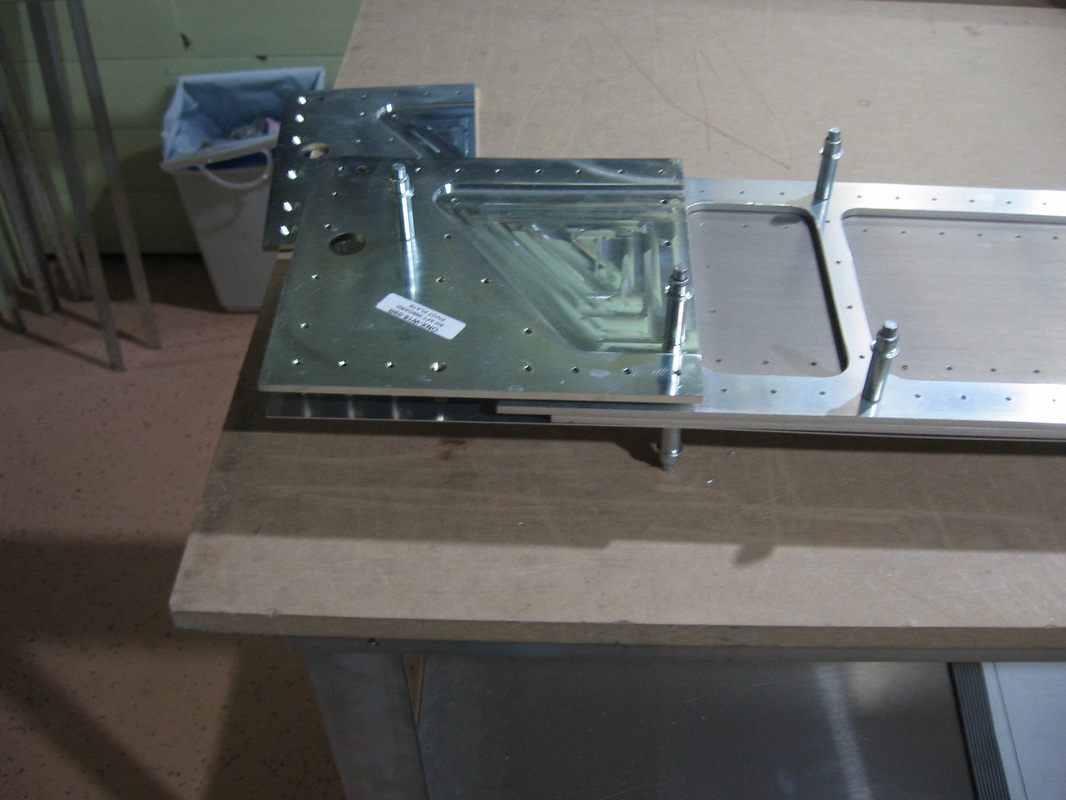
The Stack up as shown in the plans leaves a bit to be desired but after a while I got it straight.Here are a couple pics showing how they stack up :)
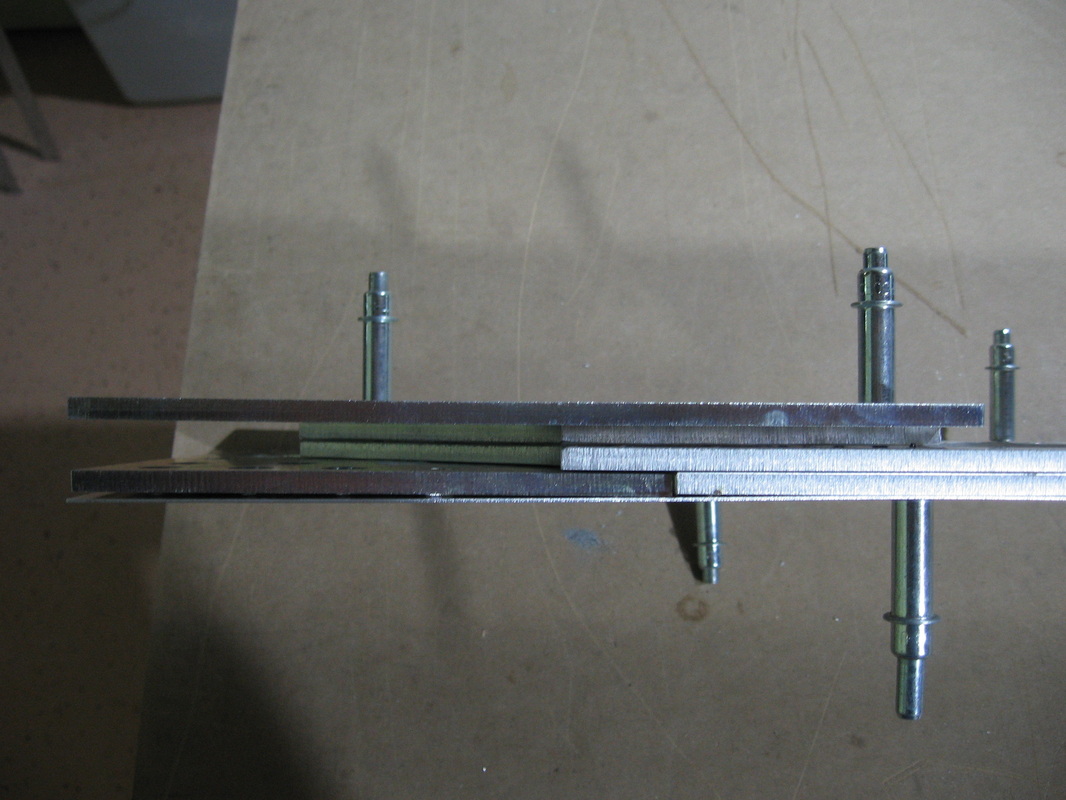
From the bottom to the top
ONX W18-03 Inboard Web
-05 Inboard Pivot Plate,then -04 Forward Web
-06 Aft Web
-10 Spacer
-09 Aft Pivot Plate
ONX W18-03 Inboard Web
-05 Inboard Pivot Plate,then -04 Forward Web
-06 Aft Web
-10 Spacer
-09 Aft Pivot Plate
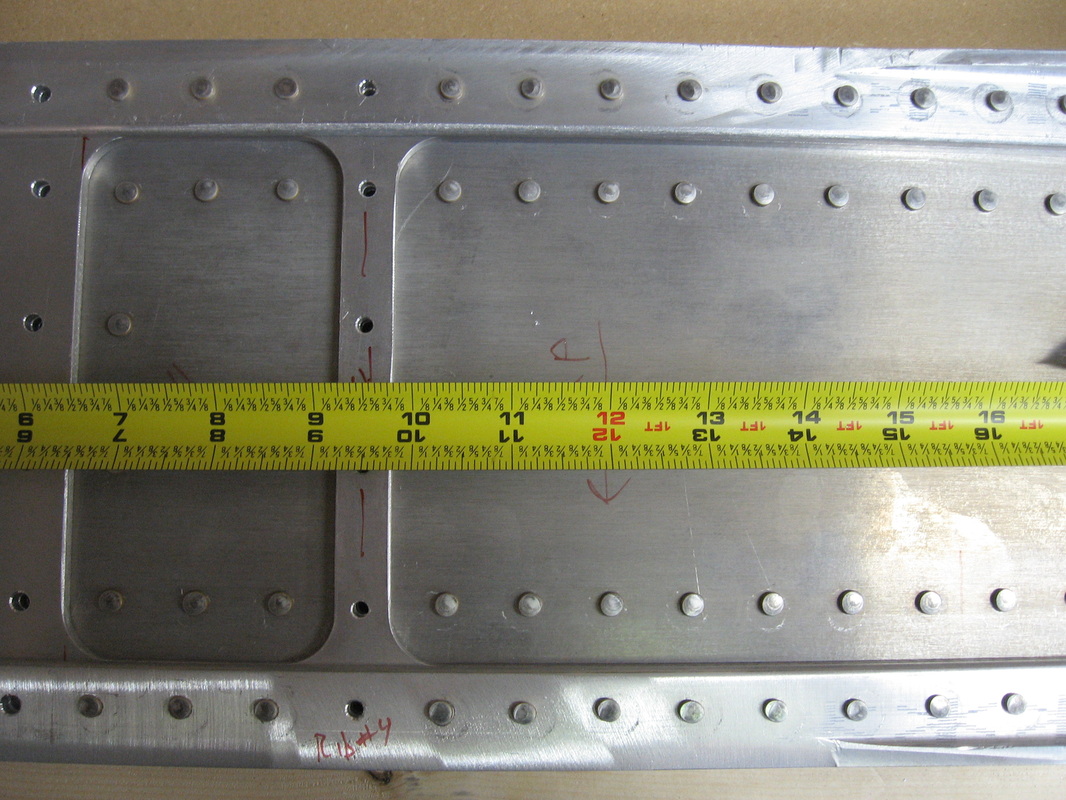
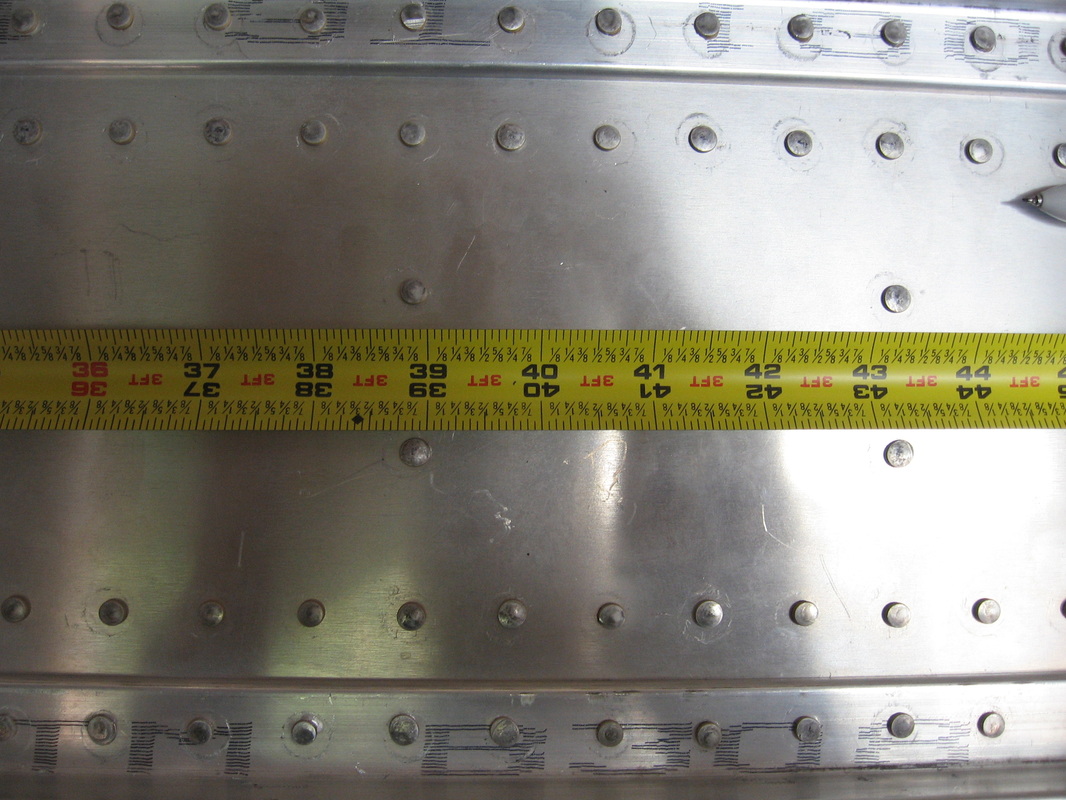
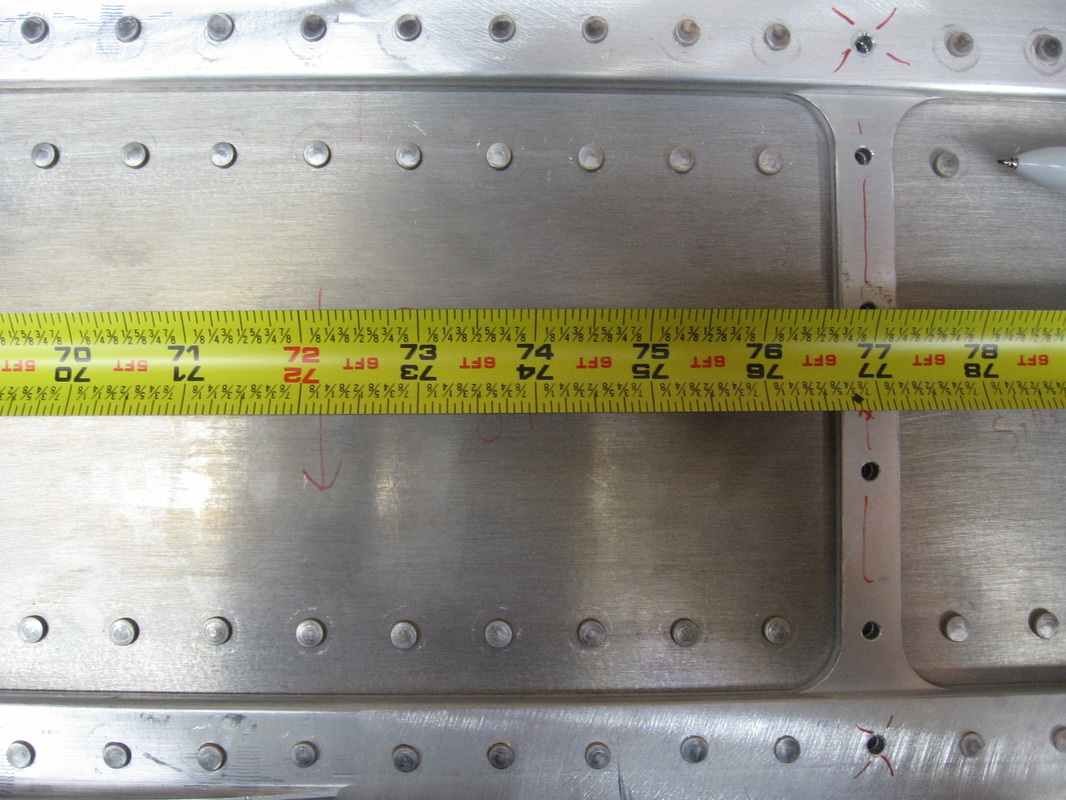
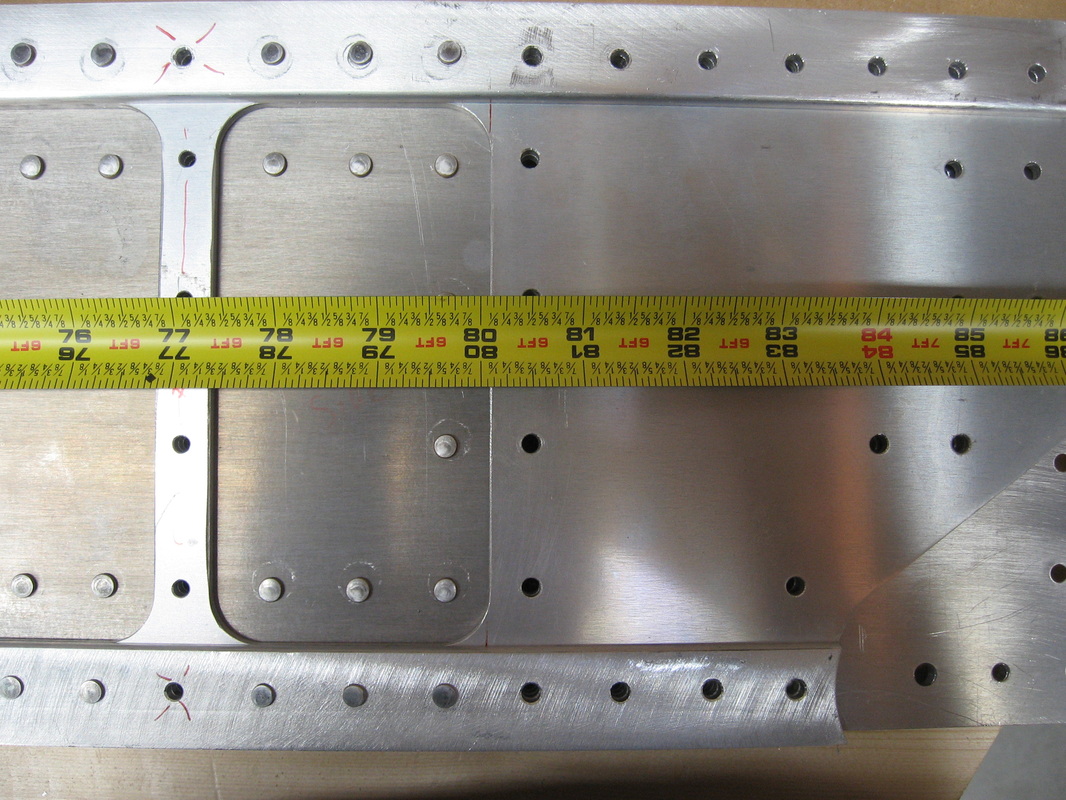
Removing the end plates I clecoed the 3 long pieces together and began up drilling (This is after drilling everything to 3/32" ) to the eventual #21 drill bit. Starting with 1/8"
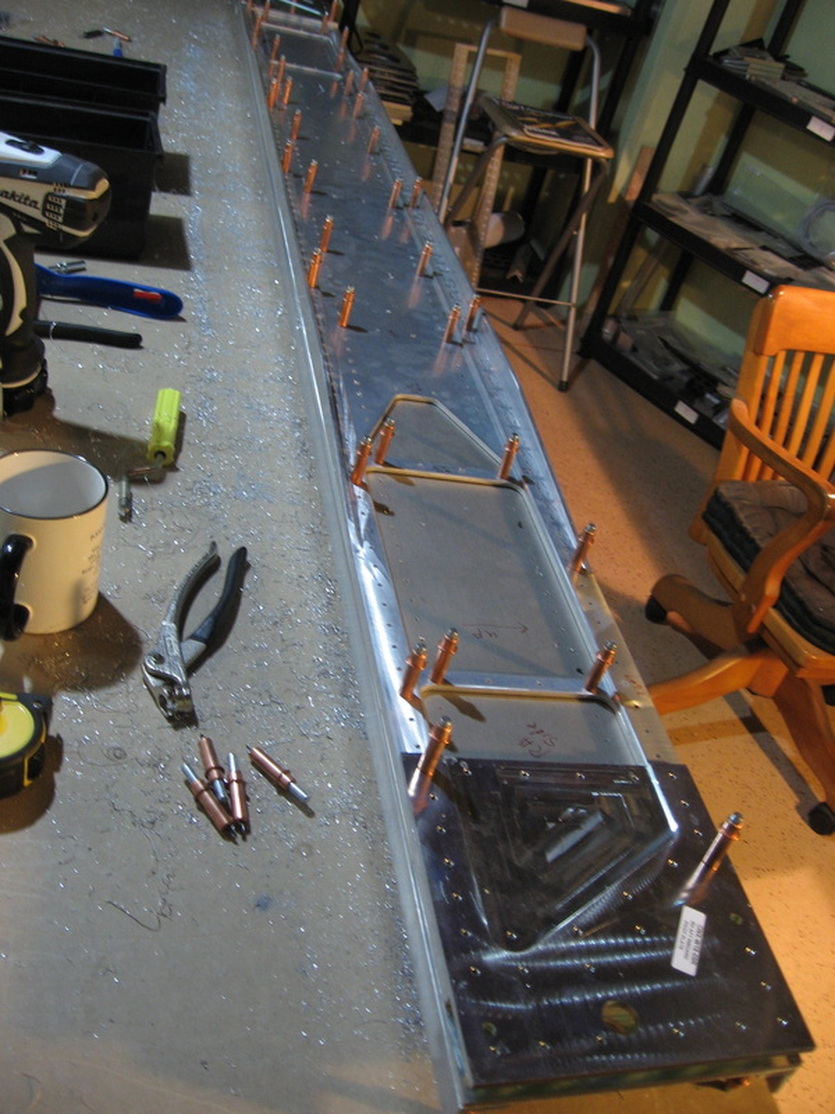
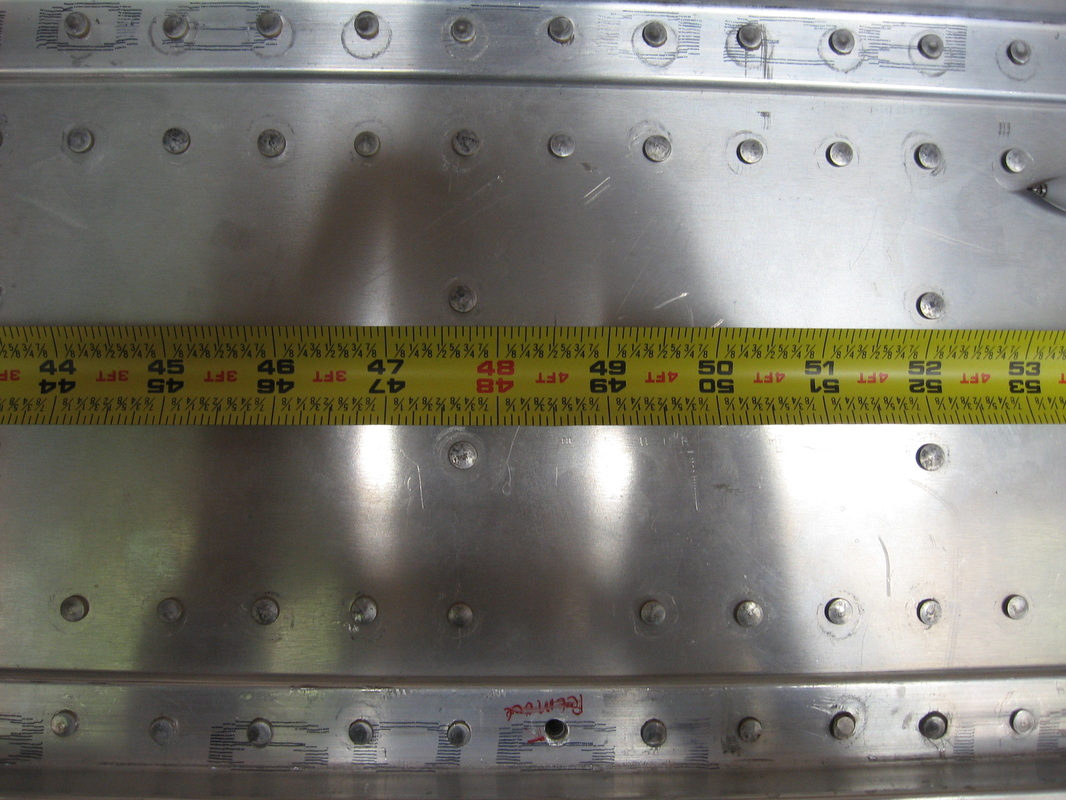
About 5 hours invested so far in building the inboard spar.Everything here up drilled to 1/8".So far I'm feeling pretty good about not buying the finished Spars. Not for the price they wanted anyway,but time will tell.:)
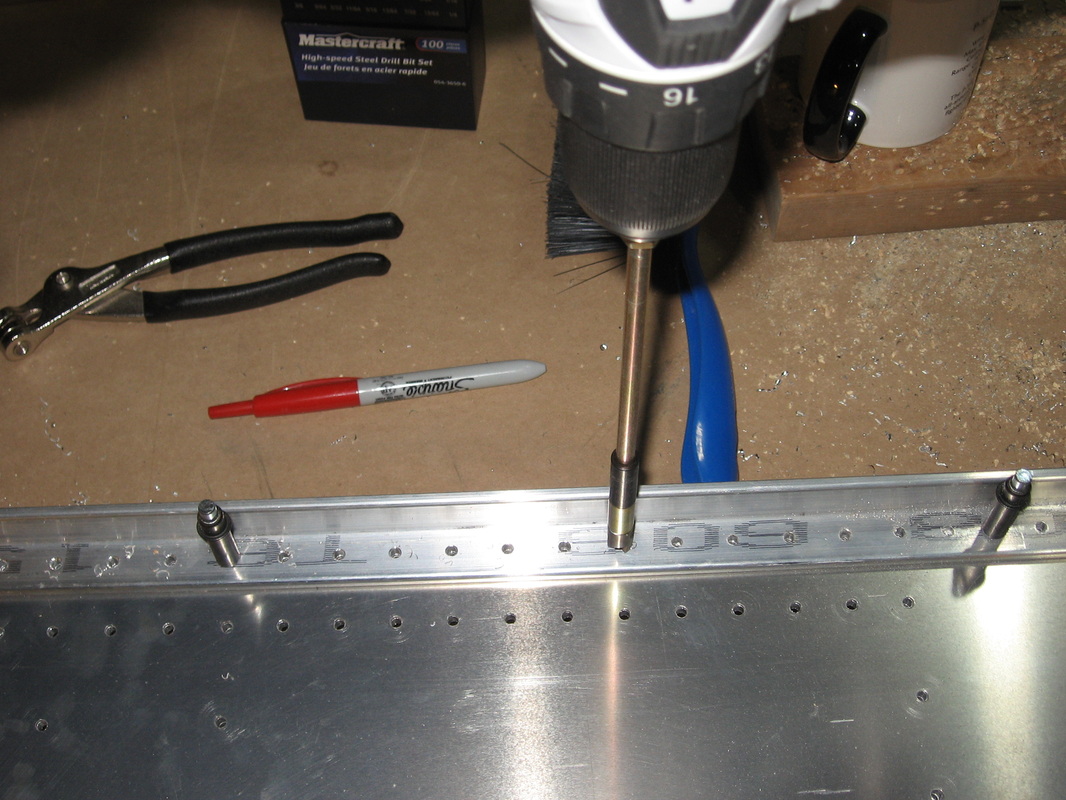
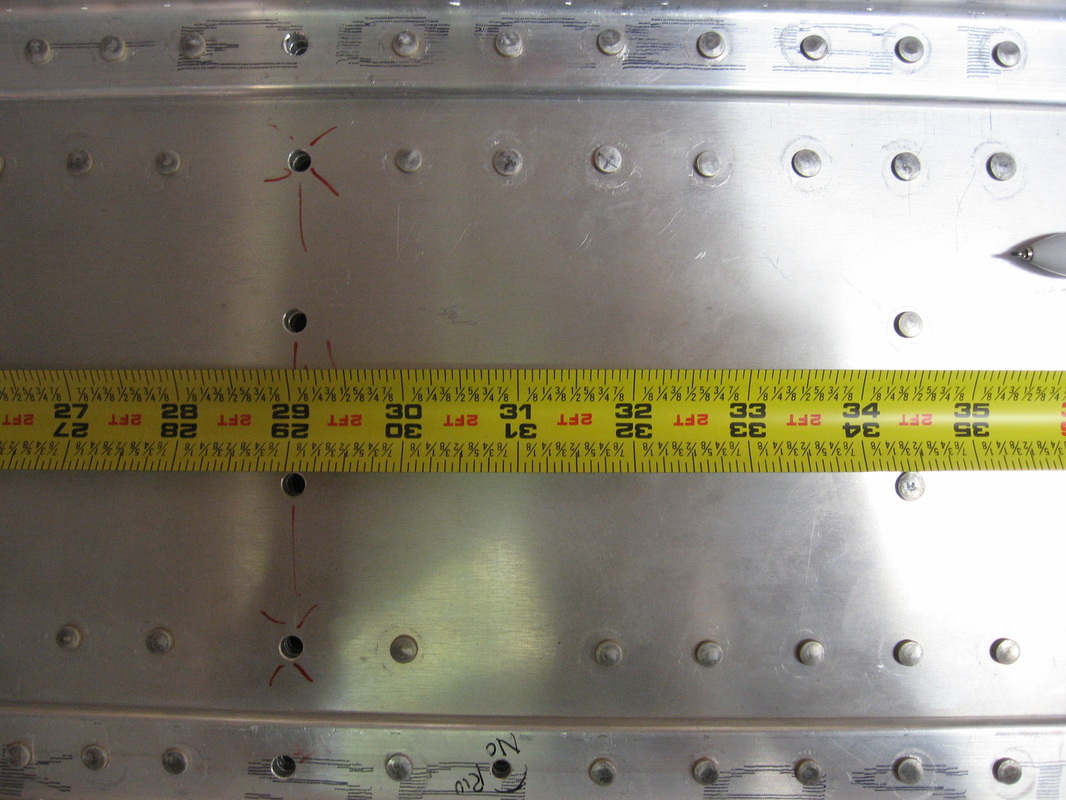
With approximately 450 holes to up drill and then debur I chucked the debur bit onto my drill to speed up the process . That's well over 3000 times but with some good tunes on the radio it goes pretty good..
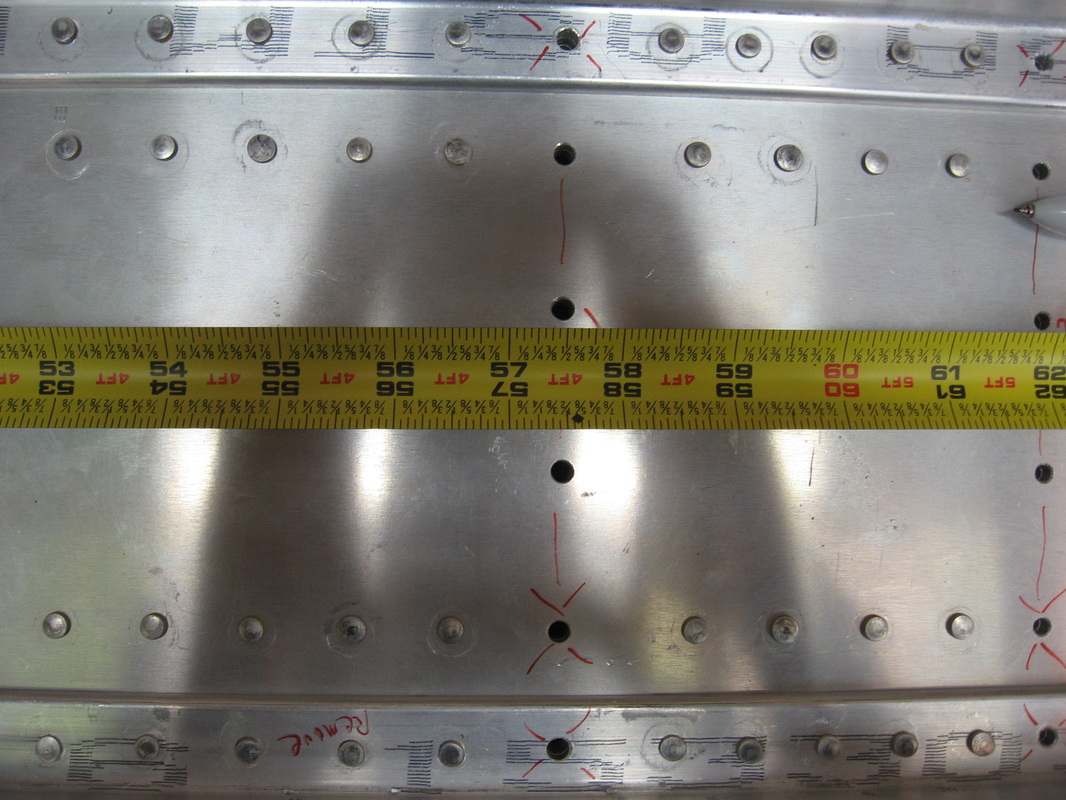
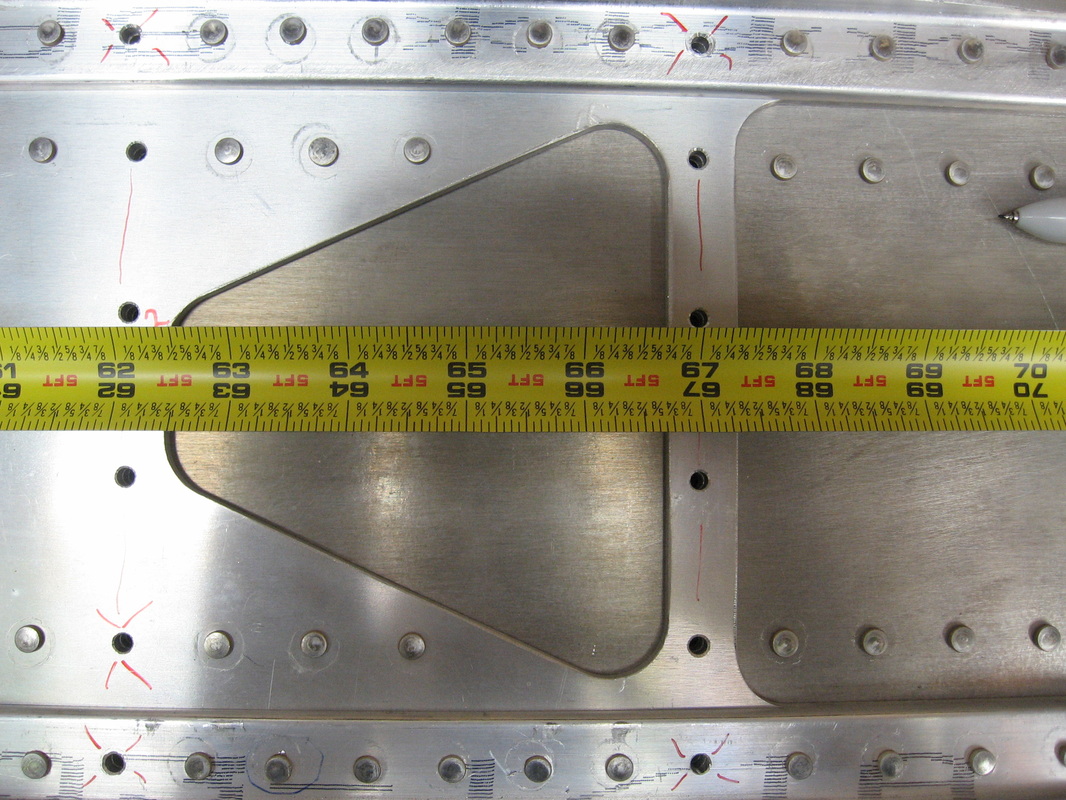
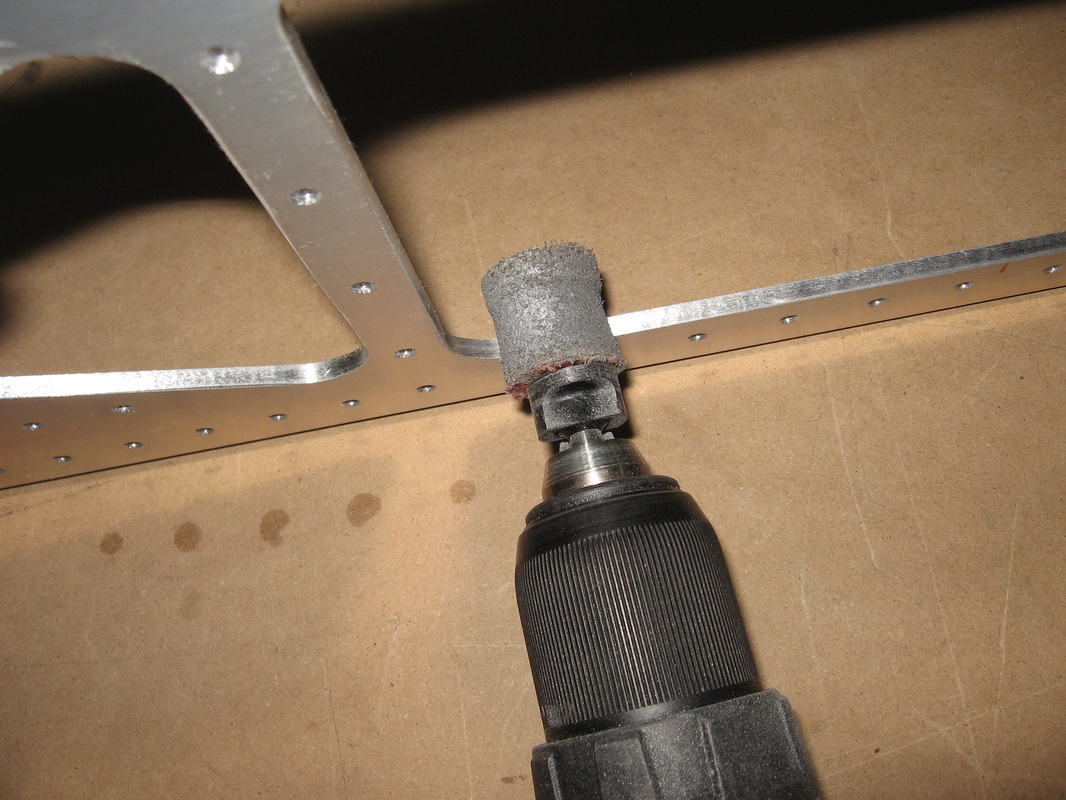
I have about 13 hours invested so far.All holes up drilled and debured both sides of every layer.Now I'm waiting for a 3-m unitized wheel to chuck on my hand drill so I can smooth all the edges of stress risers.I have done all the small parts on the big wheel.
|
|
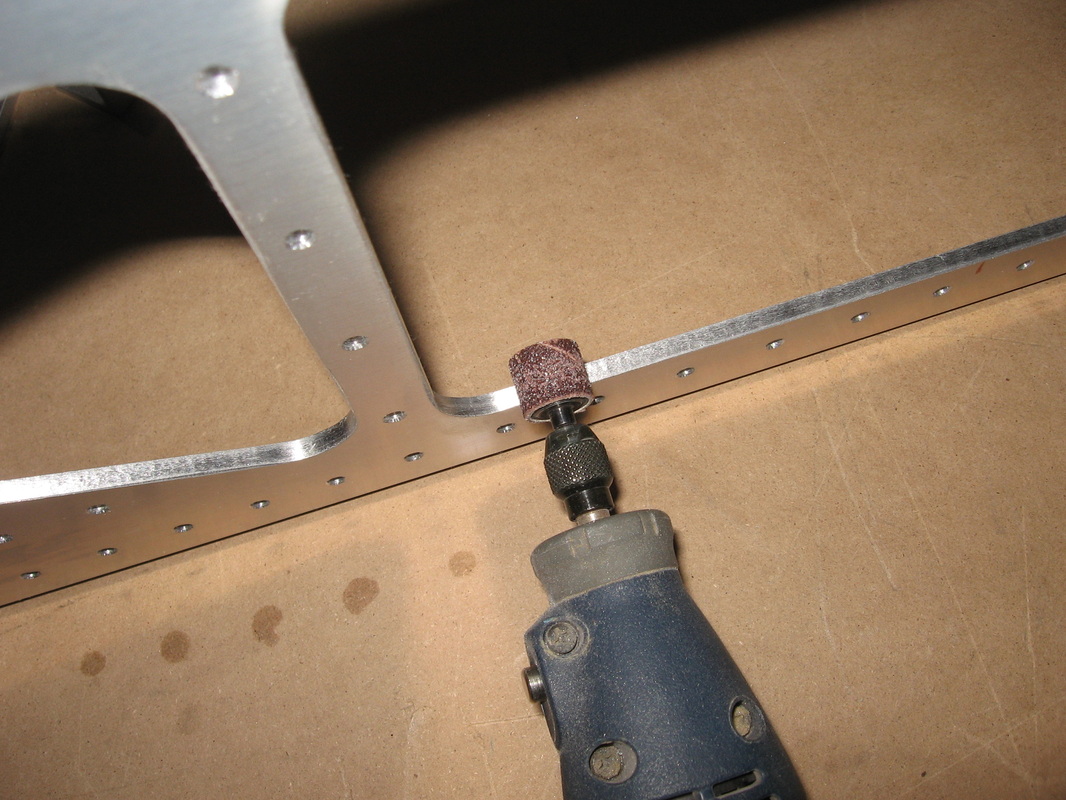
The quickest way I found to eliminate the stress risers around all the edges was this sanding wheel on my dremel tool followed by a 3M unitized wheel to smooth it out
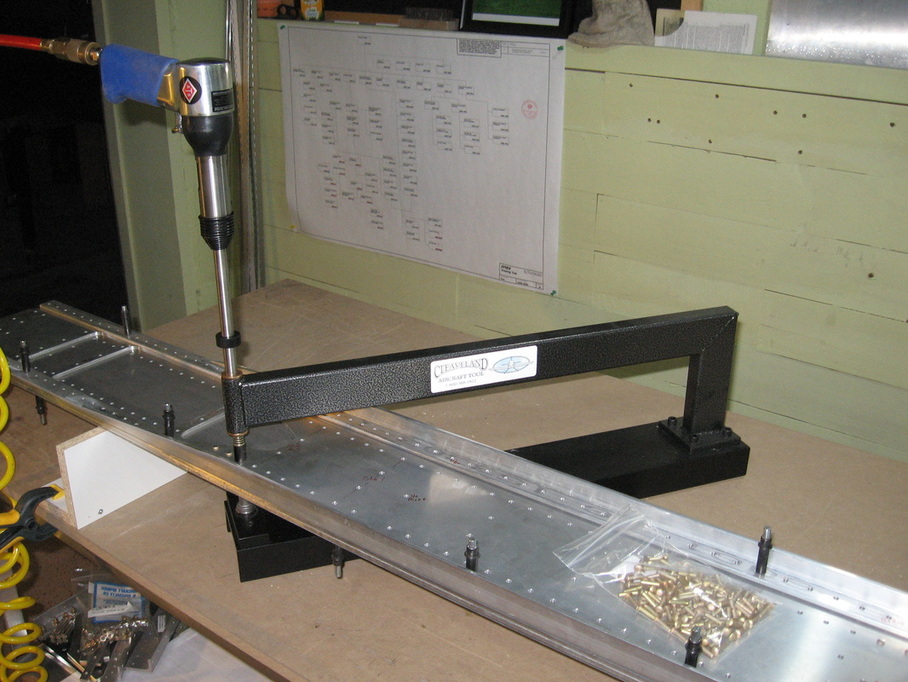
With the $2250 I saved not buying the finished spar I bought this c-frame from Cleveland Tools and a 3X rivet gun from ACS(about $350 total).I cut those white stands so that when I slide the cup under the rivet head there is no play.Pull the trigger for 2 seconds and you have a perfect set rivet every time.Beats banging with a hammer any day.
A word to the wise though.Make sure the c-frame is sitting on a solid surface,one that has no bounce or give as this will prevent the rivet from seating snuggly with no gap under the head of the rivet.I started getting a gap .002 to .006 and contacted Cleveland tools and they advised me to make sure the table was rock solid.I have switched to an outdoor table made out of cement and problem solved.
A word to the wise though.Make sure the c-frame is sitting on a solid surface,one that has no bounce or give as this will prevent the rivet from seating snuggly with no gap under the head of the rivet.I started getting a gap .002 to .006 and contacted Cleveland tools and they advised me to make sure the table was rock solid.I have switched to an outdoor table made out of cement and problem solved.
Consistent results guaranteed every time .http://bcove.me/lsk9cbja Check out this EAA Webinar to see how easy it really is.I would estimate that all the rivets can be set using the above method in under 3 hours.I had a couple rivet heads sit slightly askew after riveting and found that running the drill bit through all the holes just before riveting assures a perfectly square rivet head to surface mating .
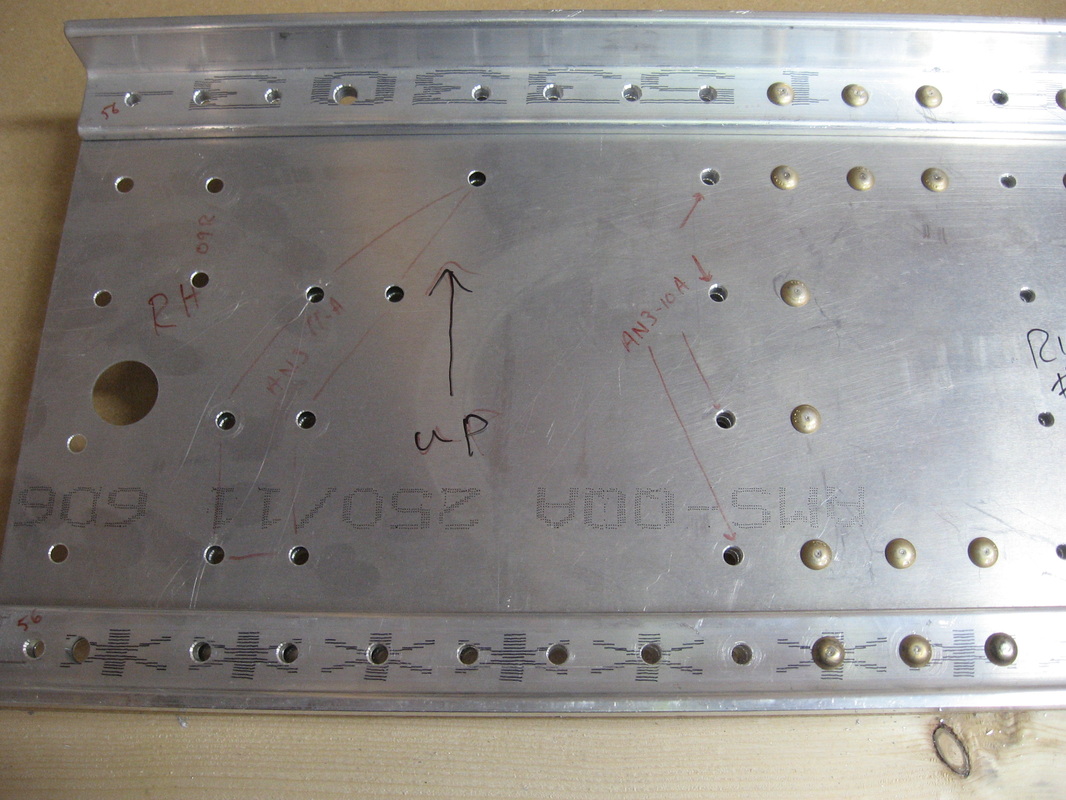
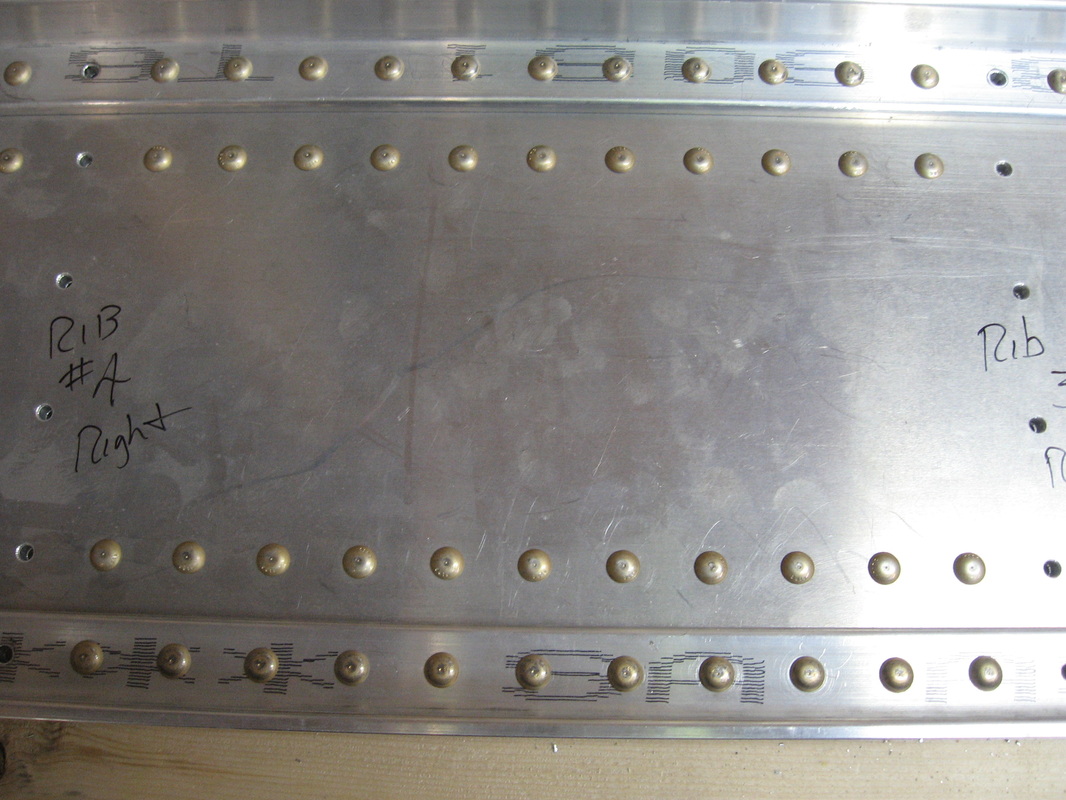
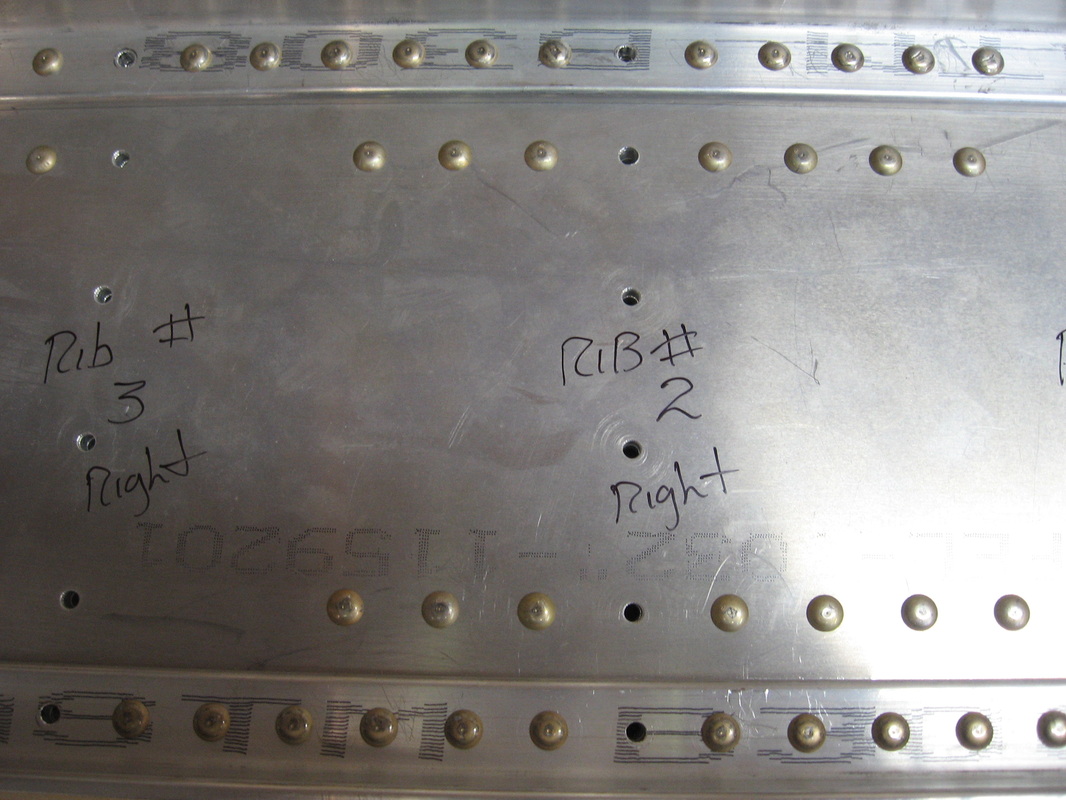
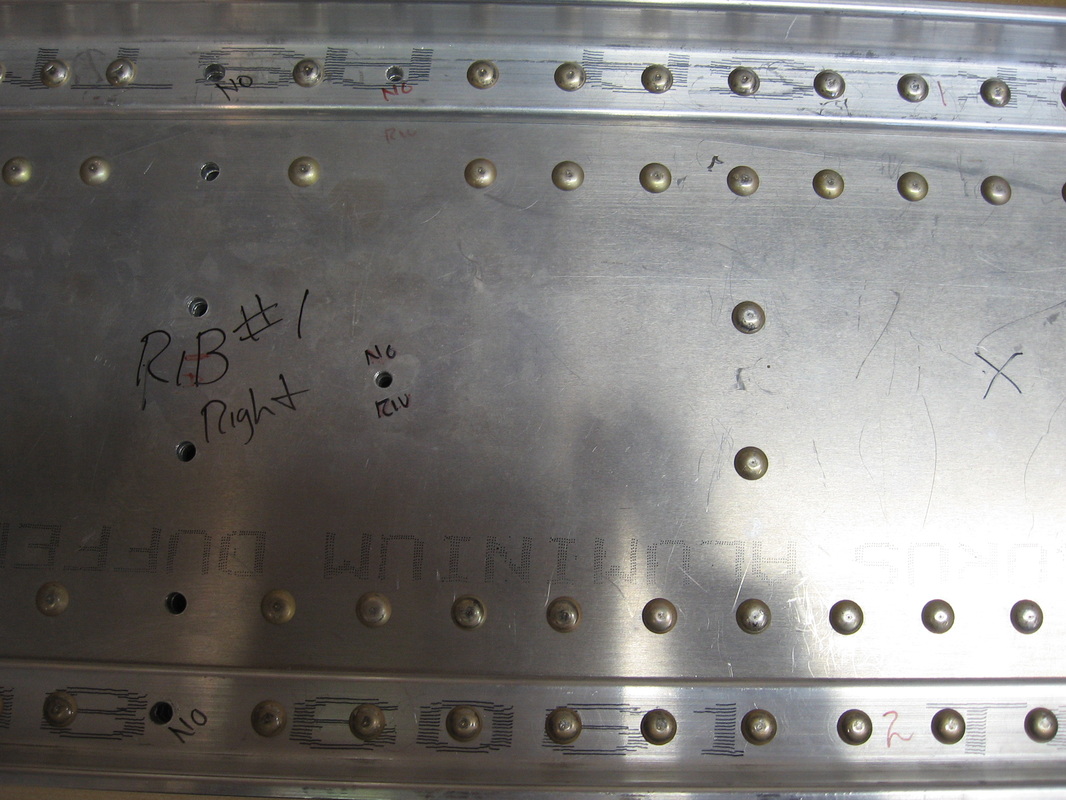
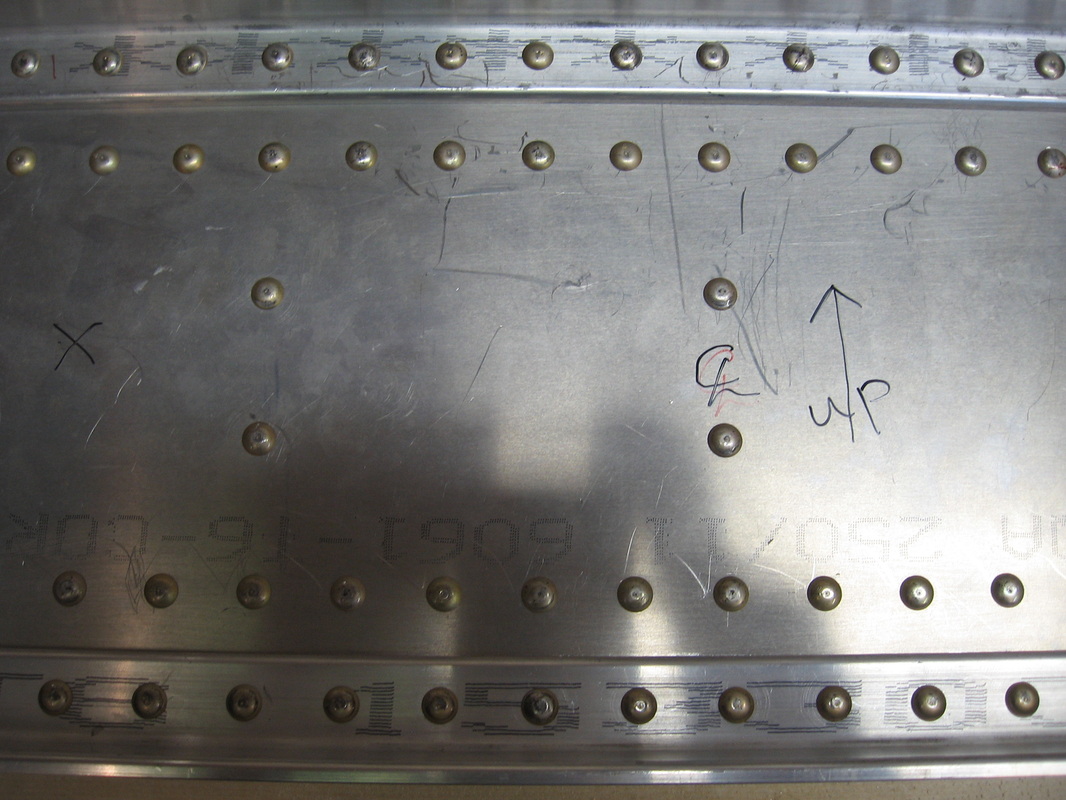
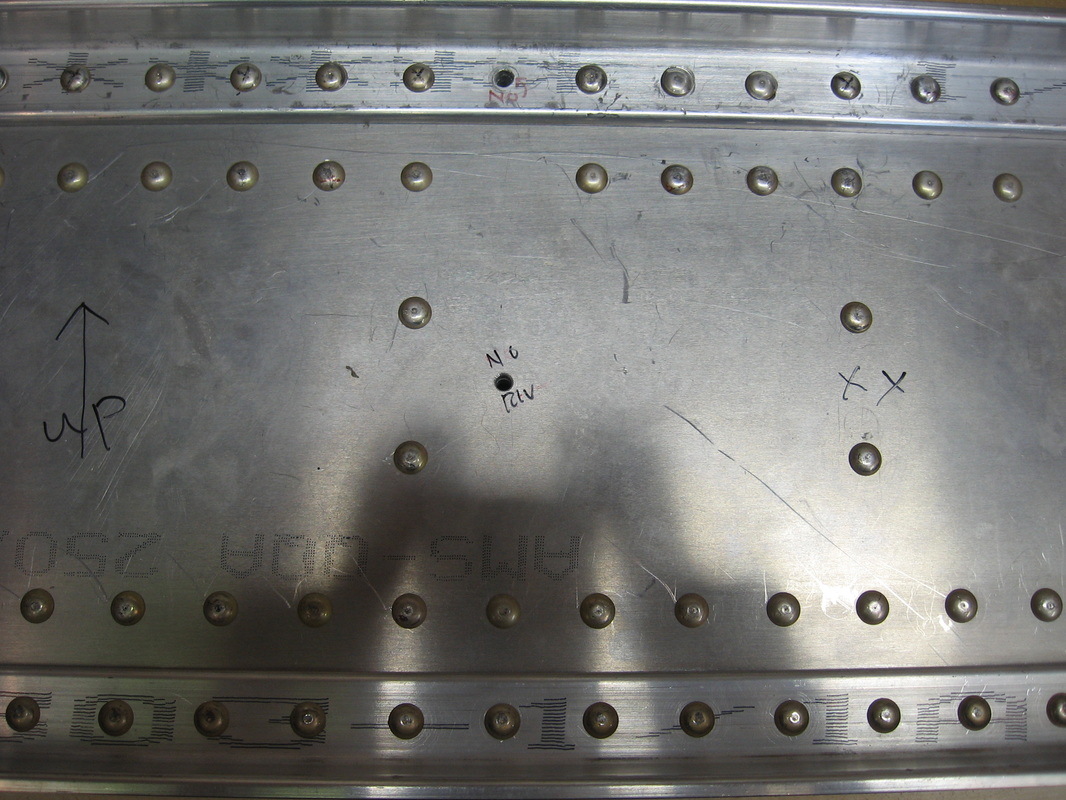
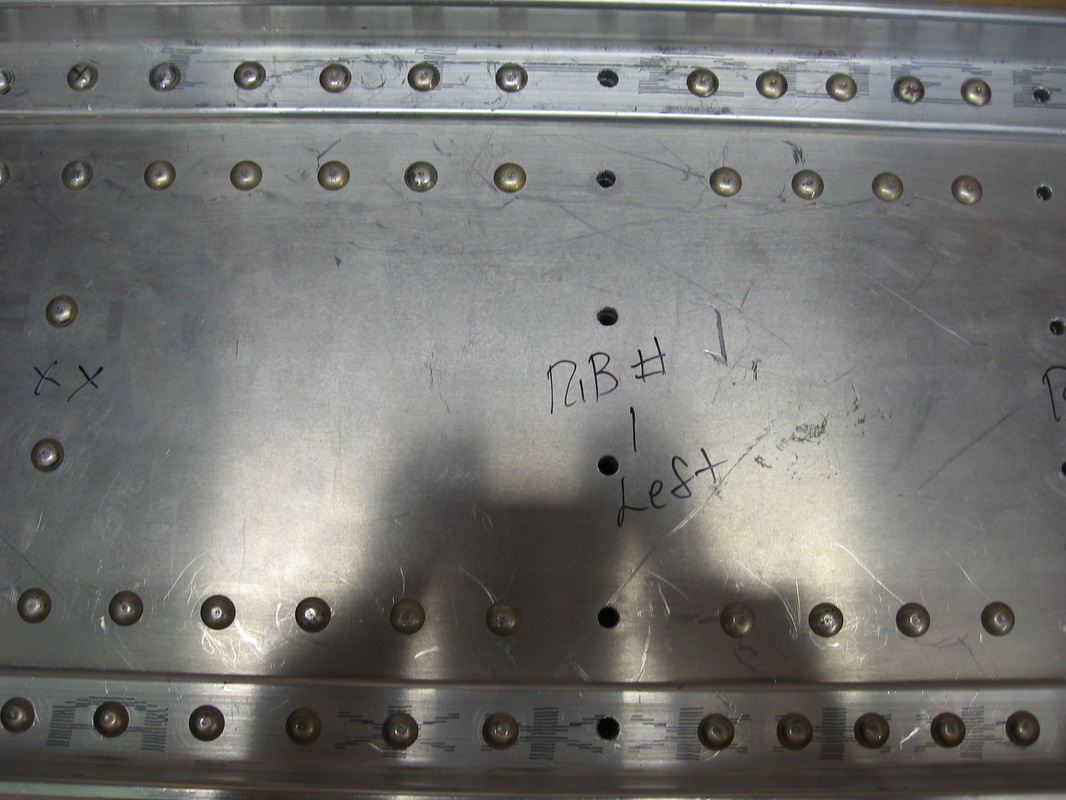
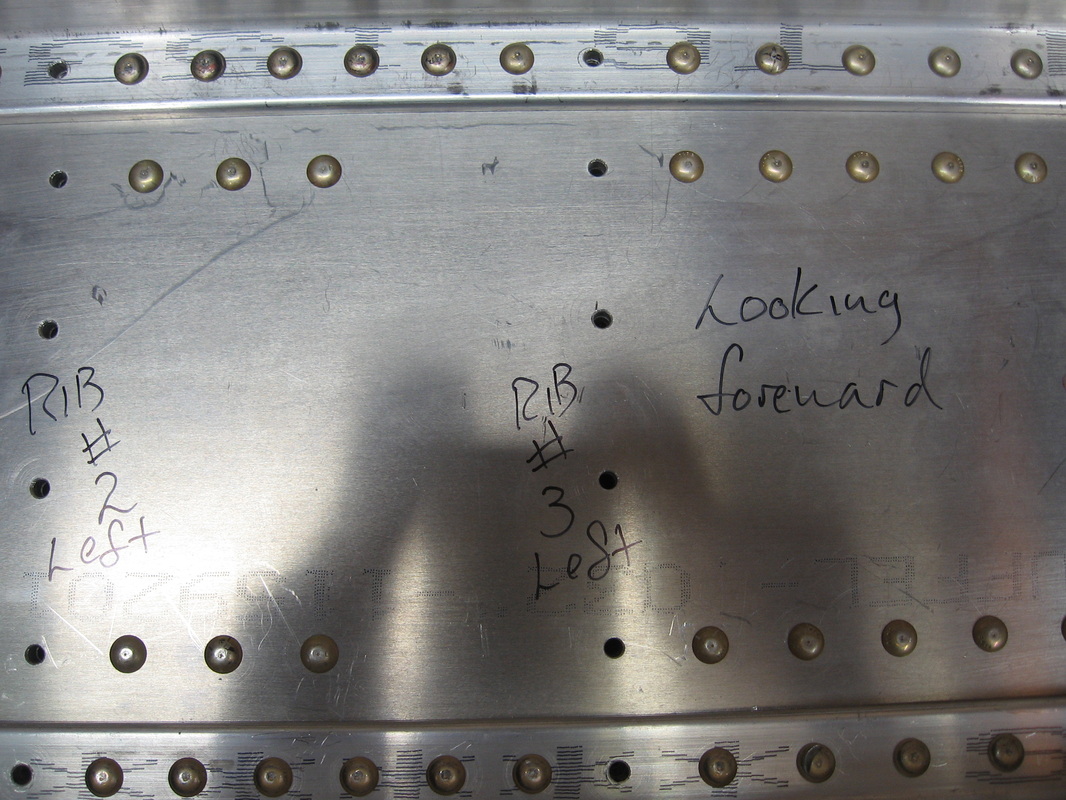
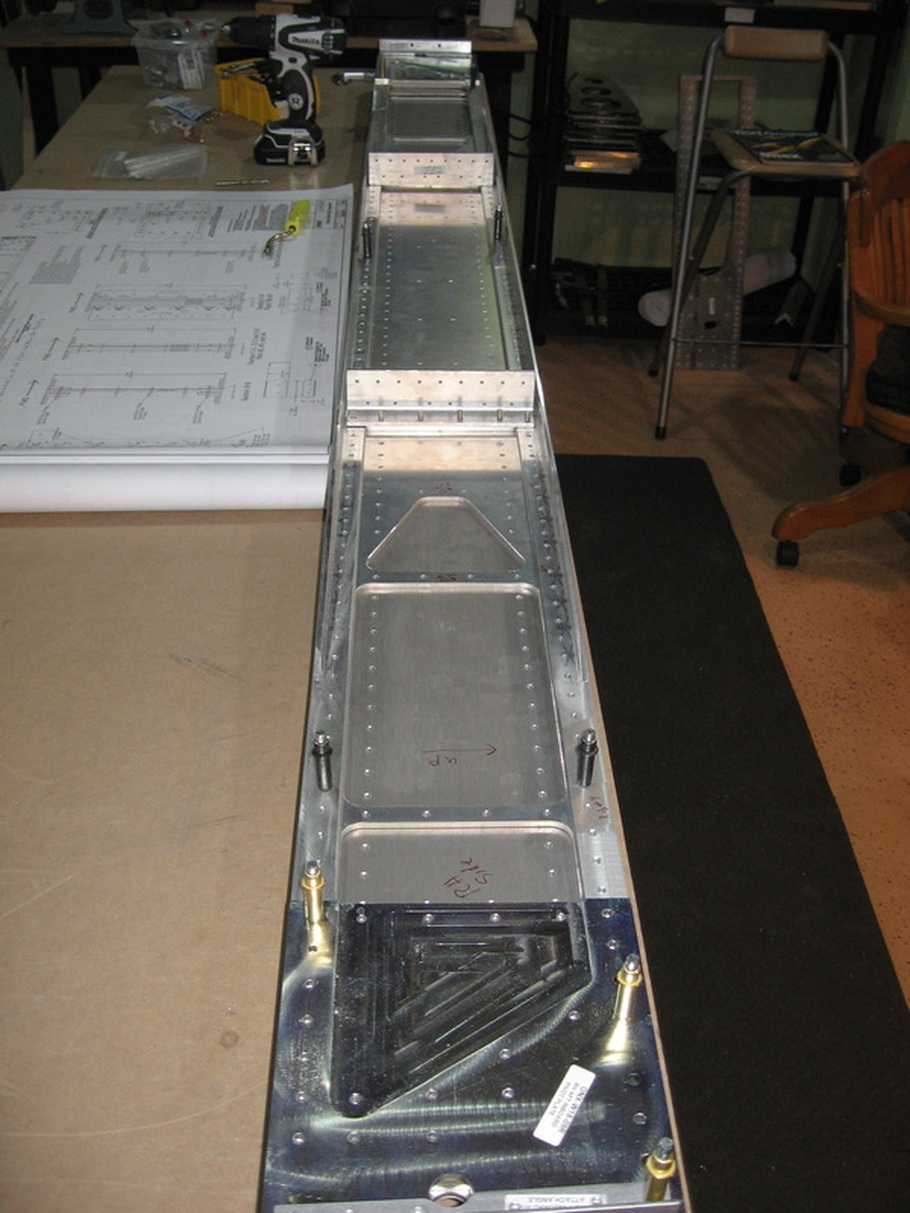
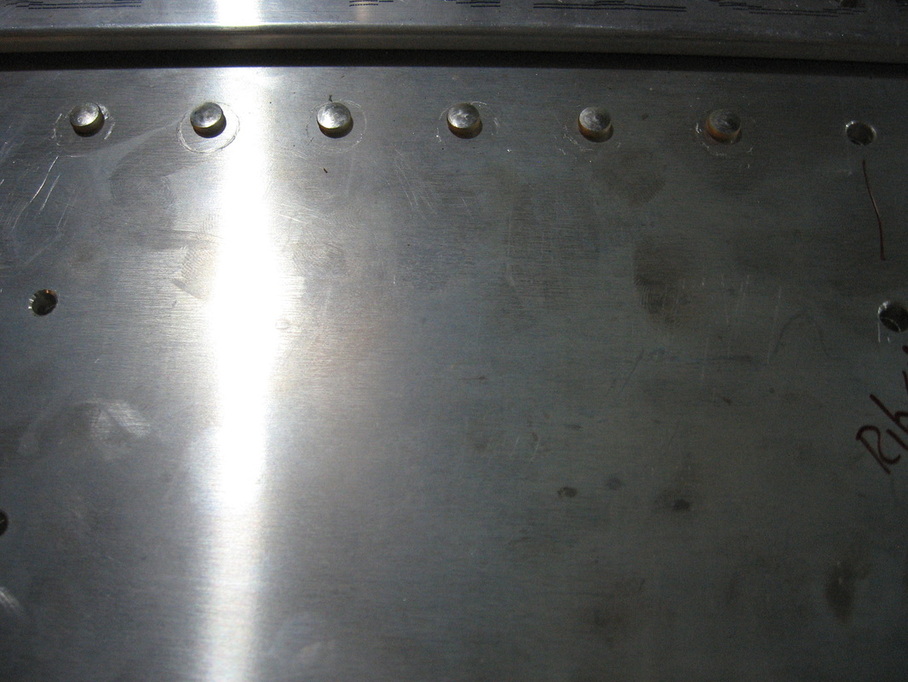
SOLID RIVETS COMPLETED
THE FOLLOWING PHOTOS SHOW THE INBOARD SPAR ON BOTH SIDES WITH ALL THE RIVETS FINISHED.I INCLUDE THESE PHOTOS FOR ANY FUTURE REFERENCE.ALL RIVETS WERE CHECKED WITH A 002 THOUSANDS FEELER GAGE AND ALL THE RIVETS PASSED AS THE FEELER GAGE WOULD NOT FIT UNDER ANY OF THEM.