
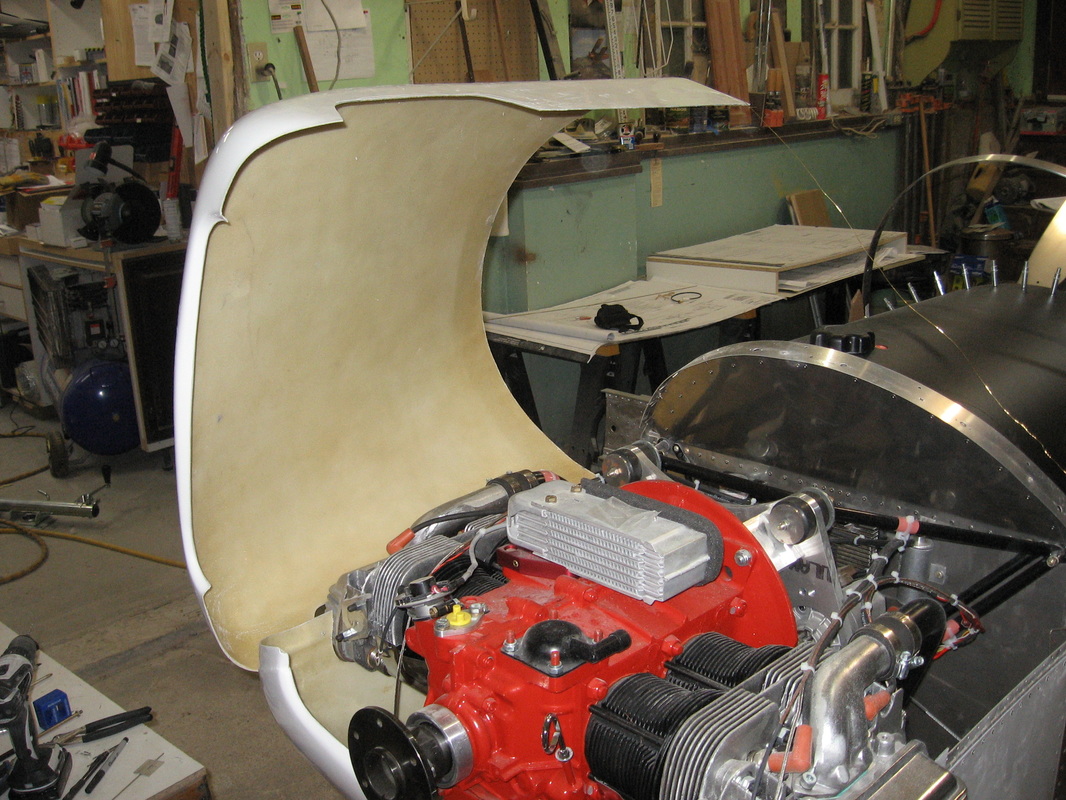
Lower Cowling
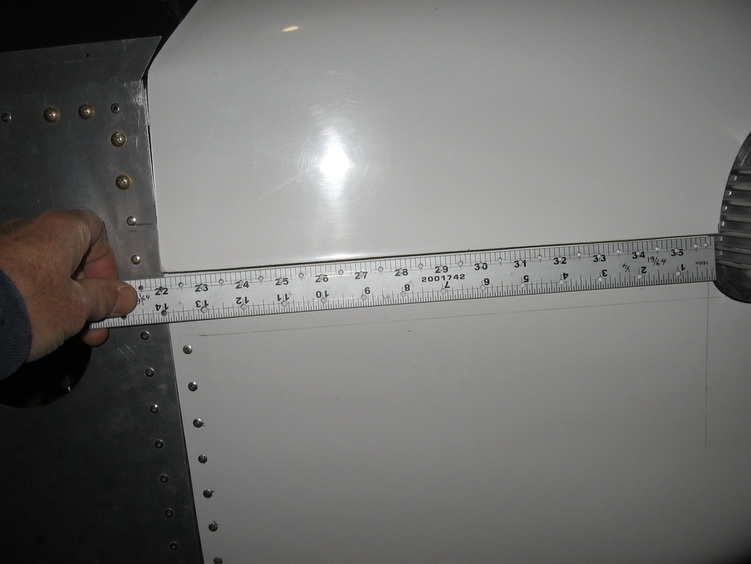
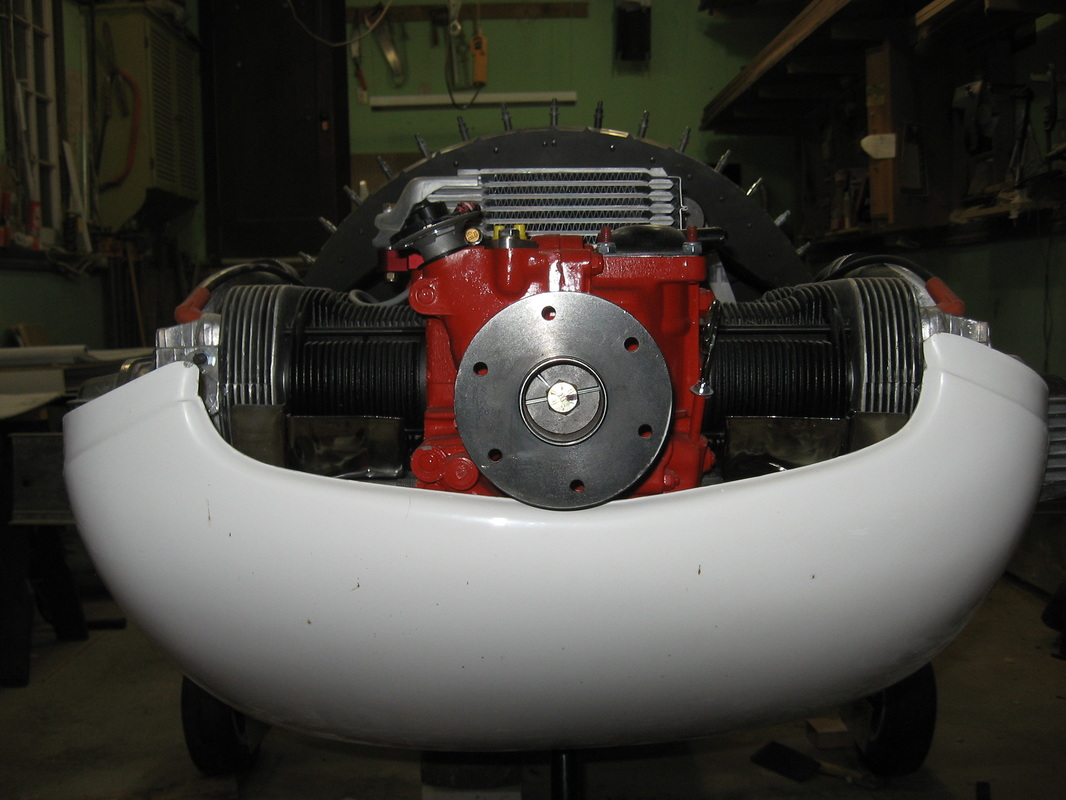
For the lower cowl what I did was measure from the firewall to the left side of the valve cover and then from the firewall to the right side of the valve cover.To accurately measure the right side I used a laser level and set the vertical line just in front of the valve cover and then measured to the firewall.
Measuring from the bottom of the cowl to the upper edge and make a mark on the upper fuse where the lower cowl ends.You can just see the pencil mark.
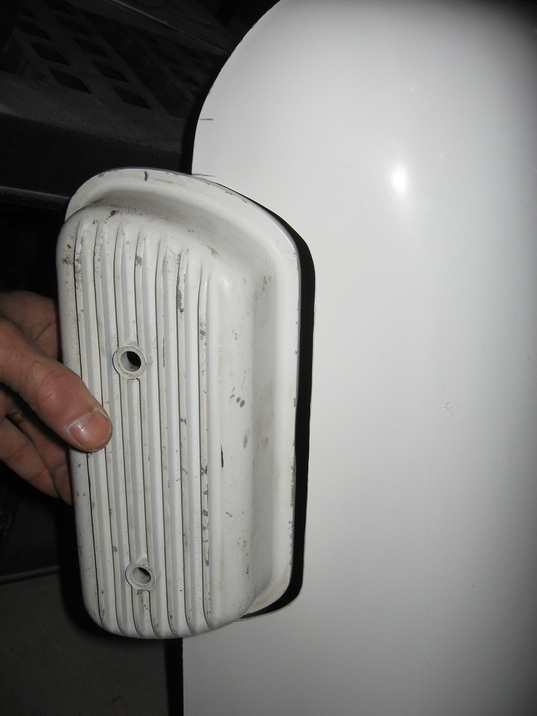
Note where that mark intercepts the valve cover.Beg borrow or steel a spare valve cover and you can now accurately place it between your 2 measurements front and back of cover and where the mark on the upper fuse intersected the cover is where you will lay it on the cowl.Think it through mark,measure and cut.I used a dremel with a cutoff wheel.
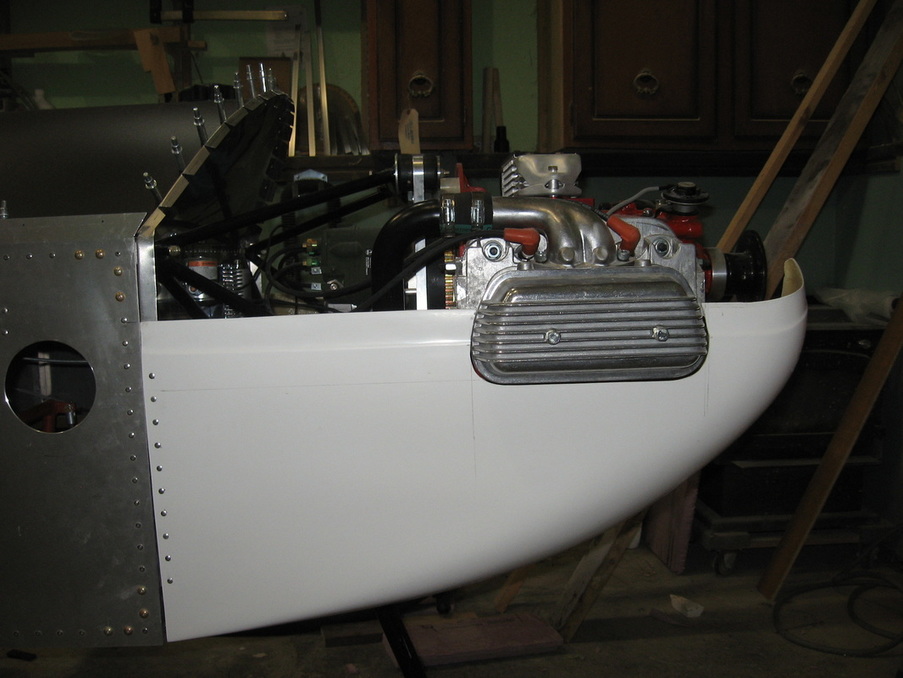
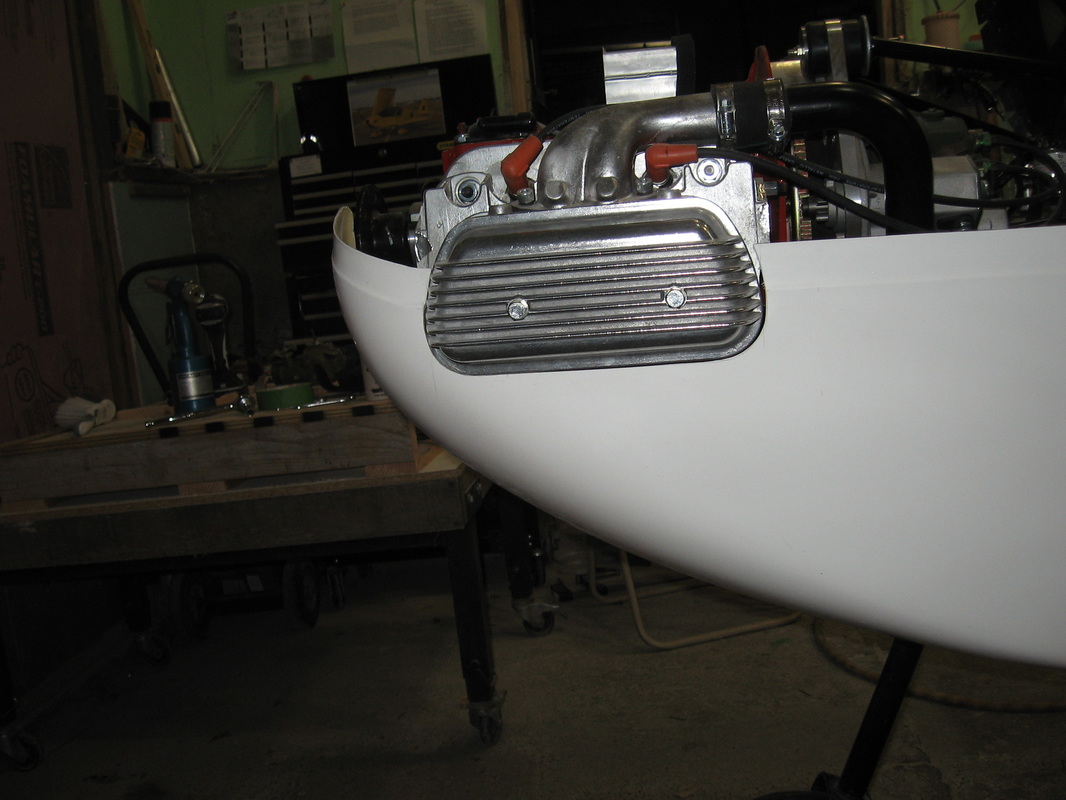
I accurately cut both sides this way and had to clean up very little to get a clearance between the cowl and the valve cover.
A word about the actual hanging of the lower cowl.When I attached the hinge halves together the left side was fine but the right side hung at least 3/4" low at the front .Even though the cowl sides rested snugly against the fuse sides and bottom.
Only explanation is that the cowl was not made symetrical.Sonex will tell you they all come out of the same mold,but in the end they all come out slightly different.A friend from Australia has issues with the upper cowl in that it stuck up too far.
What ever the problem it has to be made to work.In my case I had to remove the rivets from the cowl side and replace it with a p4 size which allowed me to lift the cowl at the front to where it should sit and then I drilled the new holes into the new p4 hinge half.The cowl has a 1/4" gap at the bottom but I can live with that.
The bottom cowl hinge halves were installed and drilled after the sides were correct.
Measuring from the bottom of the cowl to the upper edge and make a mark on the upper fuse where the lower cowl ends.You can just see the pencil mark.
Note where that mark intercepts the valve cover.Beg borrow or steel a spare valve cover and you can now accurately place it between your 2 measurements front and back of cover and where the mark on the upper fuse intersected the cover is where you will lay it on the cowl.Think it through mark,measure and cut.I used a dremel with a cutoff wheel.
I accurately cut both sides this way and had to clean up very little to get a clearance between the cowl and the valve cover.
A word about the actual hanging of the lower cowl.When I attached the hinge halves together the left side was fine but the right side hung at least 3/4" low at the front .Even though the cowl sides rested snugly against the fuse sides and bottom.
Only explanation is that the cowl was not made symetrical.Sonex will tell you they all come out of the same mold,but in the end they all come out slightly different.A friend from Australia has issues with the upper cowl in that it stuck up too far.
What ever the problem it has to be made to work.In my case I had to remove the rivets from the cowl side and replace it with a p4 size which allowed me to lift the cowl at the front to where it should sit and then I drilled the new holes into the new p4 hinge half.The cowl has a 1/4" gap at the bottom but I can live with that.
The bottom cowl hinge halves were installed and drilled after the sides were correct.
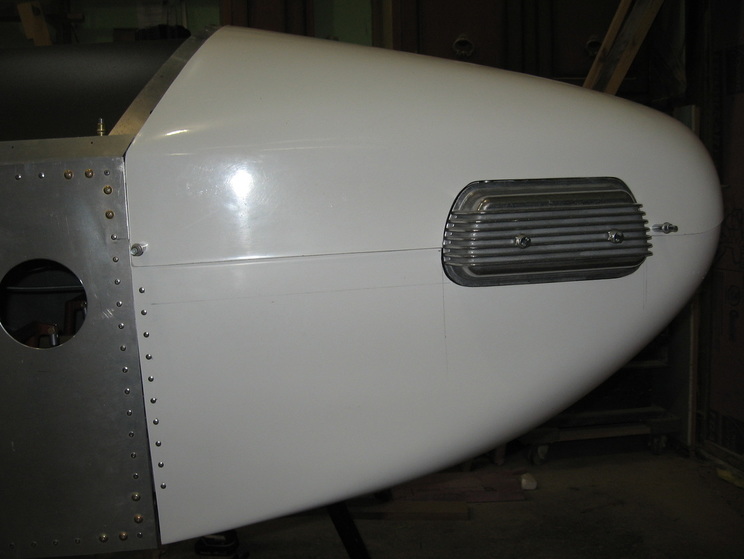
My spare valve cover used as a template for the upper cowl ,measured the same way as the lower was.
Note the gap lower left.
|
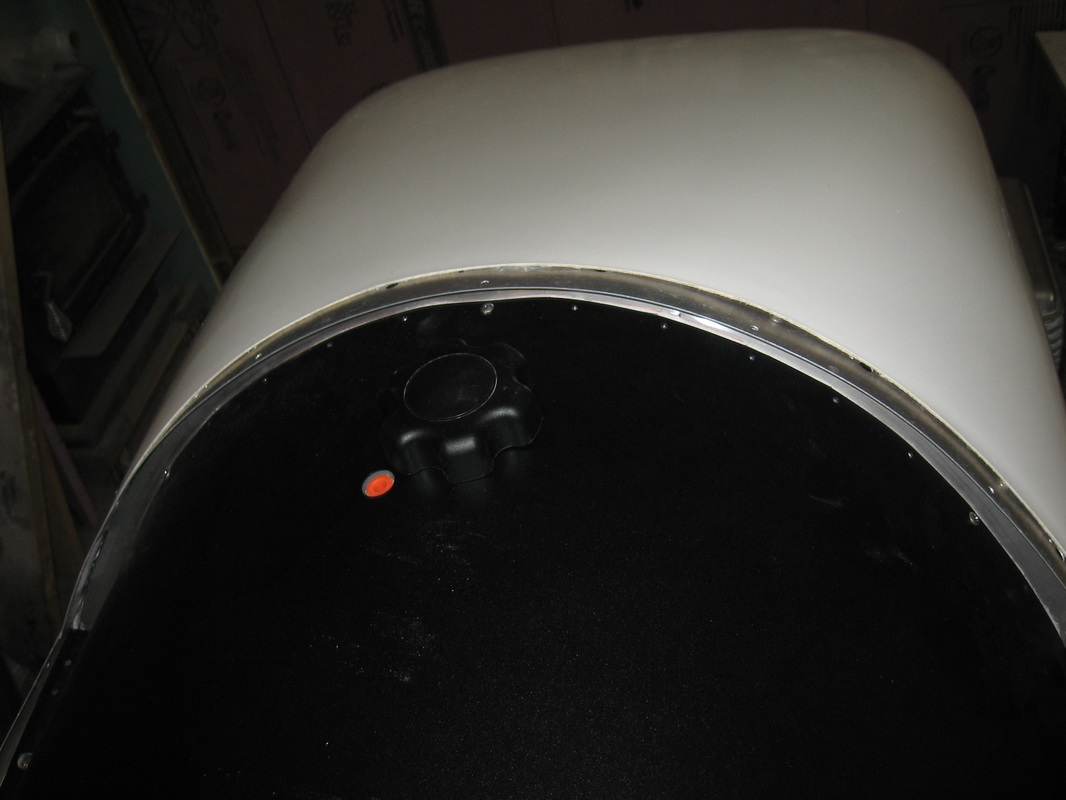
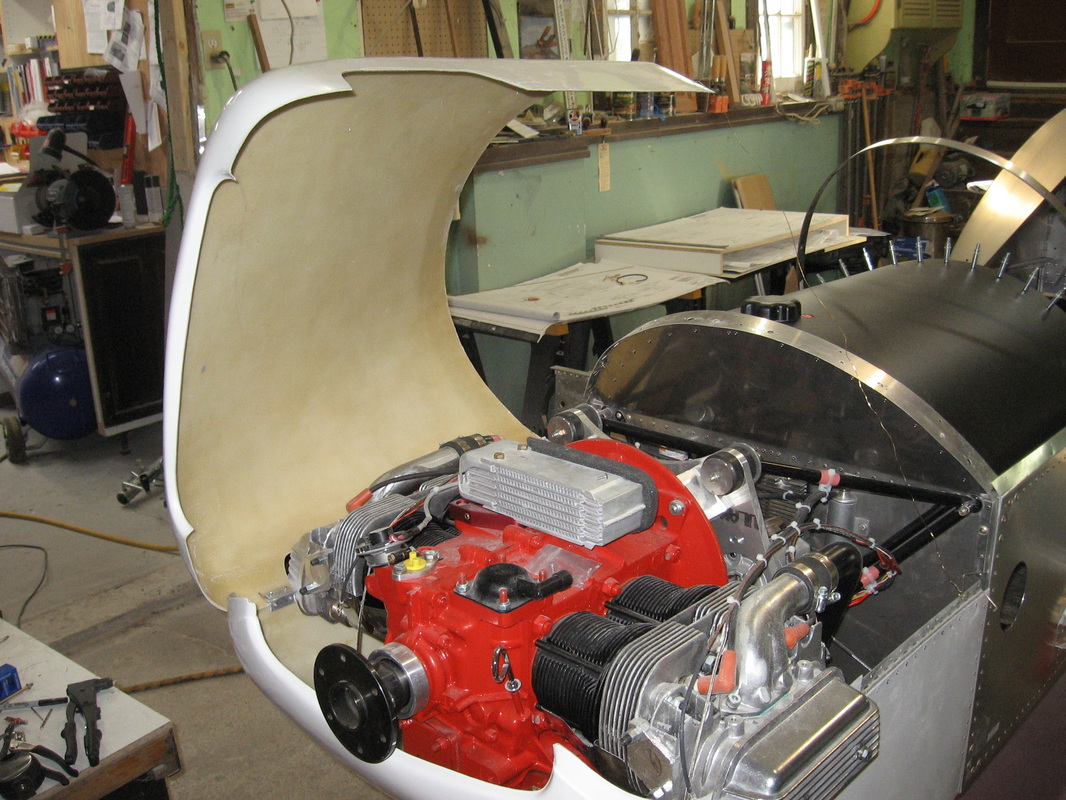
After attaching the window strap I test fitted the upper cowl
Quite pleased with the fit.Now to choose a fastener method. |


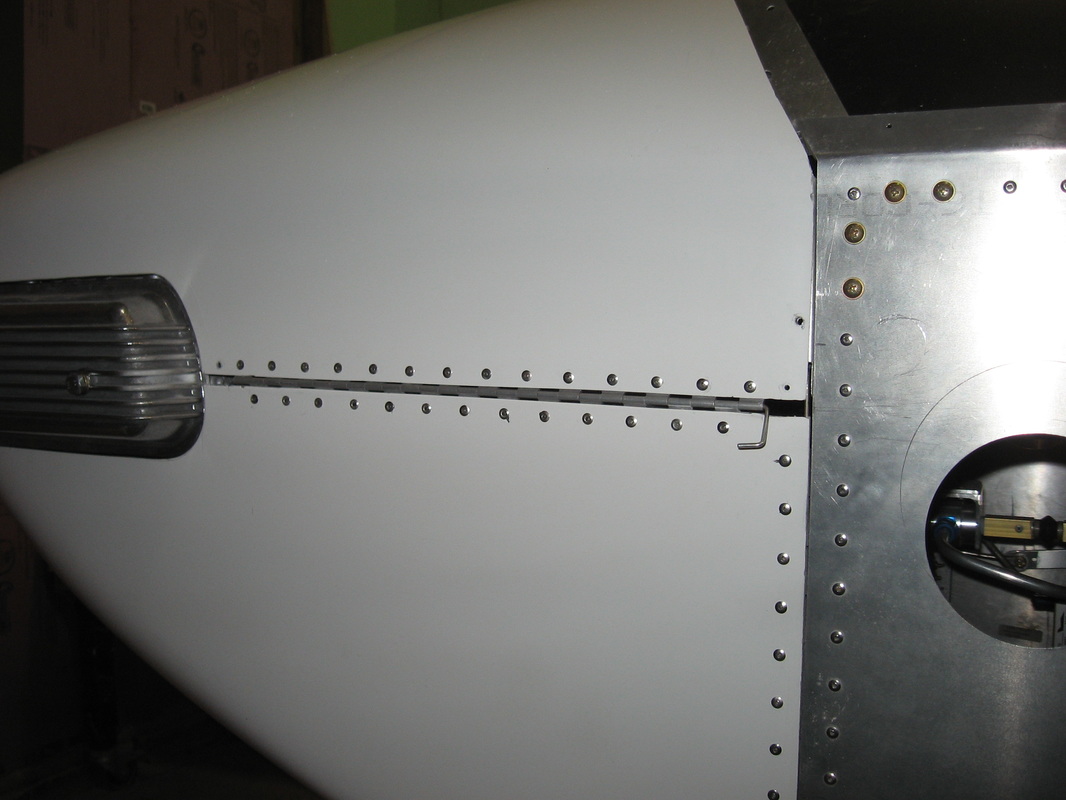
I'm using extruded piano hinges for the cowl attach as it is much stronger and it should last forever.I still have to add another short piece in front of the valve cover but it will be hidden inside .Photo's later .
I still have to work out a way to hold it open safely.The pin can be pulled if the cowl has to come off completely.The hinge will allow quick inspections for adding oil etc.
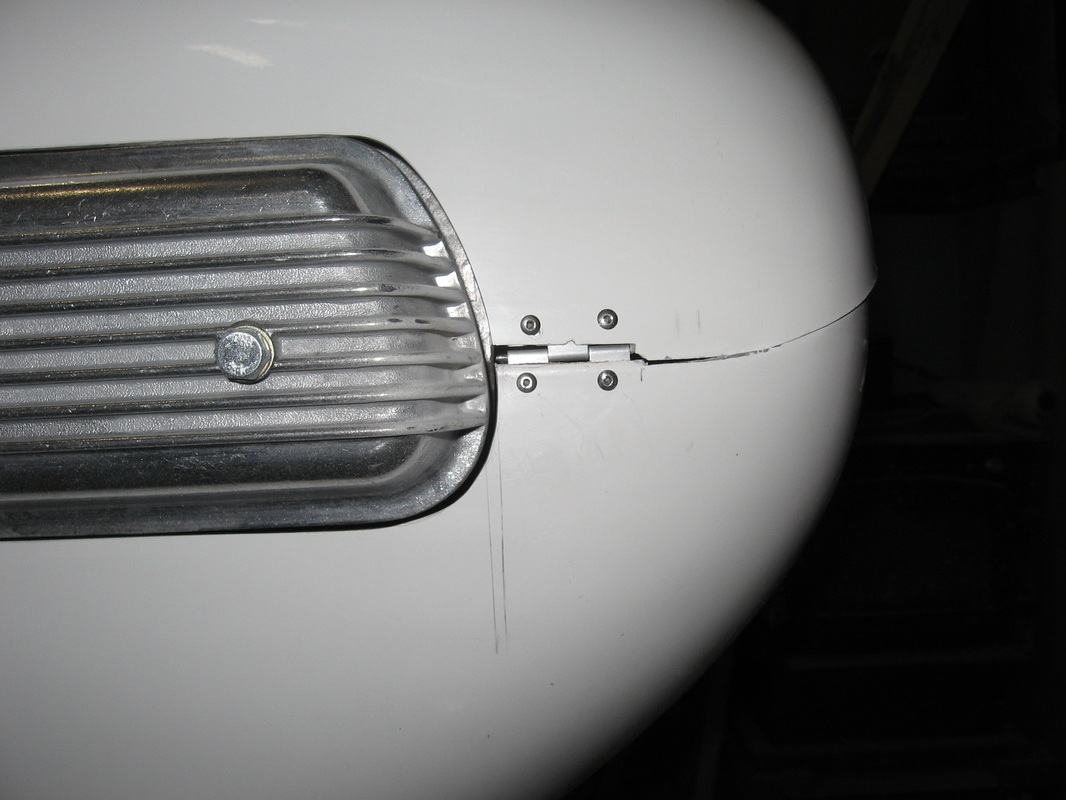
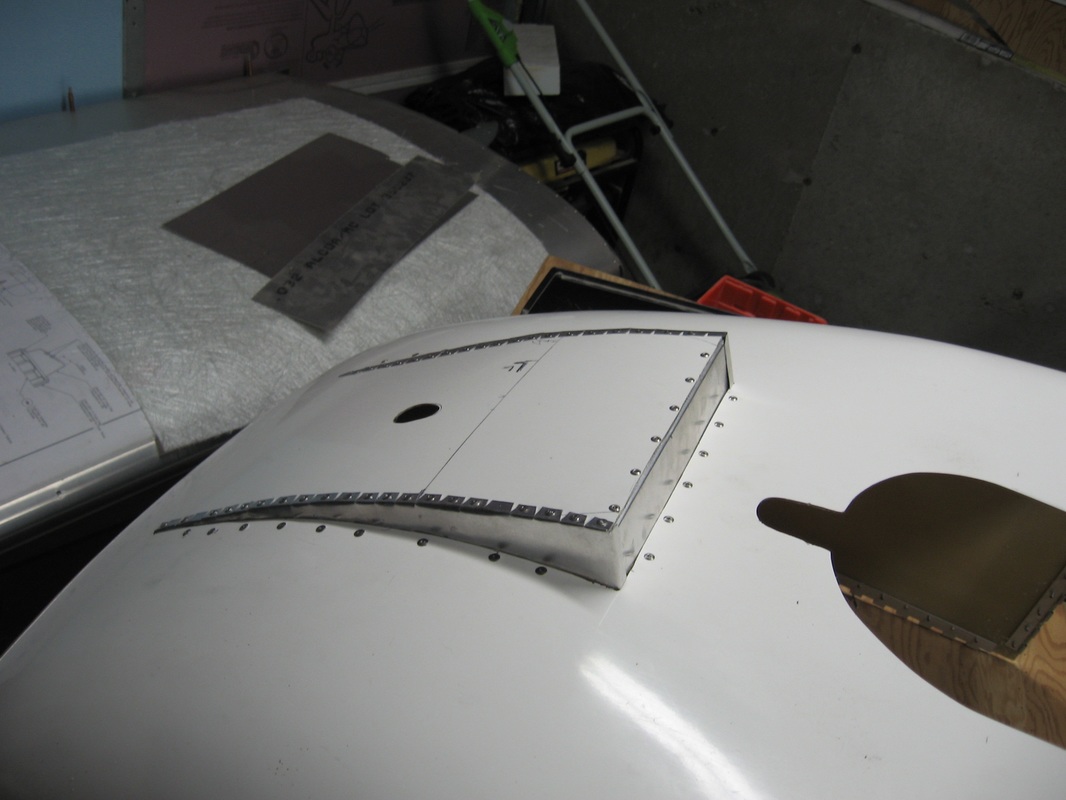
Short 2 lug that pins from the inside.
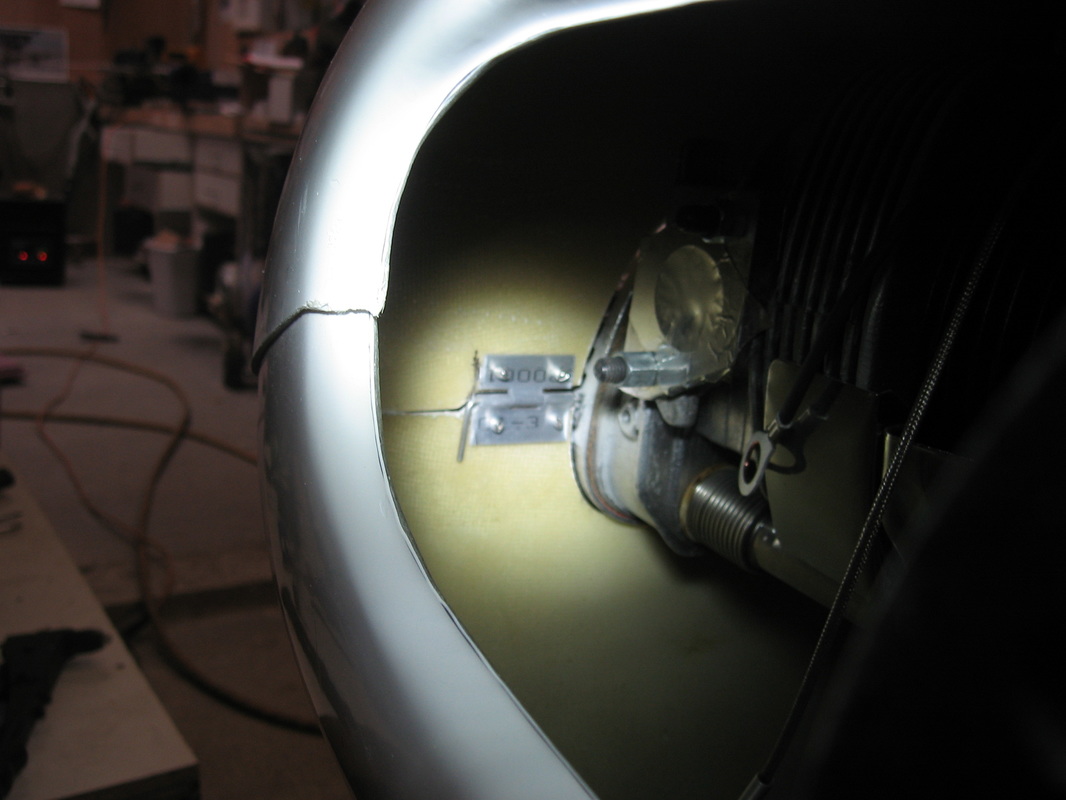

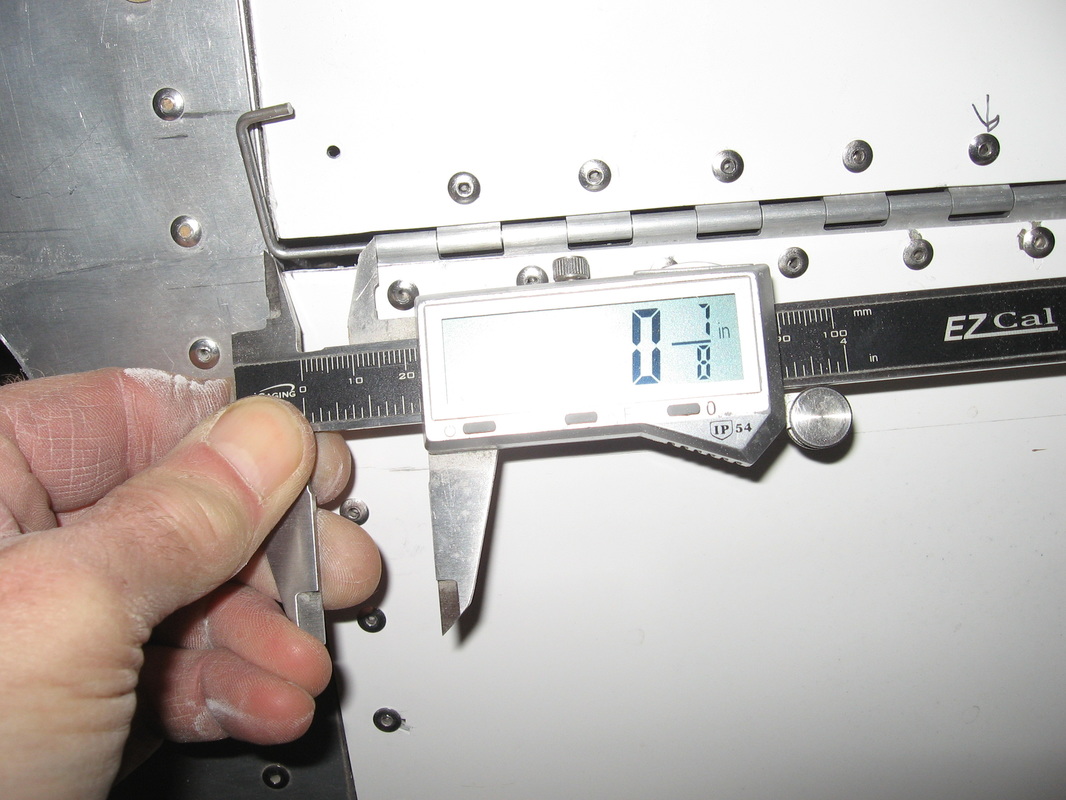
Start the hinge 7/8" to 1" back else you will never get the pin in.
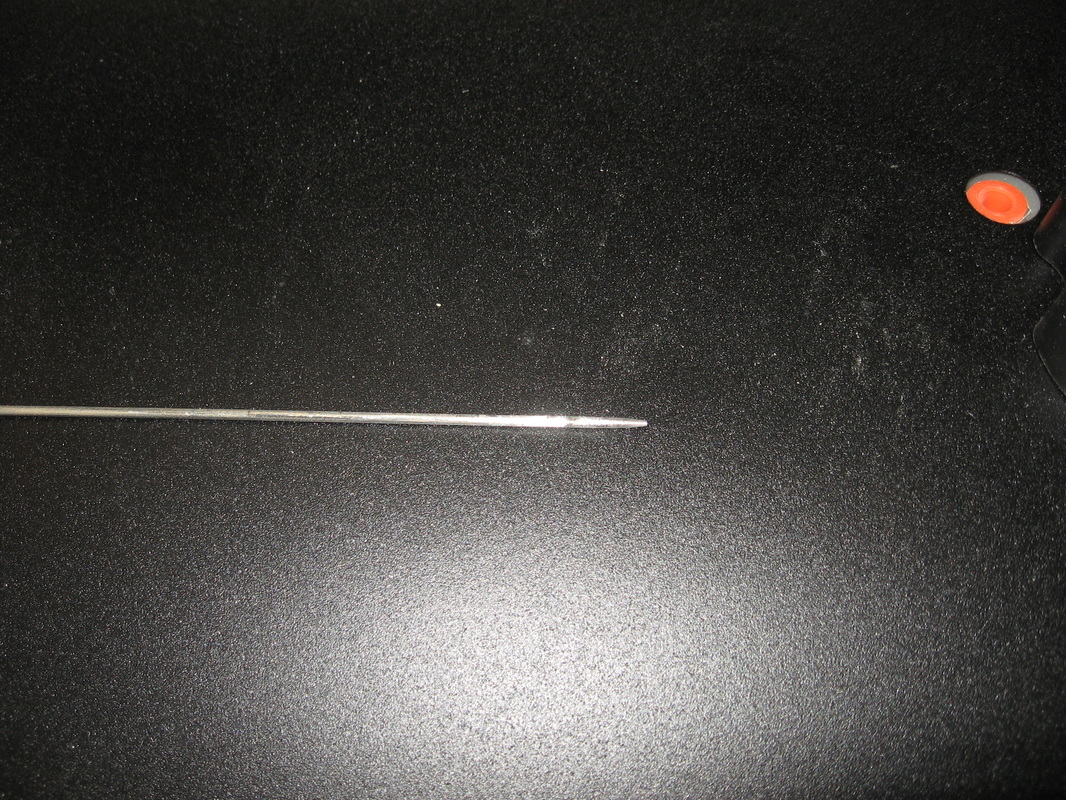
Really chamfer the end back to a point .This will make it go in smoothly .
Take your time think each step through and you will have a very rigid upper and lower cowl.
Take your time think each step through and you will have a very rigid upper and lower cowl.
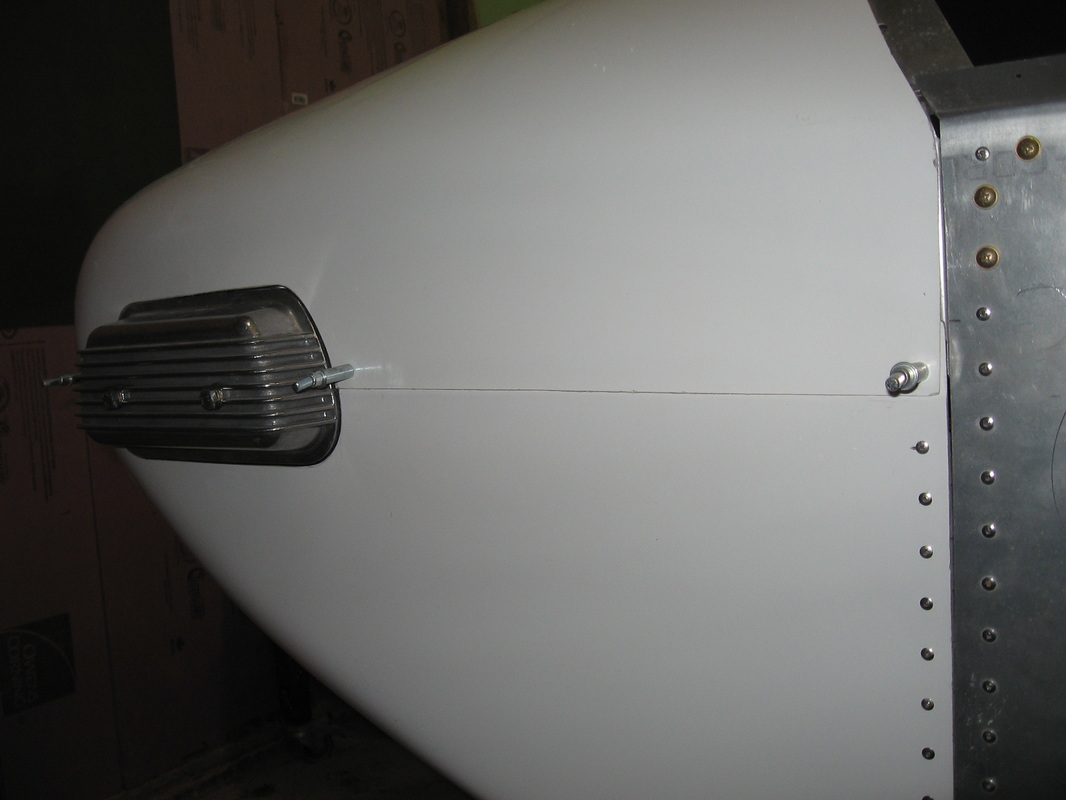
Left side done.I will add an attachment ,probably a Southco ,in front of the valve cover.The entire Cowel system is rock solid .I am going to purchase a .079 hinge pin for this side as this is the pin that will always be removed for inspection .
All in all I am very pleased .
Just have to work out a system to hold the cowl open without it falling past where you see it in the open position.
All in all I am very pleased .
Just have to work out a system to hold the cowl open without it falling past where you see it in the open position.
Work on the lower cowl to make more room for the zenith carb heat box.